Wow, it is a big book…but I am not going to cave…yet. I am learning a lot while I do this project. I thought, after 50 years of knitting, 40 of which I would call myself a fairly active knitter, that I would have pretty much covered knitting. I was wrong. I guess sometimes before, I would just reject stitches willy nilly. Now, with this project, I am not allowed to. For those of you that don’t know, I am trying to design (ooo.. did I just call myself a designer?) knitted items using the stitches as they present themselves in a book that was published a couple of years after I started knitting, A Treasury of Knitting Patterns by Barbara Walker, 1968. It has 500+ stitches in it. My ‘rule’ is that I can use one or more stitches from any chapter or combination of chapters, but it must be the next stitch after the previous one I used in that chapter. I can, of course, throw in stockinette stitch and/or garter stitch whenever I feel the design requires it, otherwise things may get a little busy. Not that I am usually averse to busy. I am sure no one is keeping track, but there are some UFO’s (say it ain’t so, gill) and a couple of things I put in my knitting guild’s annual challenge, which I will show you next week when I get them back that represent some in between stitches.

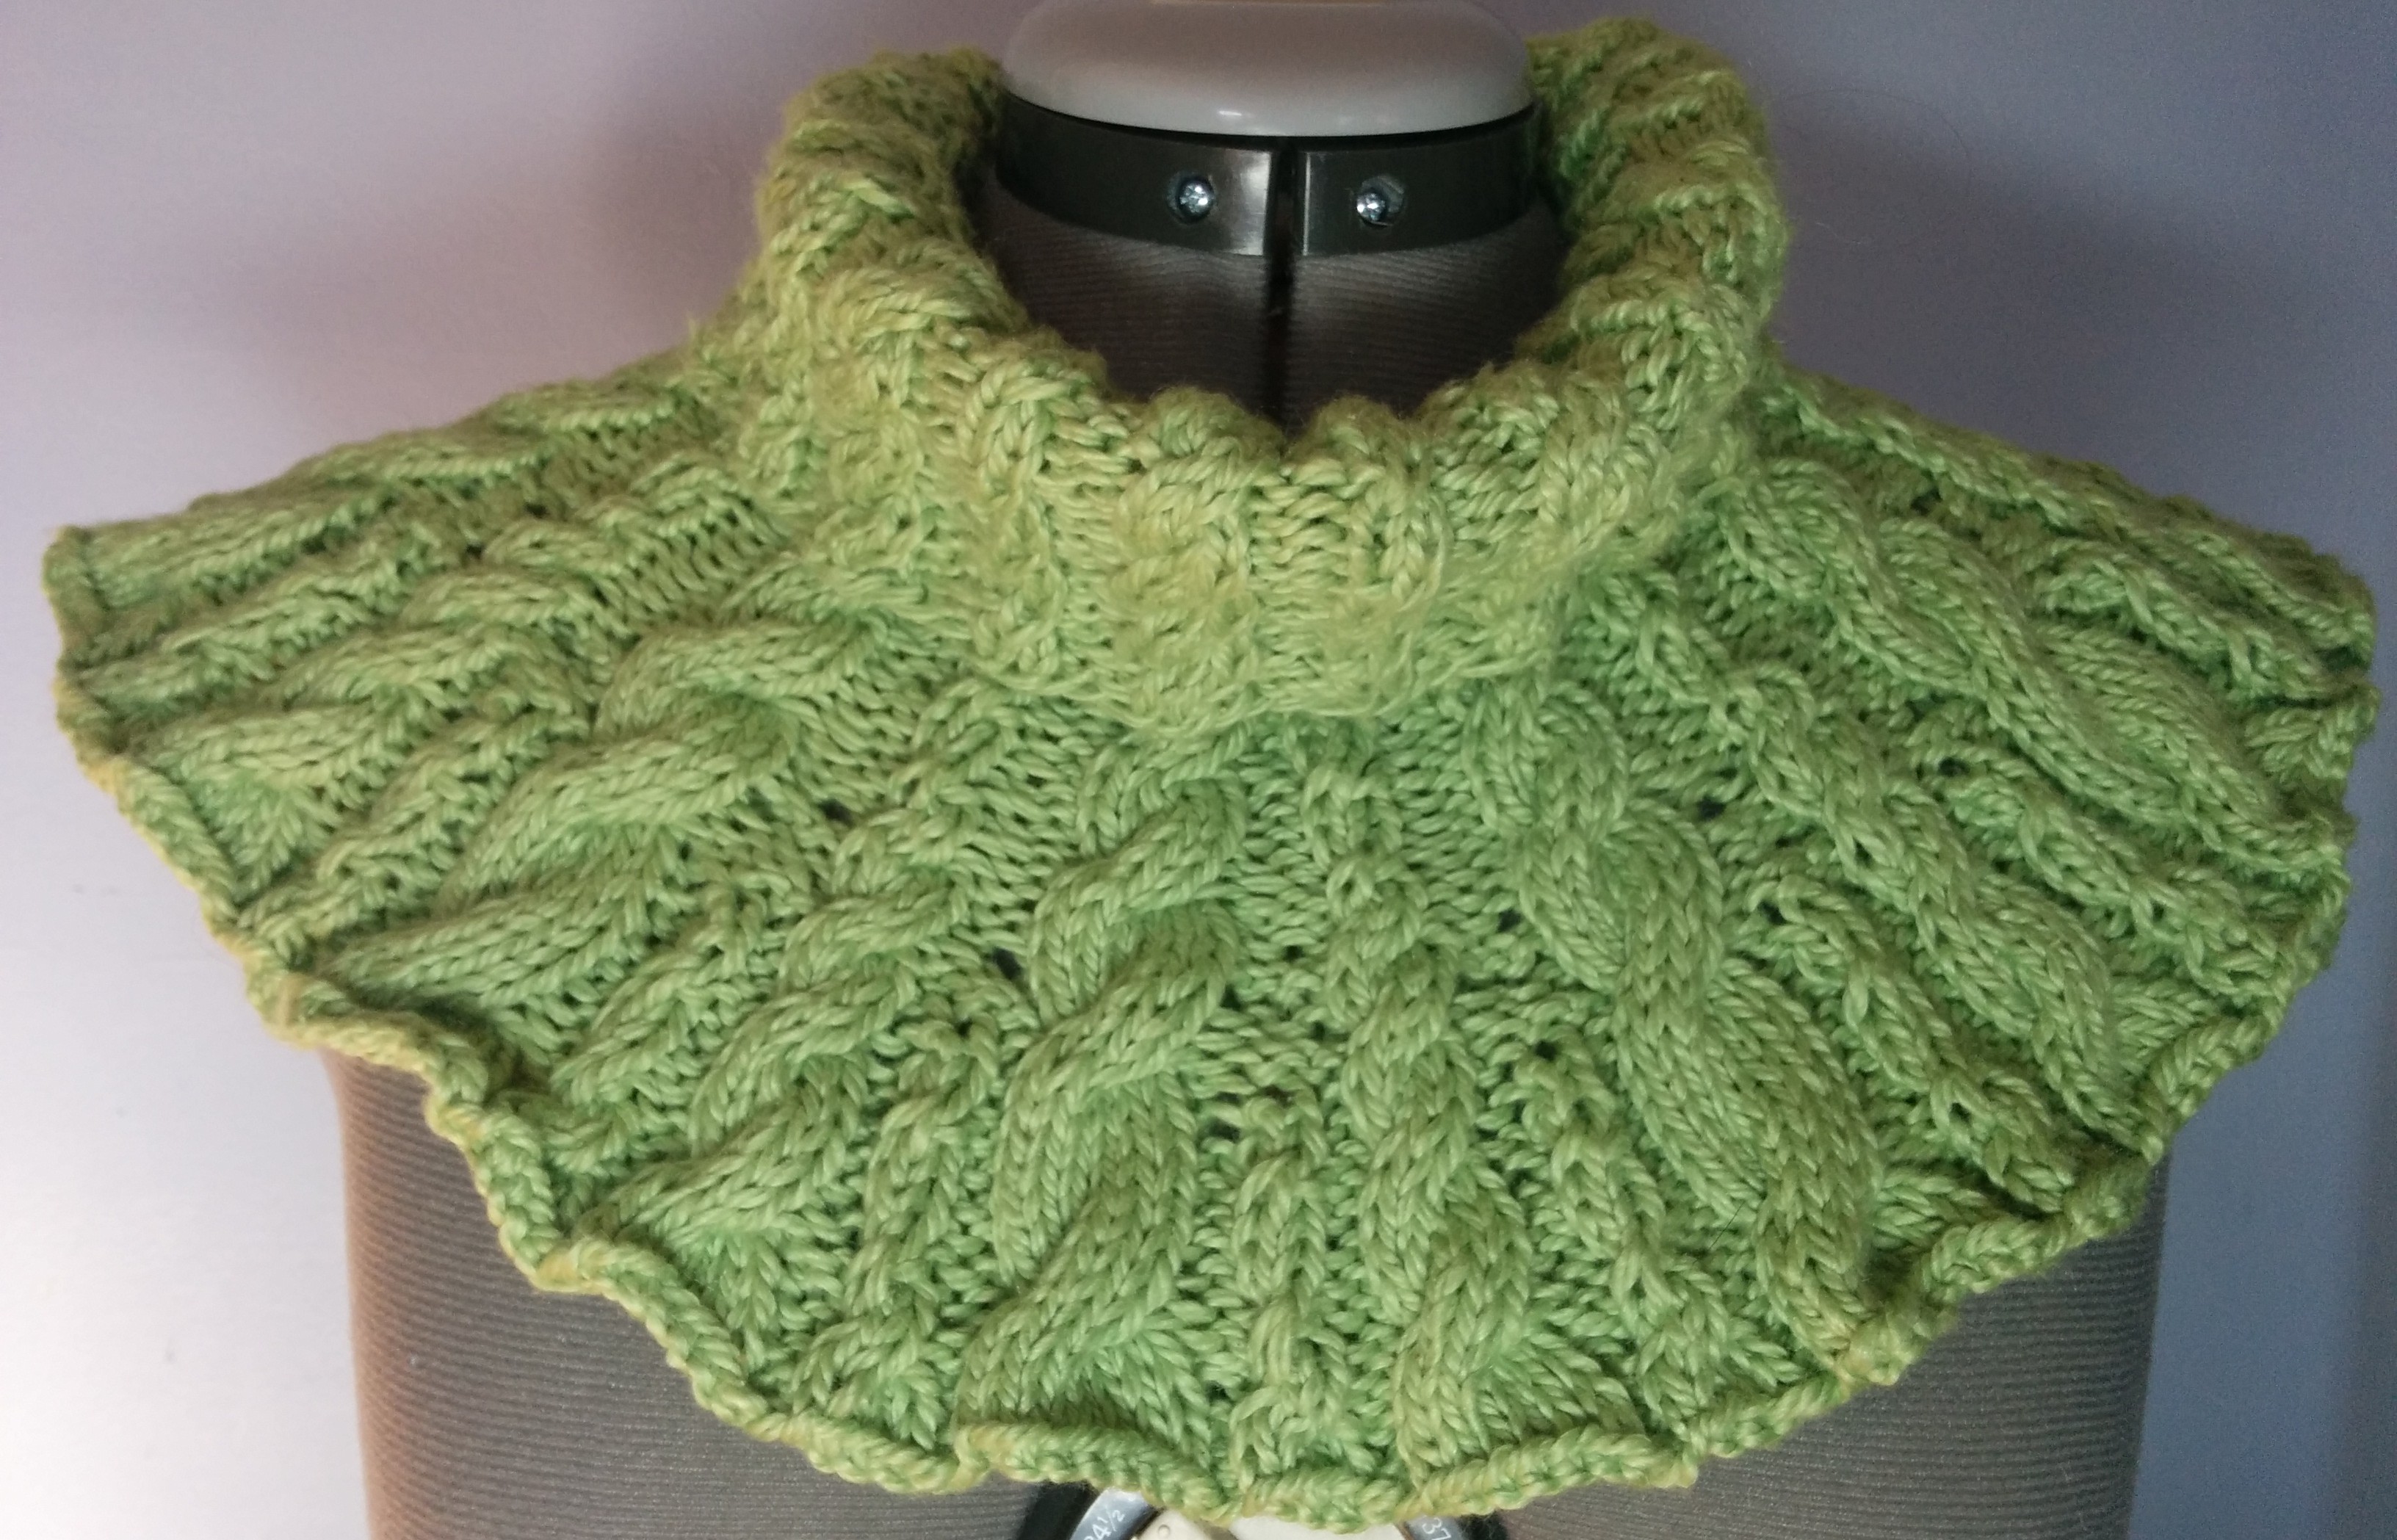
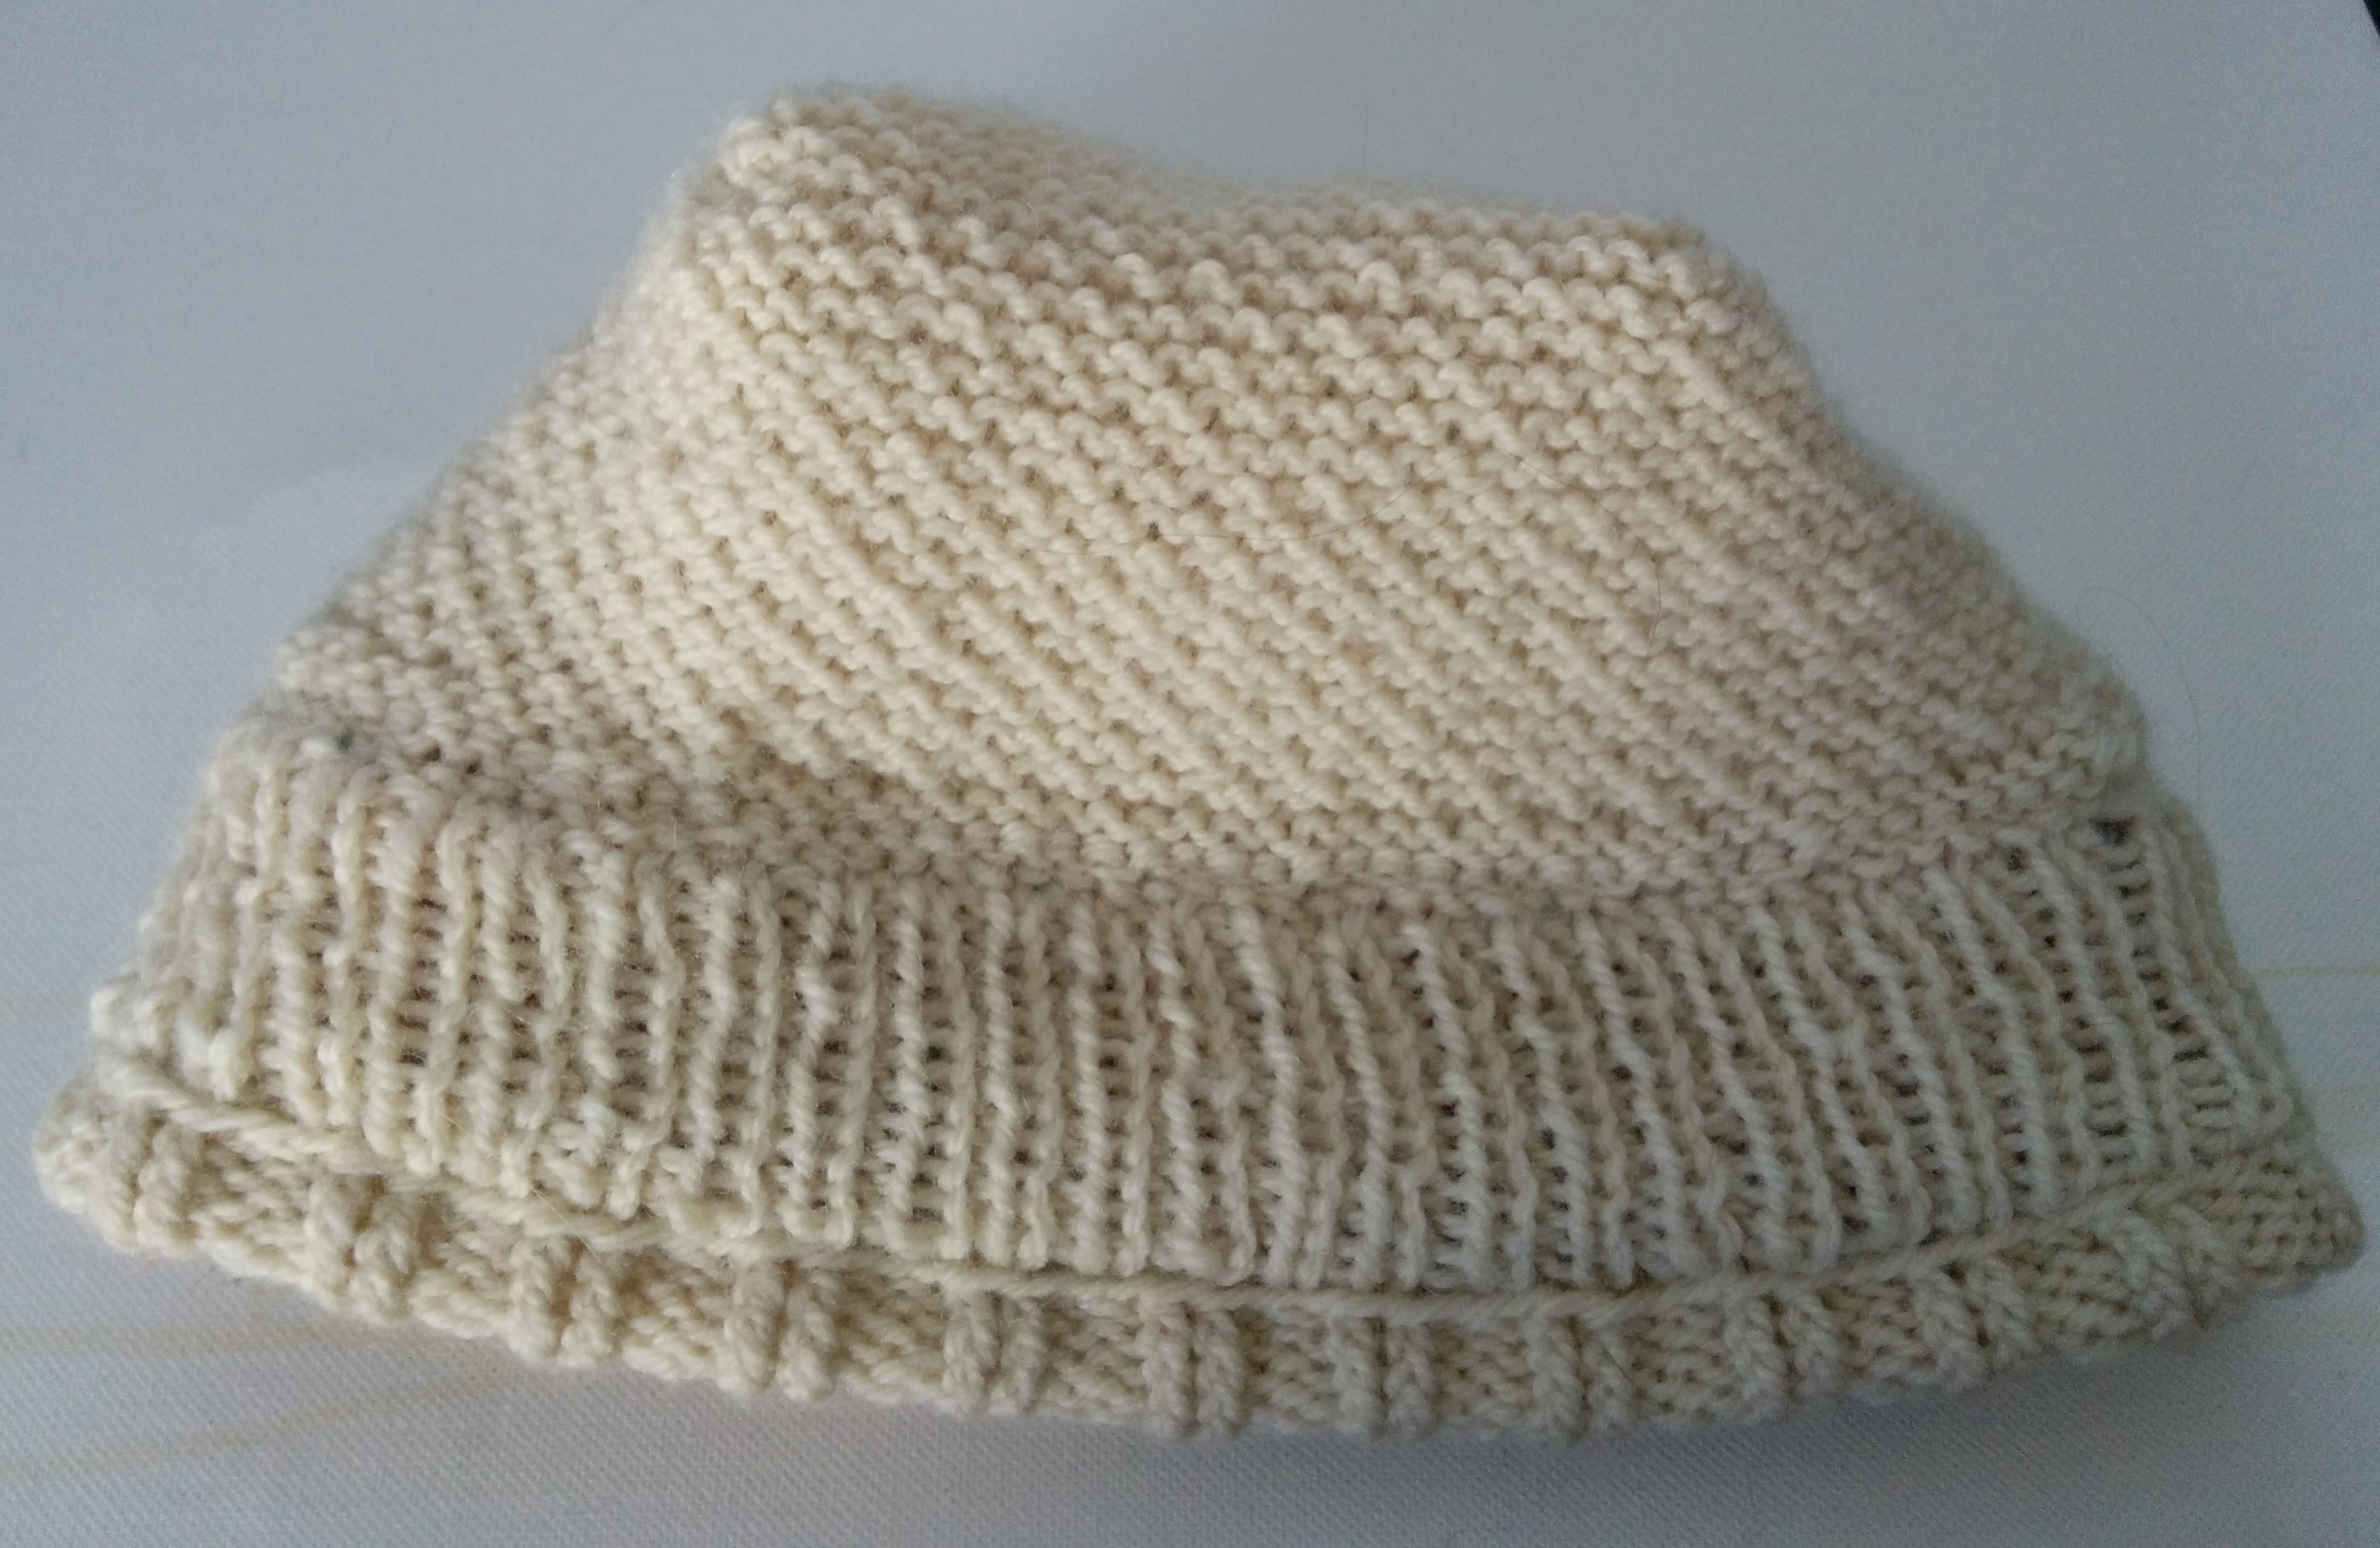
first attempt

back of first attempt
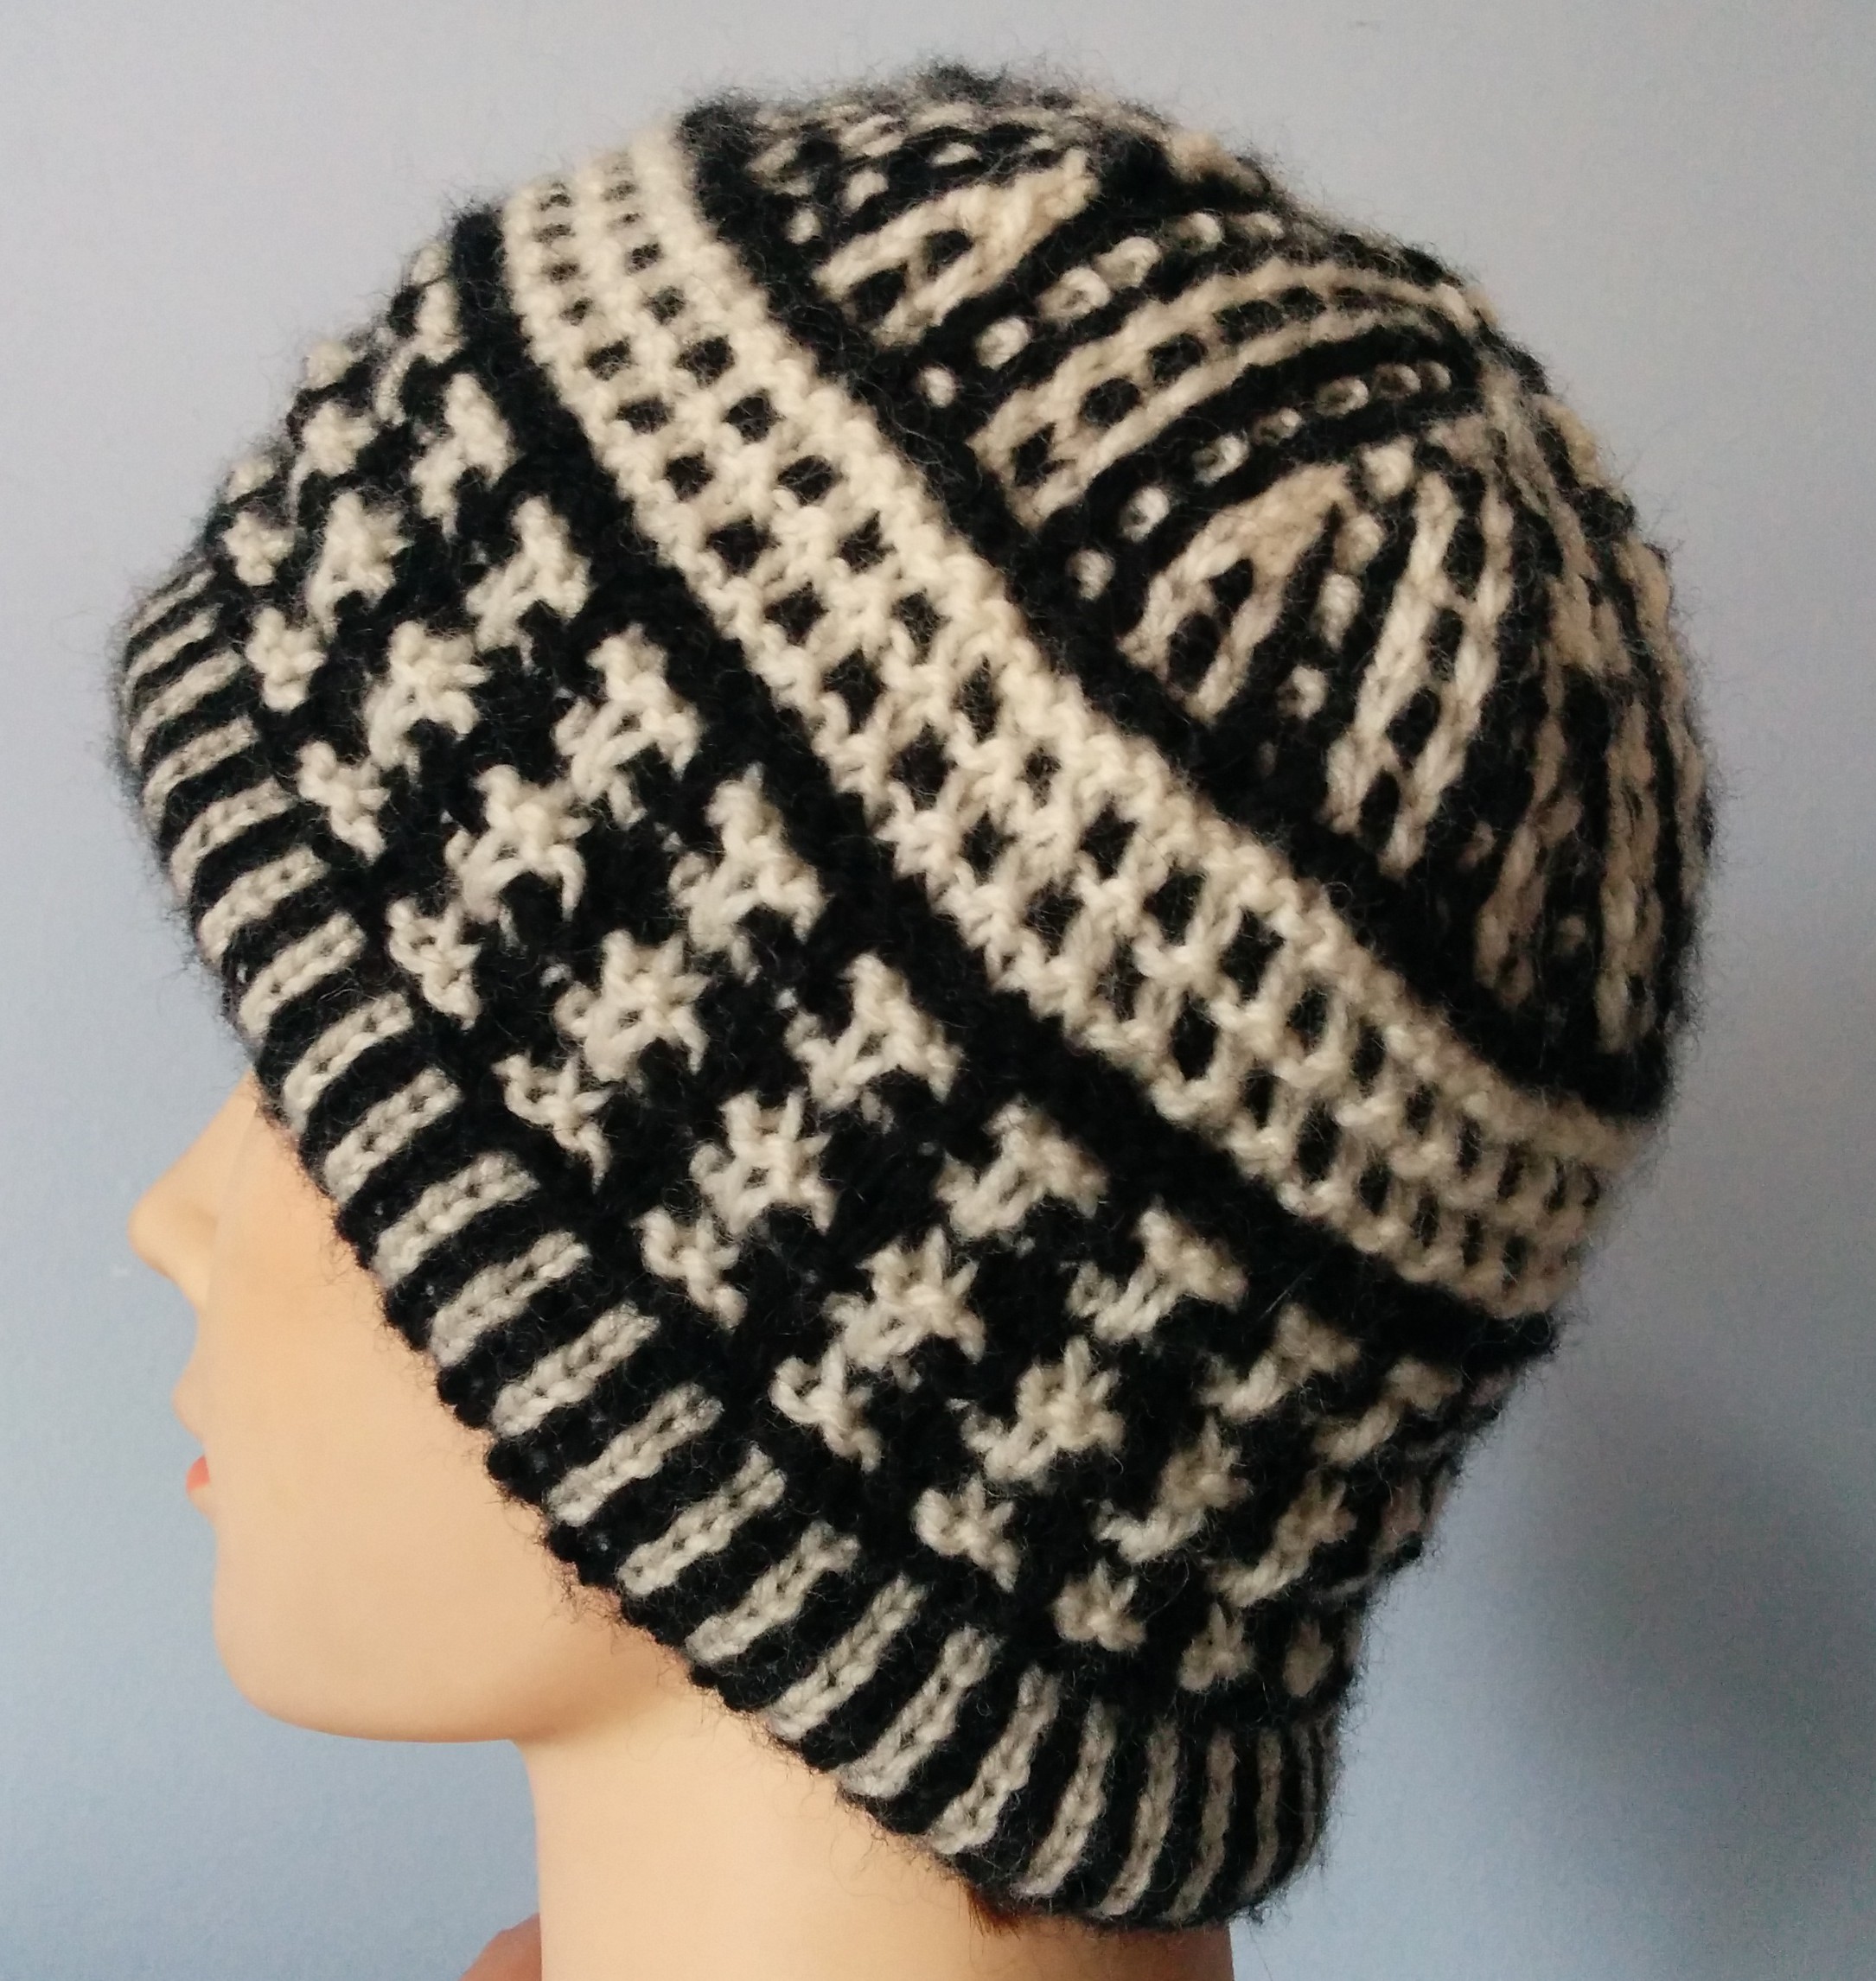
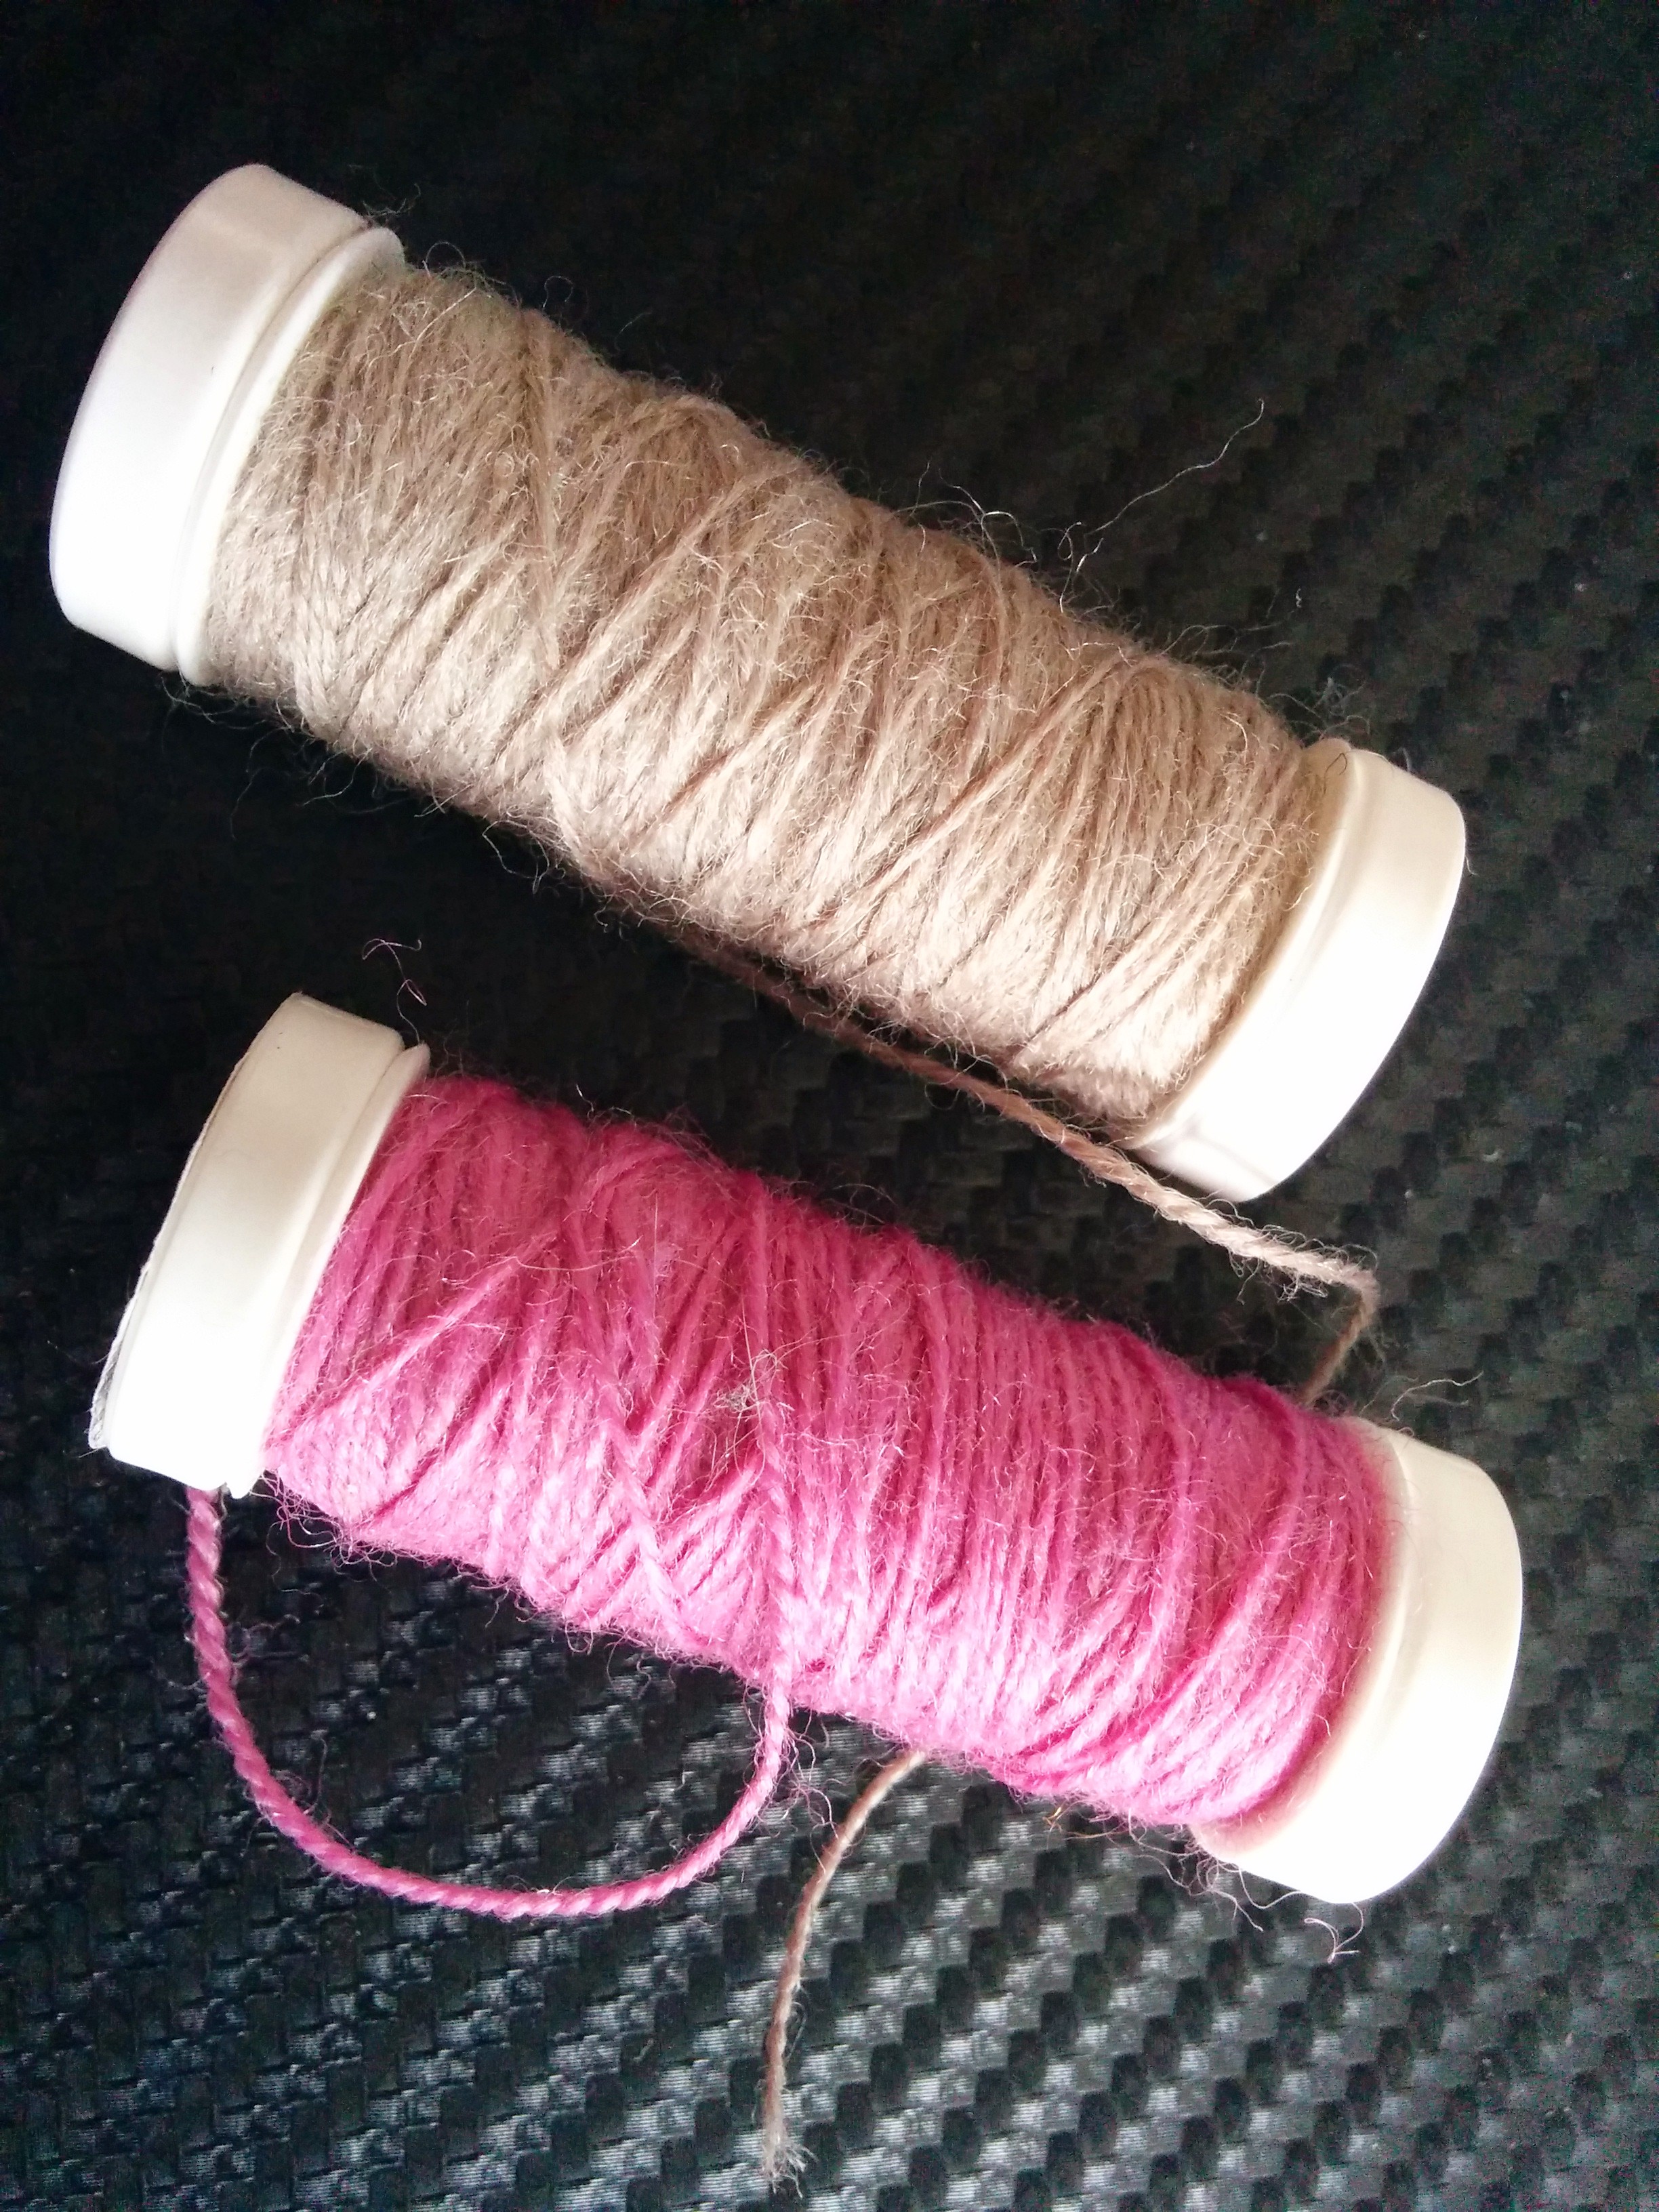
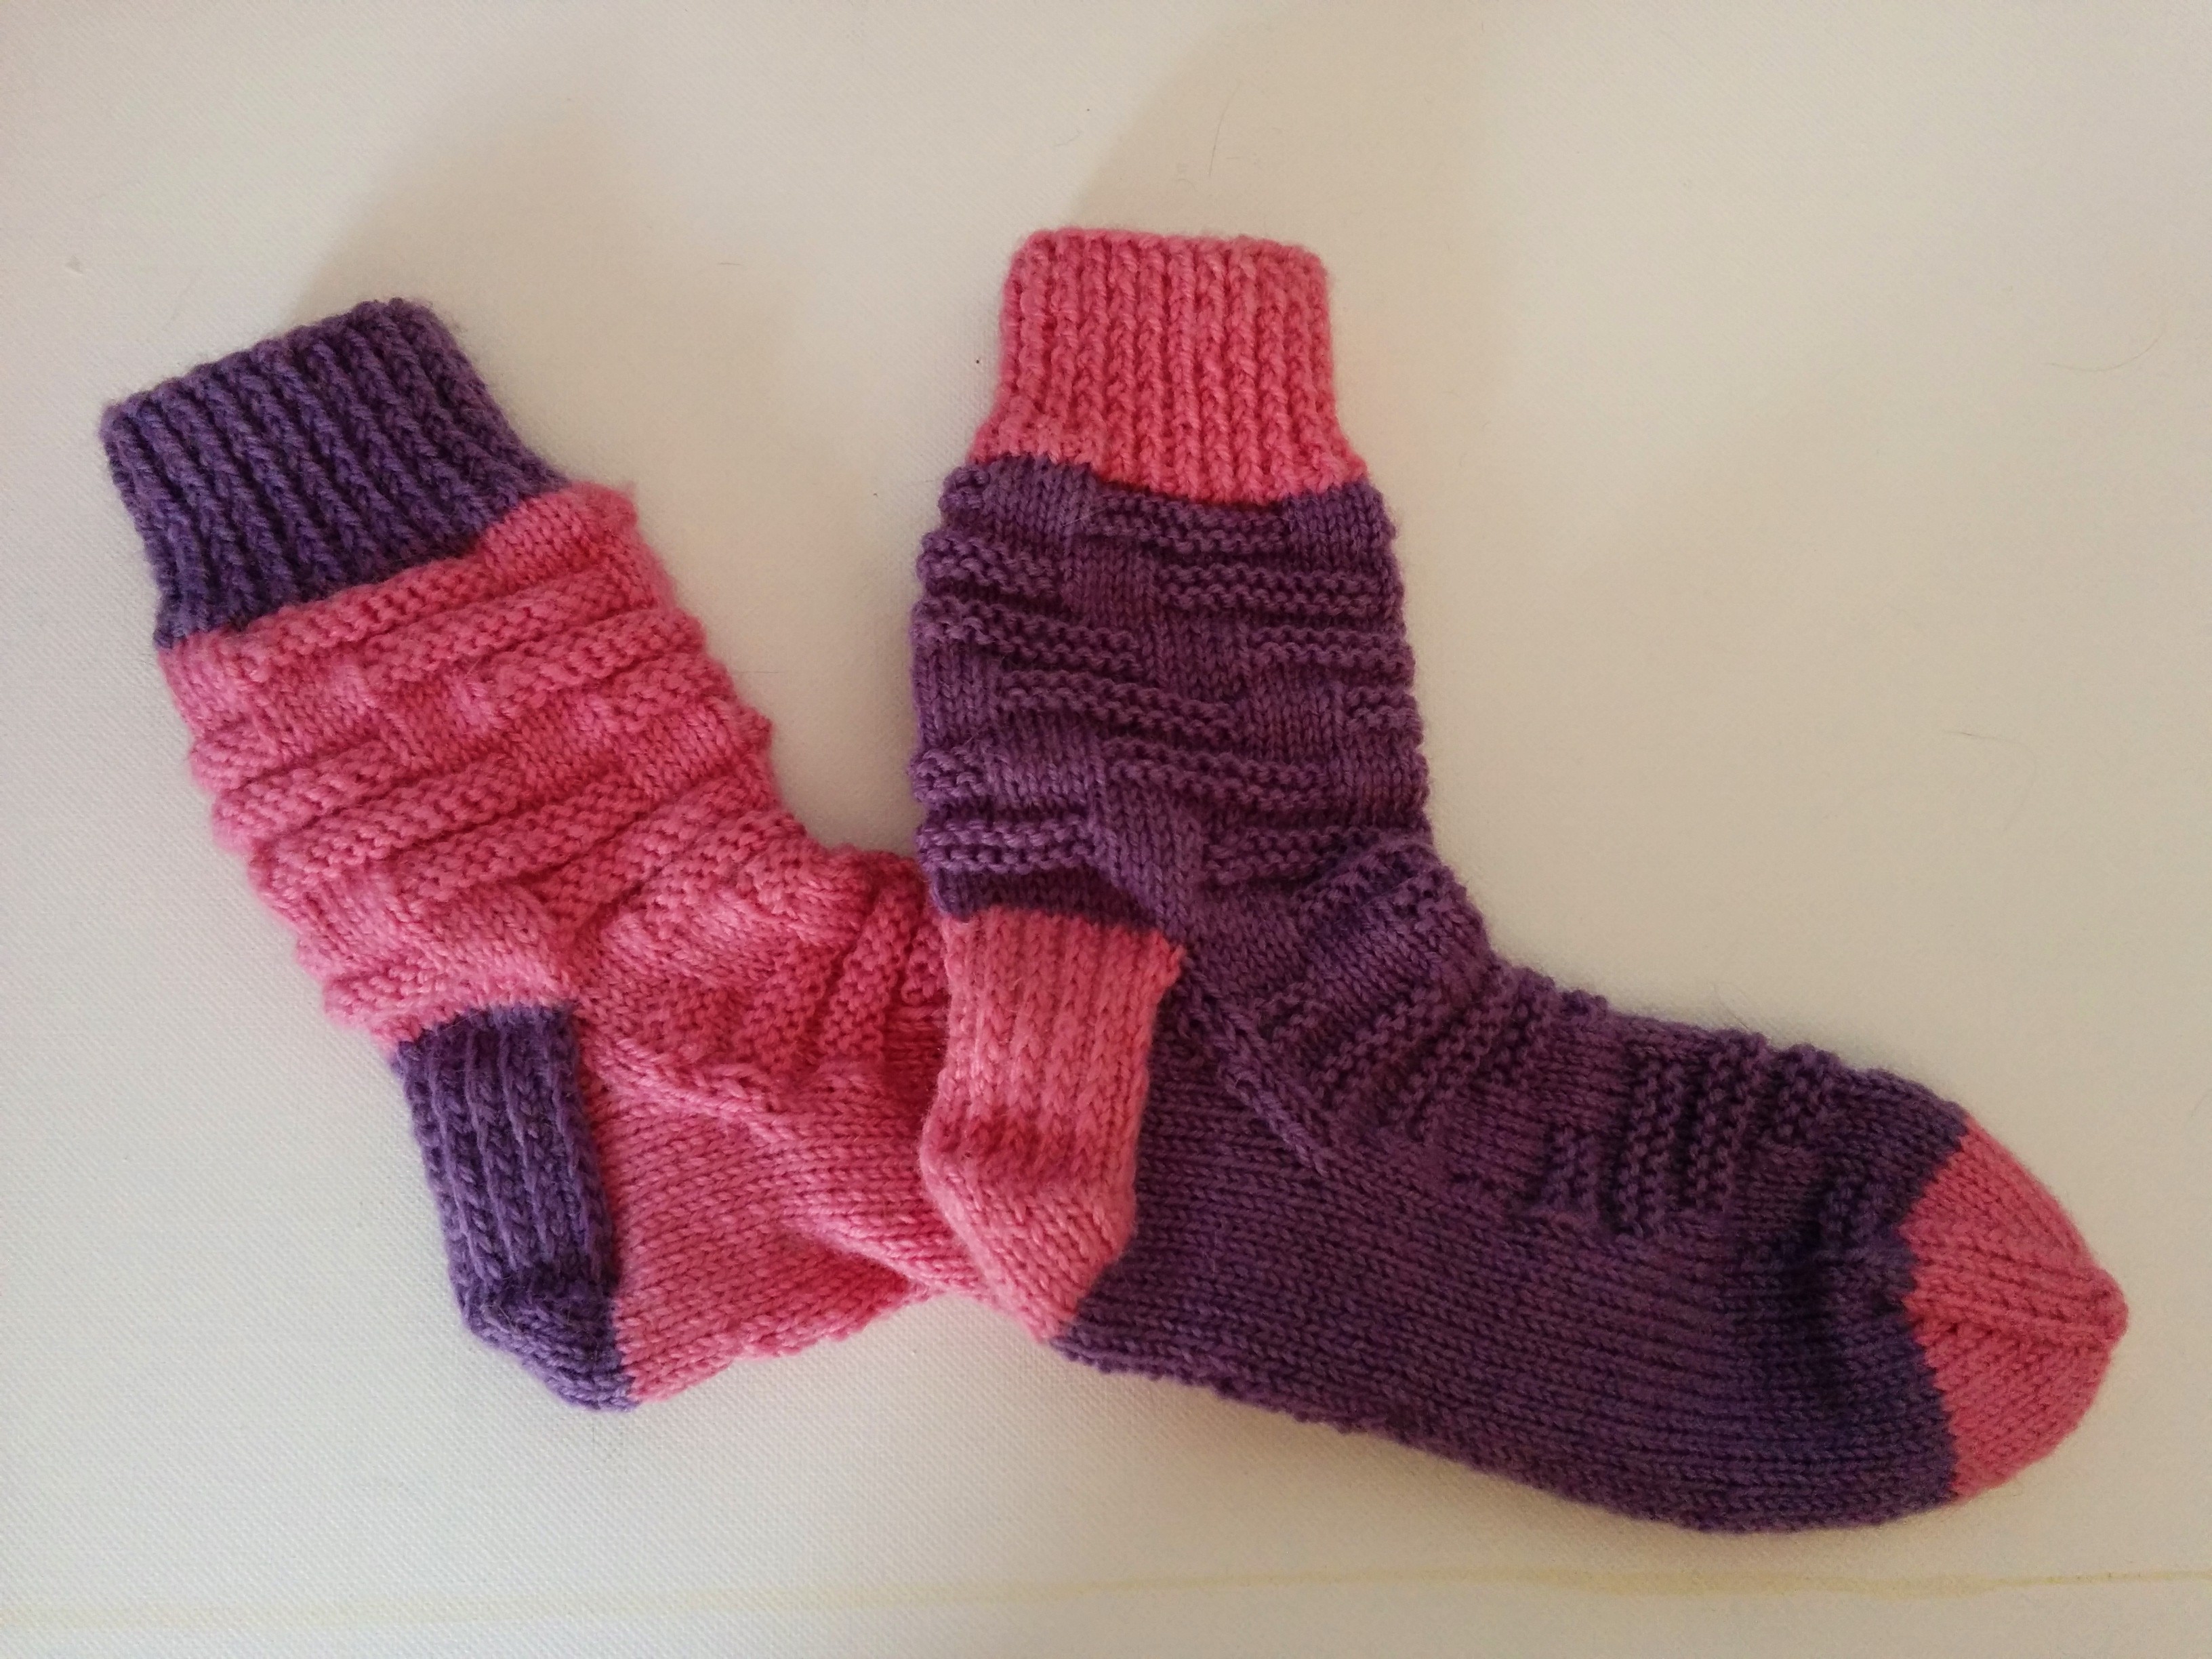
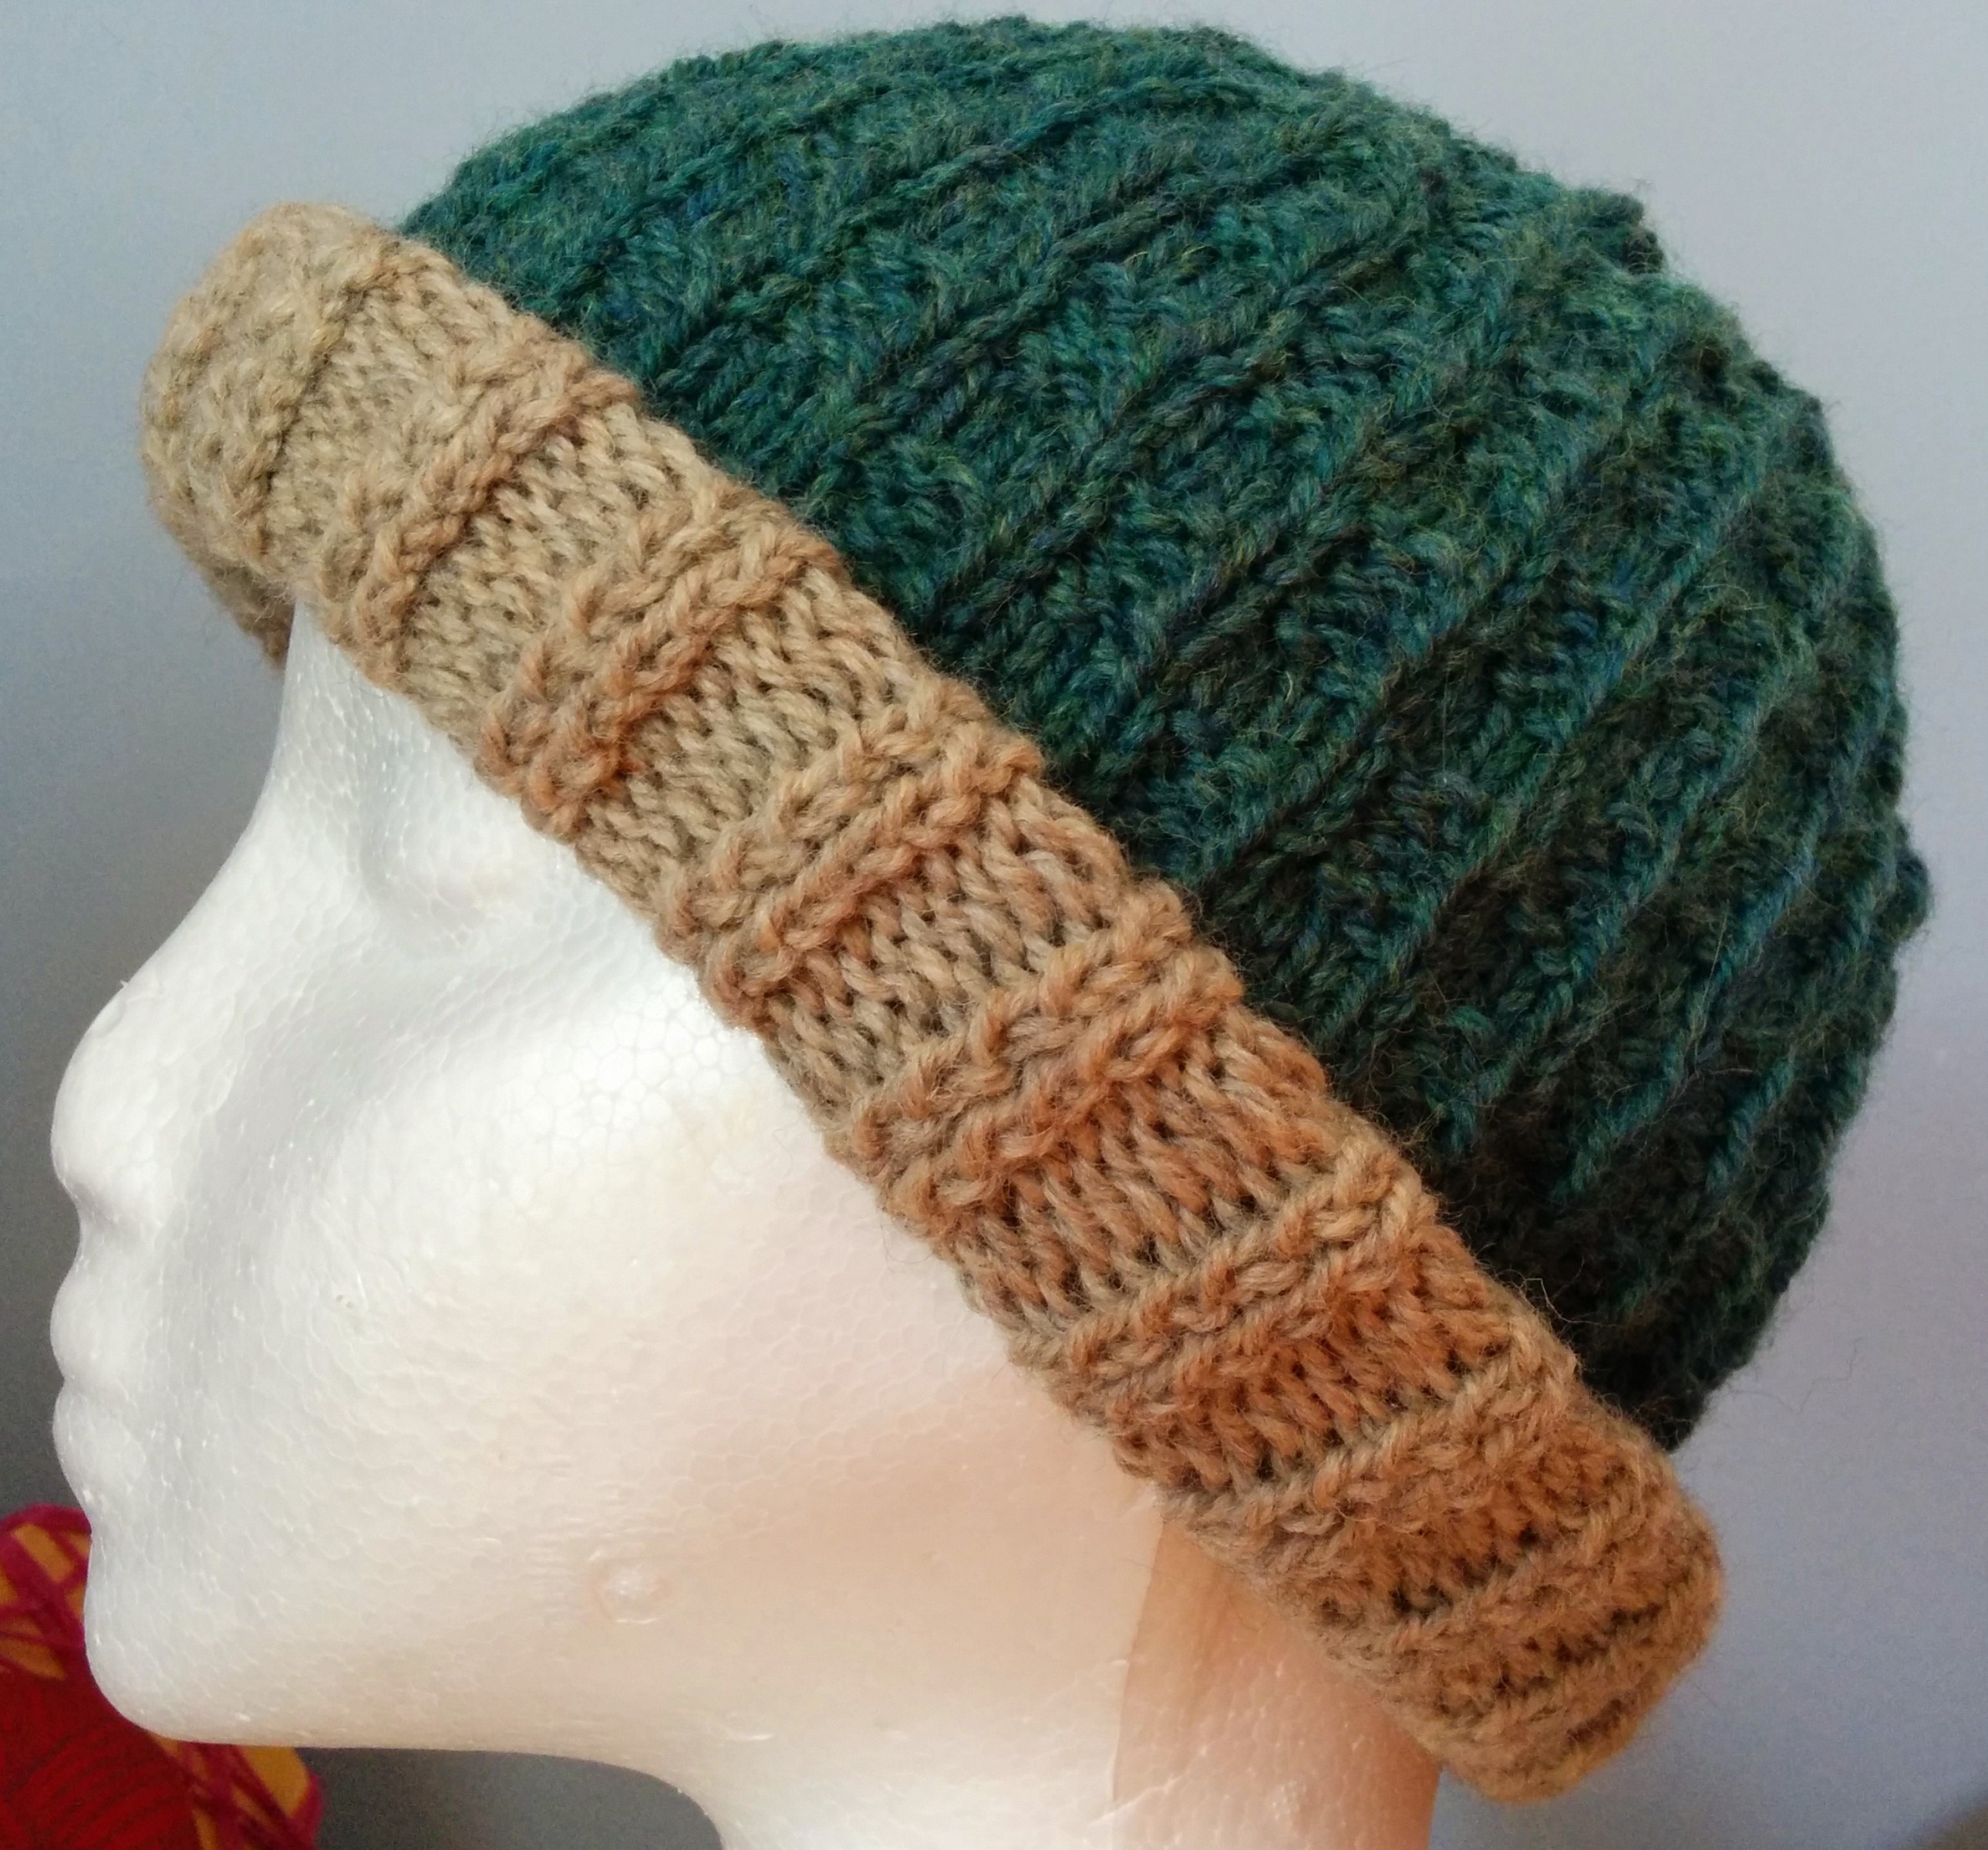
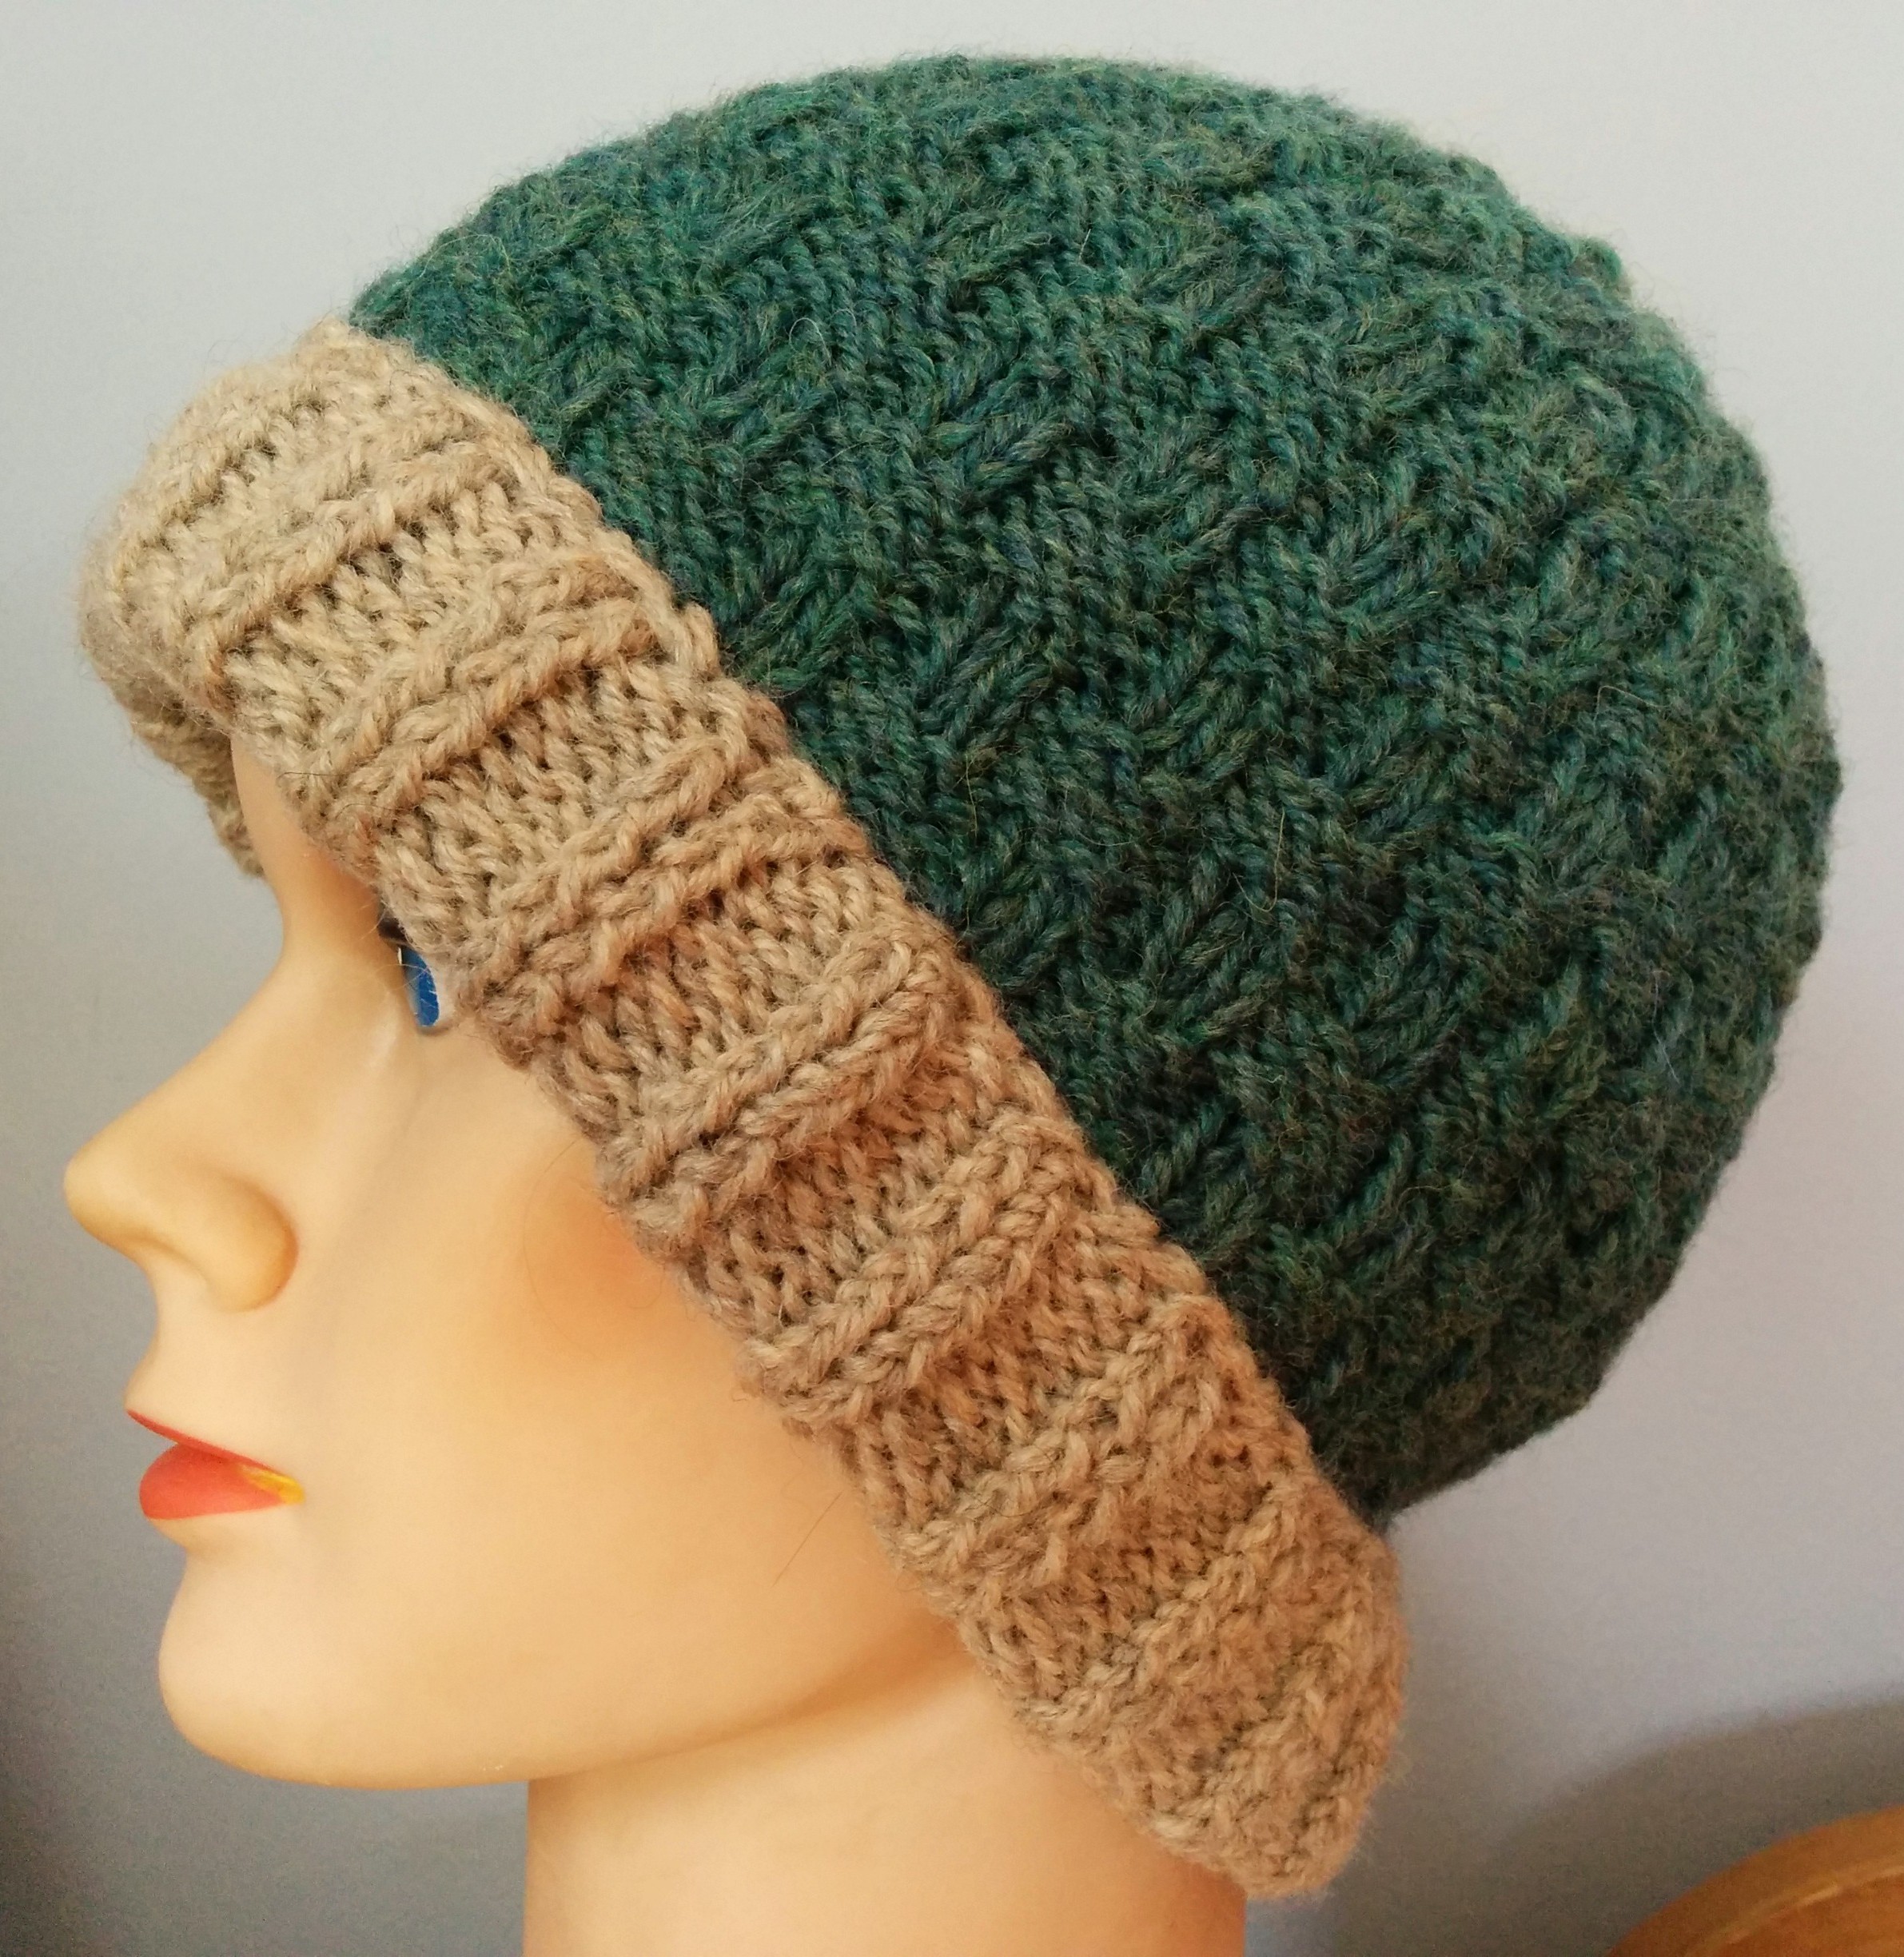
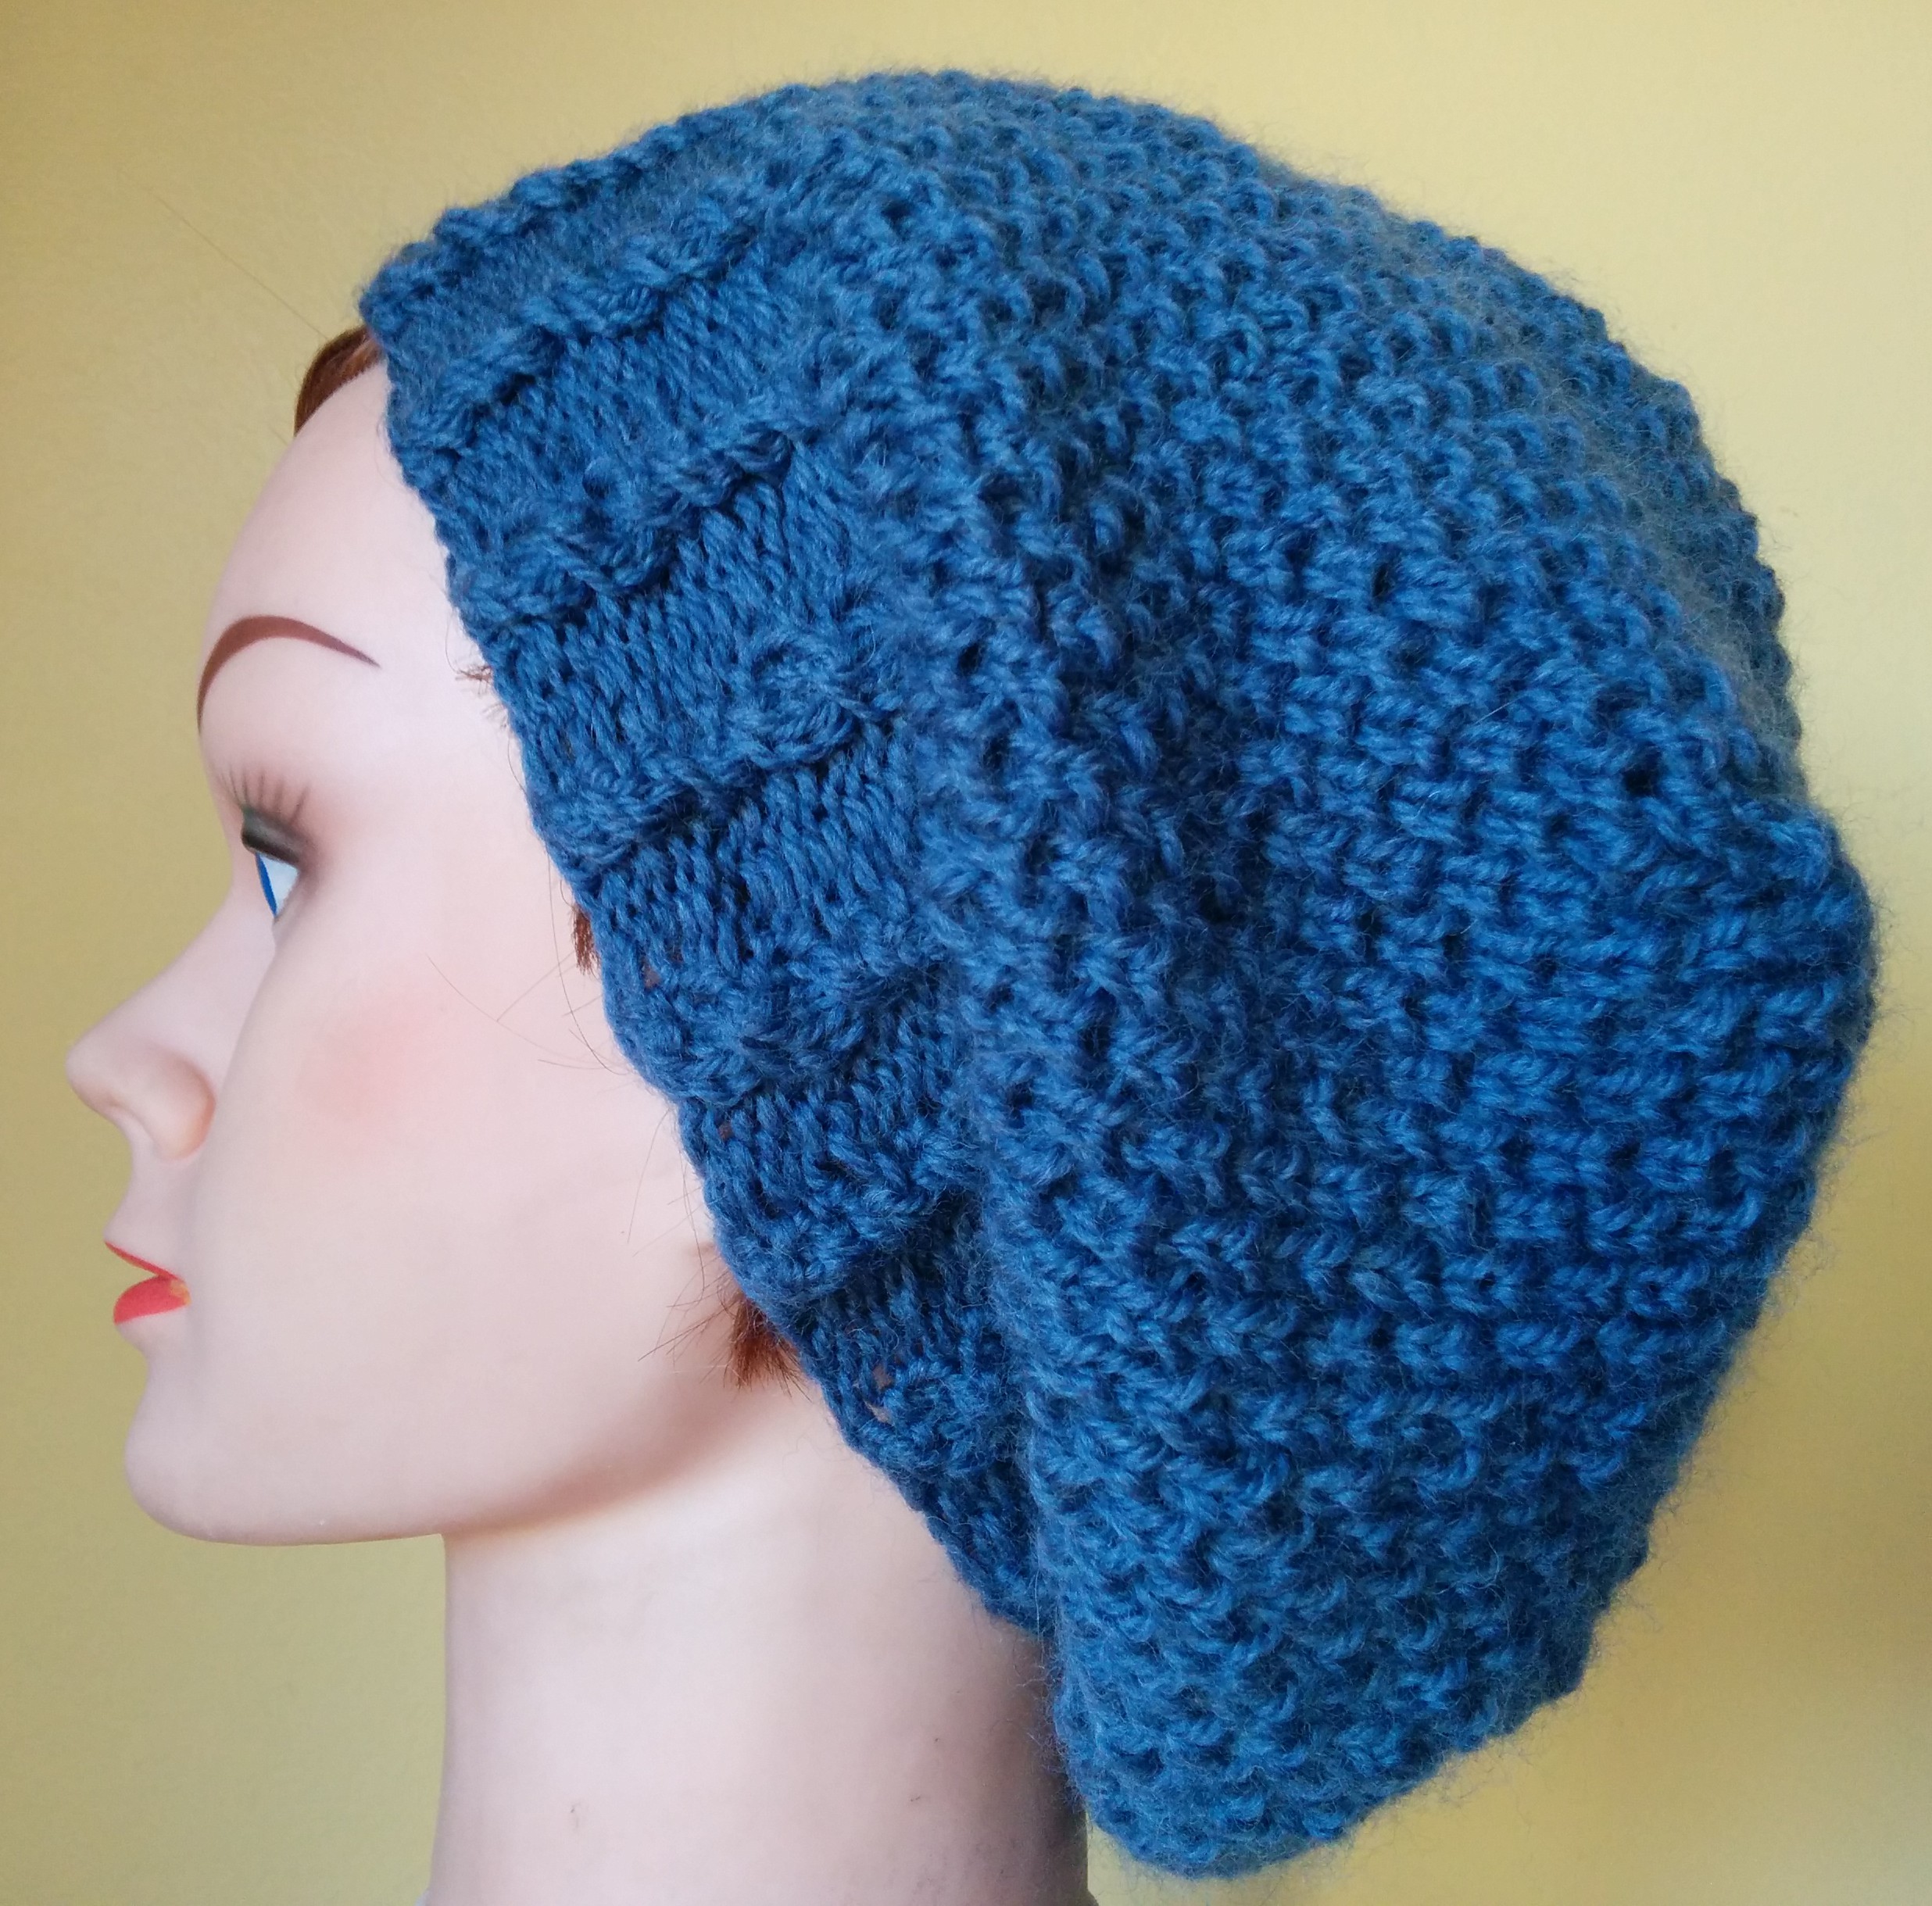
This week was not a very productive week, partly because I have another baby sweater almost finished and the two hats I did finish have patterns that eat stitches for breakfast. I hope it is obvious I was going for rasta-style hats here. Last time, I did the colours, this time the shape. I can’t say Barbara didn’t warn me that these stitches (Waffle stitch or Rose Fabric, pg 129 – purl version on the first hat and seed stitch version on the second hat) spread laterally, making a wider piece than you would expect. She wasn’t kidding. The first one is large and you would need a major set of dreds to fill it out. I reduced the number of stitches by 10% (from 110 to 100) on the second one and it doesn’t seem to be that much smaller. It took me a LONG time to get used to this stitch and, like lace, you have to go back stitch by stitch for a couple of rows before you recover your place if you have to rip back. Which I did. Several times. The decreasing is weird because you keep knitting into the row below and collapsing the fabric, so the decreases become compressed.
second attempt

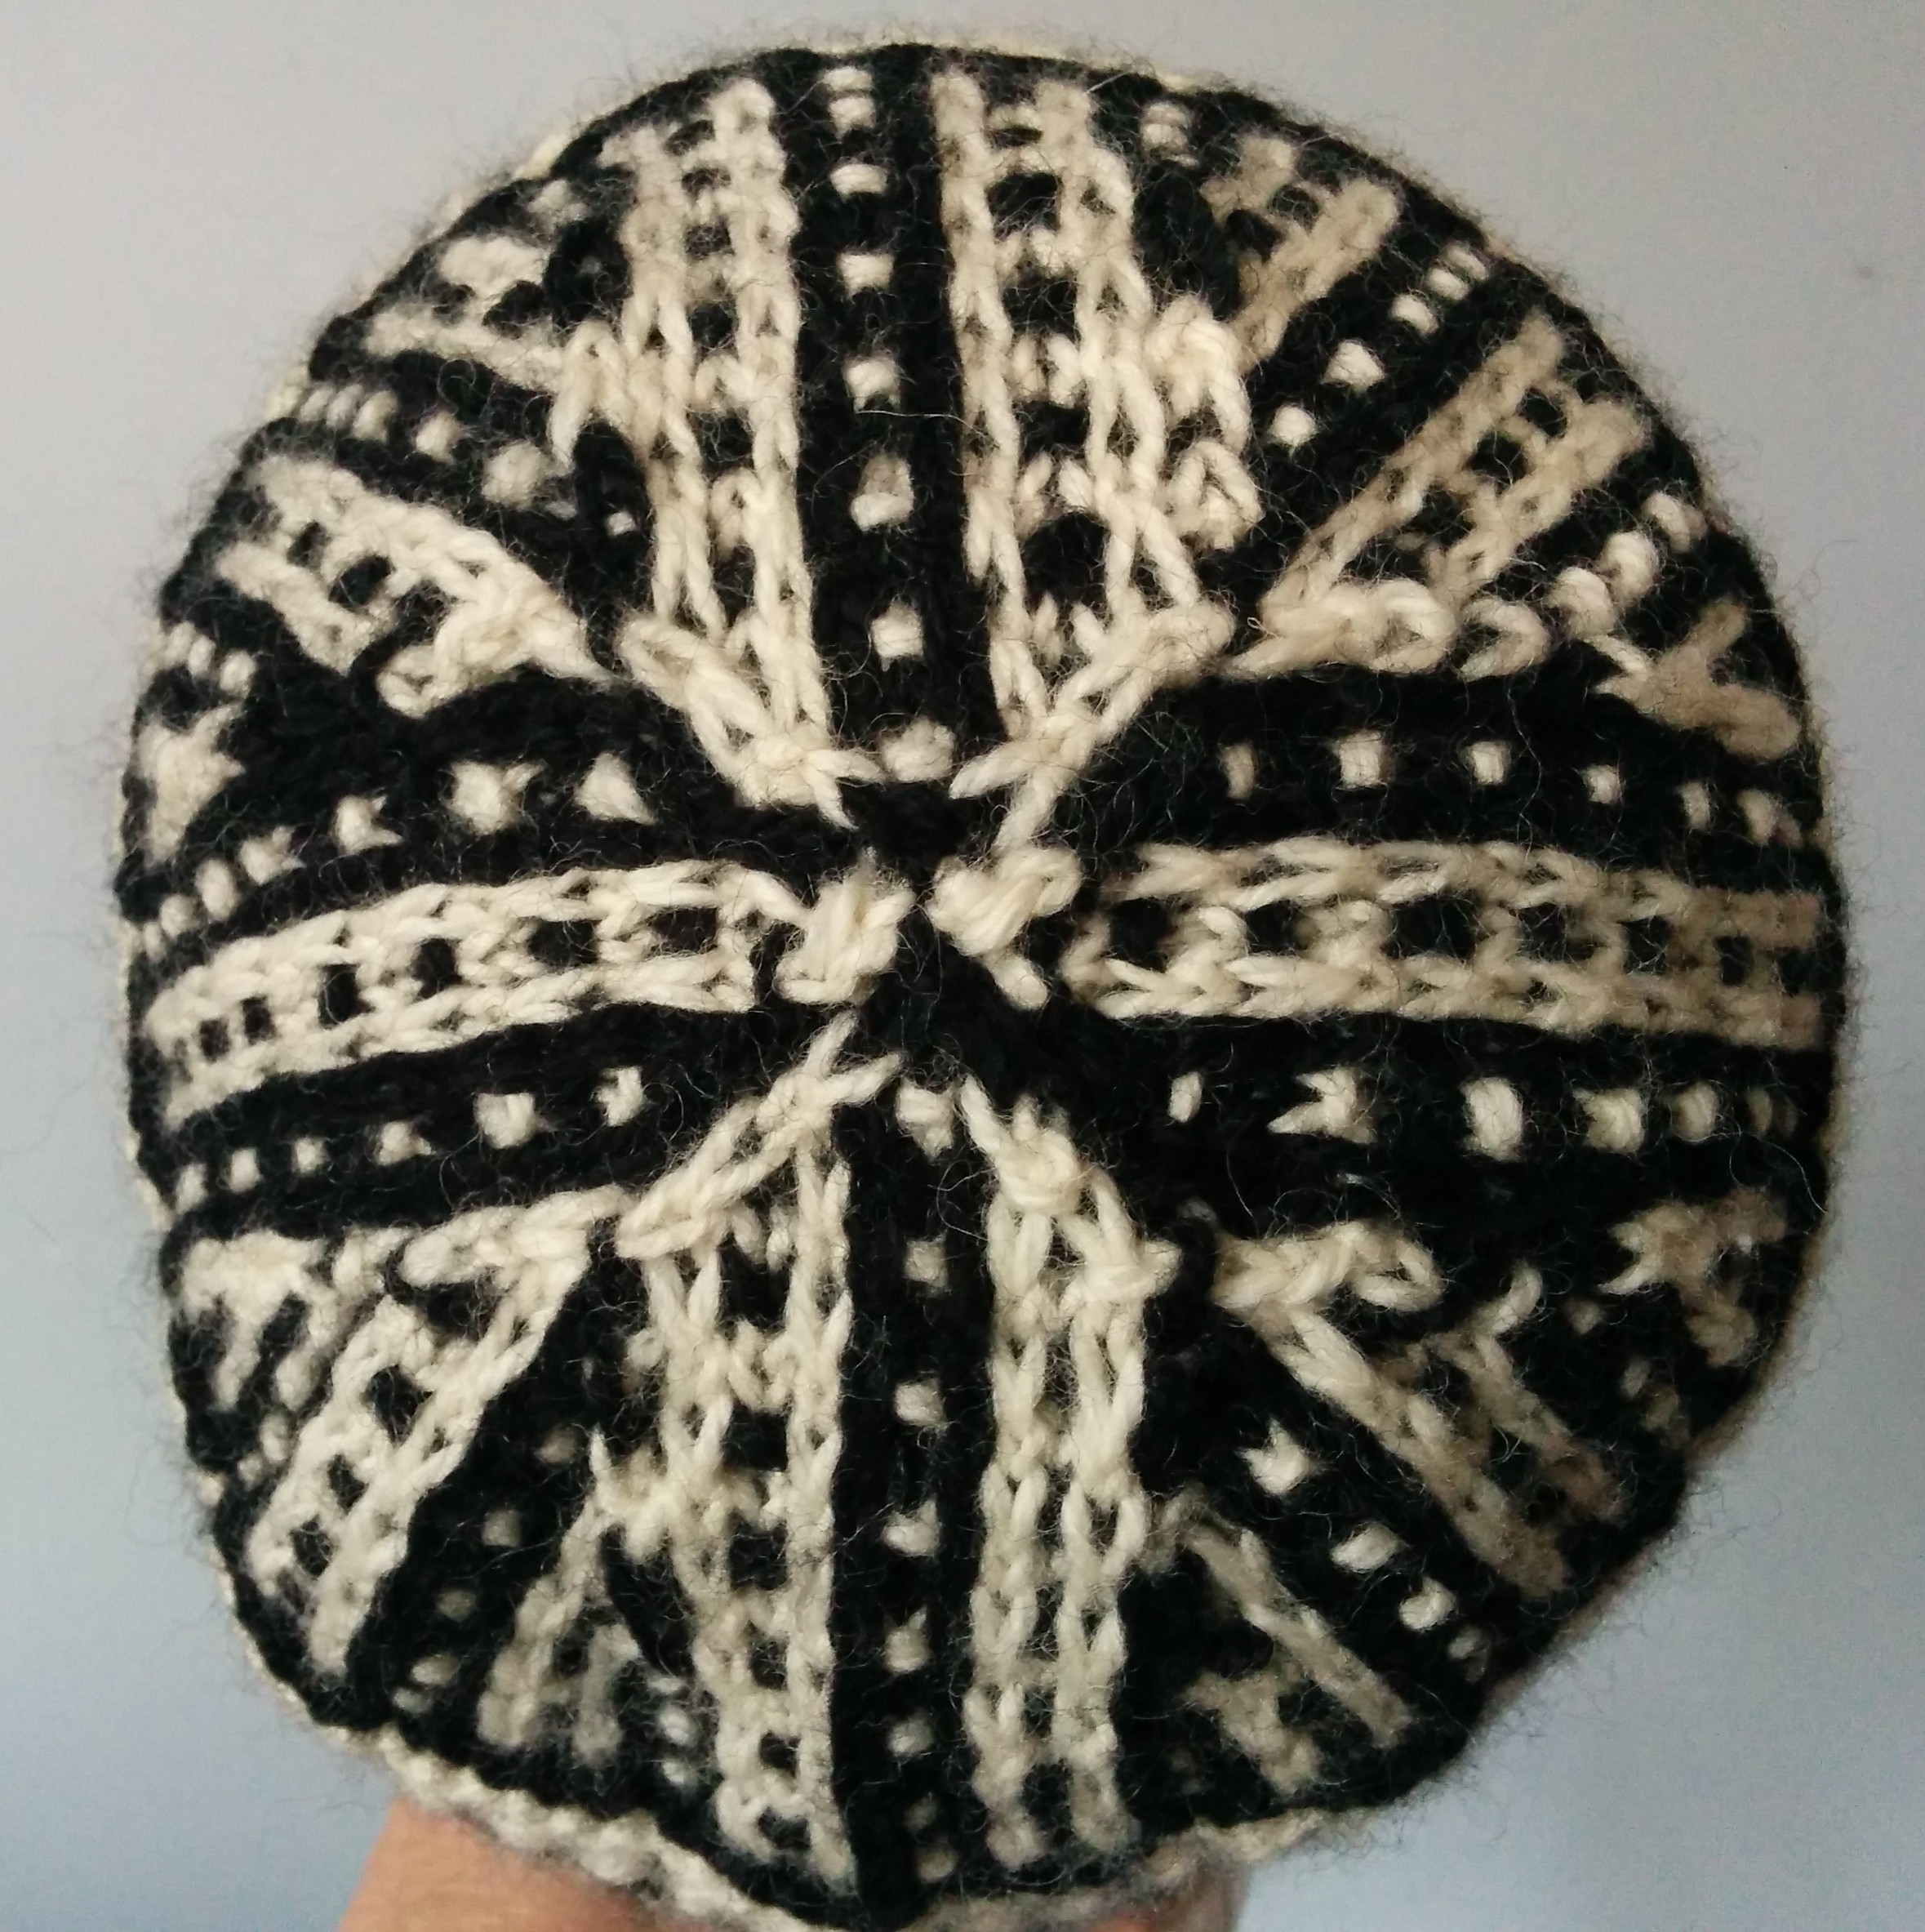
back of second attempt
I also used Mock Wave Cable, pg 115 on the first hat and Figure Eight Twisted Ribbing, pg 43 on the second hat. Back to work today. I am in the mills this week but next week I am joining the cooking unit, a change is a good as a rest as they say. I will miss the guys, but I love new challenges.