Monthly Archives: October 2013

Happy Halloween

Heather's Jack-o-lantern

Heather’s Jack-o-lantern

Alan and Heather got the last pumpkin in the store yesterday.  It was a huge pumpkin for $3.99, but it was a bit moldy inside….can’t have everything and the Jack-o-lantern only has to last a couple of hours anyway.   Heather carved it a dusk and I think it looks great.

A while ago I was saying to Heather that I would like to do a Santa hat nearer to Christmas.  I got ‘MUM, Santa hats are NOT knitted, you might as well make a witches hat too!’.  Of course, this made the idea of a felted witches hat pop into my head.

...before felting

…before felting

I was making the witches hat till the last minute.  It still needs some work to make the brim stay up, and I will decorate it a bit more.  It is, however sort of the right size and shape, so that part is good.  The washing machine ate my tension square.  I made one.  Honest. We looked all through the laundry last weekend and it had disappeared without a trace.  I looked up what people said the shrinkage was for Patons Classic Wool then did the math and went for it.  Here are the before and after pictures.  Included in the picture is another hat that Heather calls ‘Penquin in a Hoop Skirt’.  I should have followed my own advice and ripped it out when I noticed I had put and extra stitch in the ghost’s belly, but the intarsia was causing me grief and I didn’t want to redo it.

Penquin in a Hoop Skirt and the Witches hat

Penquin in a Hoop Skirt and the Witches hat

So, to sum up, a bare pass and an epic fail….

Bernat Truffle fun

One for the red hat ladies (or their grandchildren)

one for the red hat ladies

Sarah wears one for the red hat ladies

...from the back

…from the back

from the top...

from the top…

And one if you’re feeling blue…

Phil sports a hat and scarf

Phil sports a hat and scarf

Not a pumpkin

The whole time I was making this hat Alan (this is him in the hat for those of you who don’t know him) and Heather insisted that it looked nothing like a pumpkin.  The colour was just plain TOO WRONG.  Alan thought it may end up being okay as a hat, and the colour was OK as a colour but it DID NOT LOOK LIKE A PUMPKIN.

not a pumpkin

not a pumpkin

not a pumpkin rear view

not a pumpkin rear view

I actually think it does.  So there.

More fun with novelties

Don't they pull it off!

Don’t they pull it off!

rear view

rear view

I had fun making these hats but I am not sure they are for everyone!  I had long been looking at these novelties but the scarves didn’t really do it for me.  I am not sure if my hats will do it for anyone else.

I was playing with a ball of Bernat Twist and Twirl.  I put it together with some Patons Classic Wool Worsted. My daughter Heather is in the green hat and her cousin Laura Jean is in the white one,

When seemingly innocent design choices go horribly wrong….

I am not in the least averse to ripping out knitting if it is not working. In fact many hats I have done have had way more stitches ripped out than exist in the finished product. If you are not starting with a pretested pattern, things sometimes just don’t pan out. I sometimes have a few false starts before I knit to the finish. I have a philosophy that we are supposed to be knitting for pleasure, therefore the act of knitting itself should be pleasurable, right? Following this to its logical conclusion means that it shouldn’t bother us to rip out
knitting and start again if things are not going well. Even though this technically should be the case, I think sometimes we tend to be goal oriented and finishing the project becomes too important. We start to think about the time investment, etc..

The nice thing about hats is you have almost never wasted more than a few hours of work.  I have found over the years that if things look like they are not working out, doggedly knitting more of the same almost never improves things. Sometimes, however, you get to the very end before it becomes apparent how badly you have gone wrong.  Consider this hat. This is an example of when, what seems (to me anyway) to be a series of perfectly rational design choices, ends up going horribly wrong.

Laura, Jay and Jeremy

Laura, Jay and Jeremy

I was working on a series of work sock based hats (I know, I know it’s been done anyway but my husband Alan wears worksocks every day and I like the colour scheme). ANYWAY, I thought why not end at the top of the hat with an actual sock? Then, because the top of the hat is much bigger around than an actual sock, I thought why not have three heels around and do each one with a different heel turning method making it like a heel turning sampler, then finish with the foot of a sock so that the common foot part is shared by each of the three turned heels?

It wasn’t until I put the ‘toe’ on the sock that the reality of my mistake bit. Unfortunately, no matter how you look at the sock, the foot part seems to always have two very obvious heel parts at the base. And the foot almost always flops. I keep it as a joke, because there was no point in ripping it out at the very end. When my 13 year old nephew Jay (wearing the hat in the picture) put on the hat he said ‘and which side would you like me to wear the ….. on?’.  When Heather first saw it she thought it looked like someone giving you the finger…equally inappropriate, but in a totally different way.

...poor design decisions

…some very poor design decisions

Oh well, back to the drawing board…good thing I enjoy the design process, sometimes right until the bitter end.

Playing with variegated yarn

3 out of our 4 Sarahs

3 out of our 4 Sarahs


top view

top view

I have found that if you play with many variegated yarns you can find the sweet number of stitches to make them separate into their individual colours.  This is a Patons Classic Wool variegated yarn. To get this effect, you have to play a bit.  Cast on the number of stitches you would normally do for your hat.  On your second round, you will see how close or far the colours are from lining up on top of each other.  If they are only one or two stitches out, back up a bit and either increase or decrease a couple of stitches before the beginning of the second round.  If they are way out, you may have to start over again.

As I was knitting, I periodically had to adjust by increasing or decreasing stitches here and there to keep the colours lined up.  I am not sure how successful any of these hats are but as you can see I did three before I gave up.


Mentors I’ve never met…Barbara Walker

Why knit plain when a pattern stitch will do?

Ist treasury pg 117

A Treasury of Knitting Patterns,  pg 117

A 2nd Treasury, pg 56

A 2nd Treasury of Knitting Patterns, pg 56

wheatsheaves

(slightly modified from) A 2nd Treasury of Knitting Patterns, pg 138

This is the first of a few posts I plan to write about the women who have influenced me most as a knitter,  I think first and foremost it would have to be Barbara G. Walker.  For those of you who are unfamiliar with her she wrote, among other things, the 1st, 2nd, 3rd and 4th Treasuries of Knitting Patterns.  All these books are (deservedly)  still in print even though the first treasury was originally published in 1968.  I bought my first copy of A Treasury of Knitting Patterns back in the 70’s.  It is now in two pieces and quite dogeared.  Even though it is thankfully made with sewn signatures, so will not drift apart page by page, I have purchased a pristine backup copy that stays on the bookshelf JUST IN CASE.   I rarely start a hat without opening at least one of her books, and when nothing is coming to me, I browse through her books and find a pattern stitch to jump off from.  I long ago gave up tagging designs to use in the future…I always had too many bits of paper in the books, and when I went to the page I couldn’t decide which of the stitches the tag was for anyway…

The 3rd treasury is also called Charted Knitting Designs. If you are an avid knitter, even if you are not familiar with the book, you are familiar with her concept of charted designs. The great thing for me about using this book, when I do, is that I don’t have to chart out the designs myself.  When I use the 1st and 2nd treasuries, I always have to translate either into charting or in my head so that I can knit the pattern stitch in the round.  The instructions in the first two treasuries are for knitting back and forth on straight needles.

I am sure it will take me the rest of my life to plumb the depths of these books.  Thank you Ms. Walker for writing them.

the halloween hats – bats

side view

side view

top view

top view

This is the third in the series I made last week for Halloween.  My nephew Jay was very impressed when I started it in the evening and had it finished when he got up.  And no, I didn’t stay up all night.  It is just that it is pretty much straight knitting with a few rows of ribbing and a few rows of colour work, so it only took a few hours.  If you haven’t taught yourself how to hold one colour in each hand to do colour work, I would highly recommend figuring that out.  Here is a silent video that shows it.  Lucky you guys, I had to figure it out for myself (decades ago pre internet)!

I did a spiral on the top because there was nothing else I really wanted to ‘say’ for the top of the hat.  I think a spiral is a nice, simple ending that looks good without any topper, so it can be used on any hat to end quickly and simply,  I chose to do a 6 arm spiral because there were three bats, so the spiral arms start above the heads of each bat and above the spaces between the bats.

It is easy to figure out how make your spiral.  It is a series of decrease rows separated by single rows of plain knitting. To figure out where to put the decreases, you count the number of stitches you have and divide by the number of arms in the spiral.  If it is an even number then you don’t need a set up row.  For instance, if you have 102 stitches and you want to do a 6 arm spiral, 6 x 17=102 and you need no set up row. The decrease pattern for this would be k15, k2tog around, k one row, k14, k2tog around, k one row.., etc,, so you are losing every 17th stitch around, then every 16th, etc.  After the row that is just k2tog all round, you cut the end, thread through your stitches and draw it together.  (n.b. make sure the leftmost of the two stitches you knit together is the same one that was the leftmost in the decrease below so they line up).  If, on the other hand, you have 105 stitches, you will need a setup row to get rid of 3 stitches first.  the set up row in this case would be k16, k2tog three times, then knit plain to the end of the round (effectively starting 3 of the arms one decrease early to get rid of your 3 extra stitches).  Knit one round plain before starting the actual spiral or you will have a jog in the end of your arms.

I usually use 5, 6, or 7 arm spirals.  A five arm spiral has a rounder top, and a 7 arm spiral, being more aggressive in the decreasing, will have a flatter top, ending the hat more quickly.

the halloween hats – cats with spiderweb

Side view

Side view

This is the second of my Halloween hats.  I was thinking about Halloween icons after the skull hat and I decided on the black cats.  We actually own three cats and two of them, Domino and Shadow, are both pure black.  I am not sure the cats on this hat are all that great but it is really hard sometimes to pixelate a picture well when you are trying to work with only a few rows and stitches to fit into the hat correctly. Luckily enough we have all been trained over the years to recognize some iconic pictures so I am sure everyone knows they are black cats anyway.

top view

top view

I felt that the hat needed some black near the top to balance all the black at the bottom, so I made the top into a spiderweb as I decreased. I also crocheted a spider and sewed her on the side.

Technique: I-cord rose (aka go big or go home)

One row of petals in each of two colours

Alternate between two colours as you make the petals

First row green, 3 rows pink

First row green, 3 rows pink

Alternate rows within the petals in each of two colours

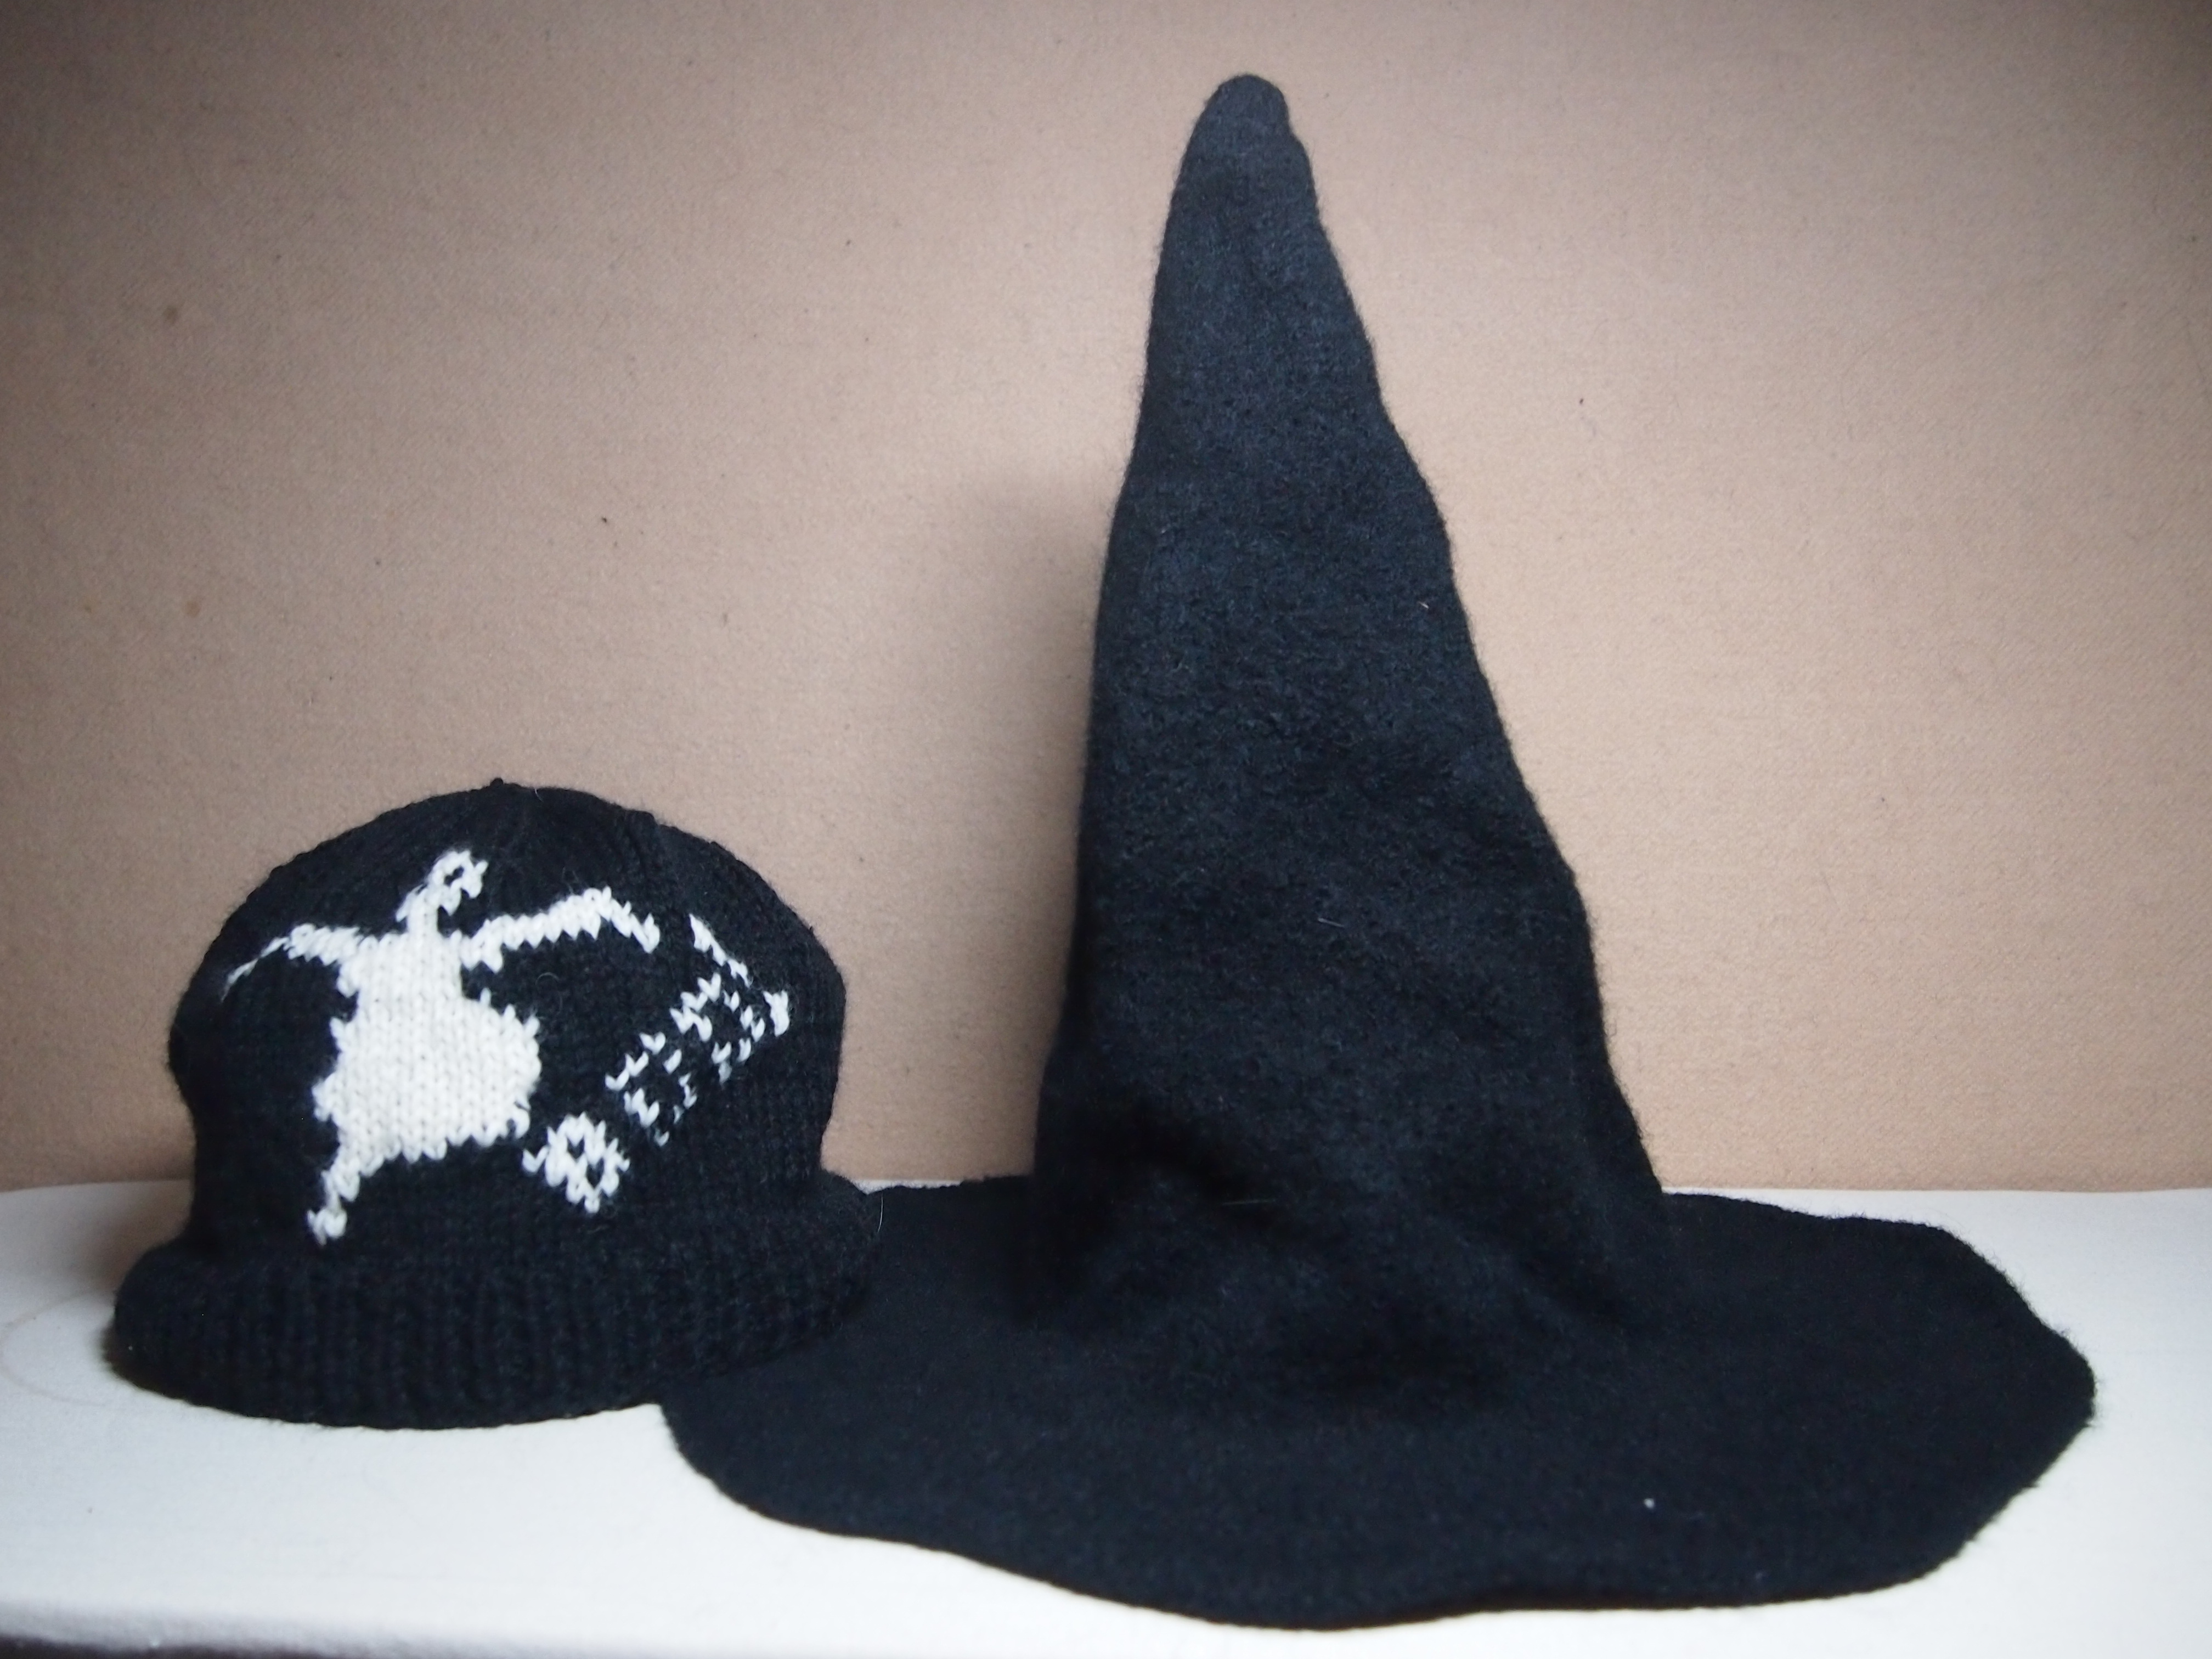
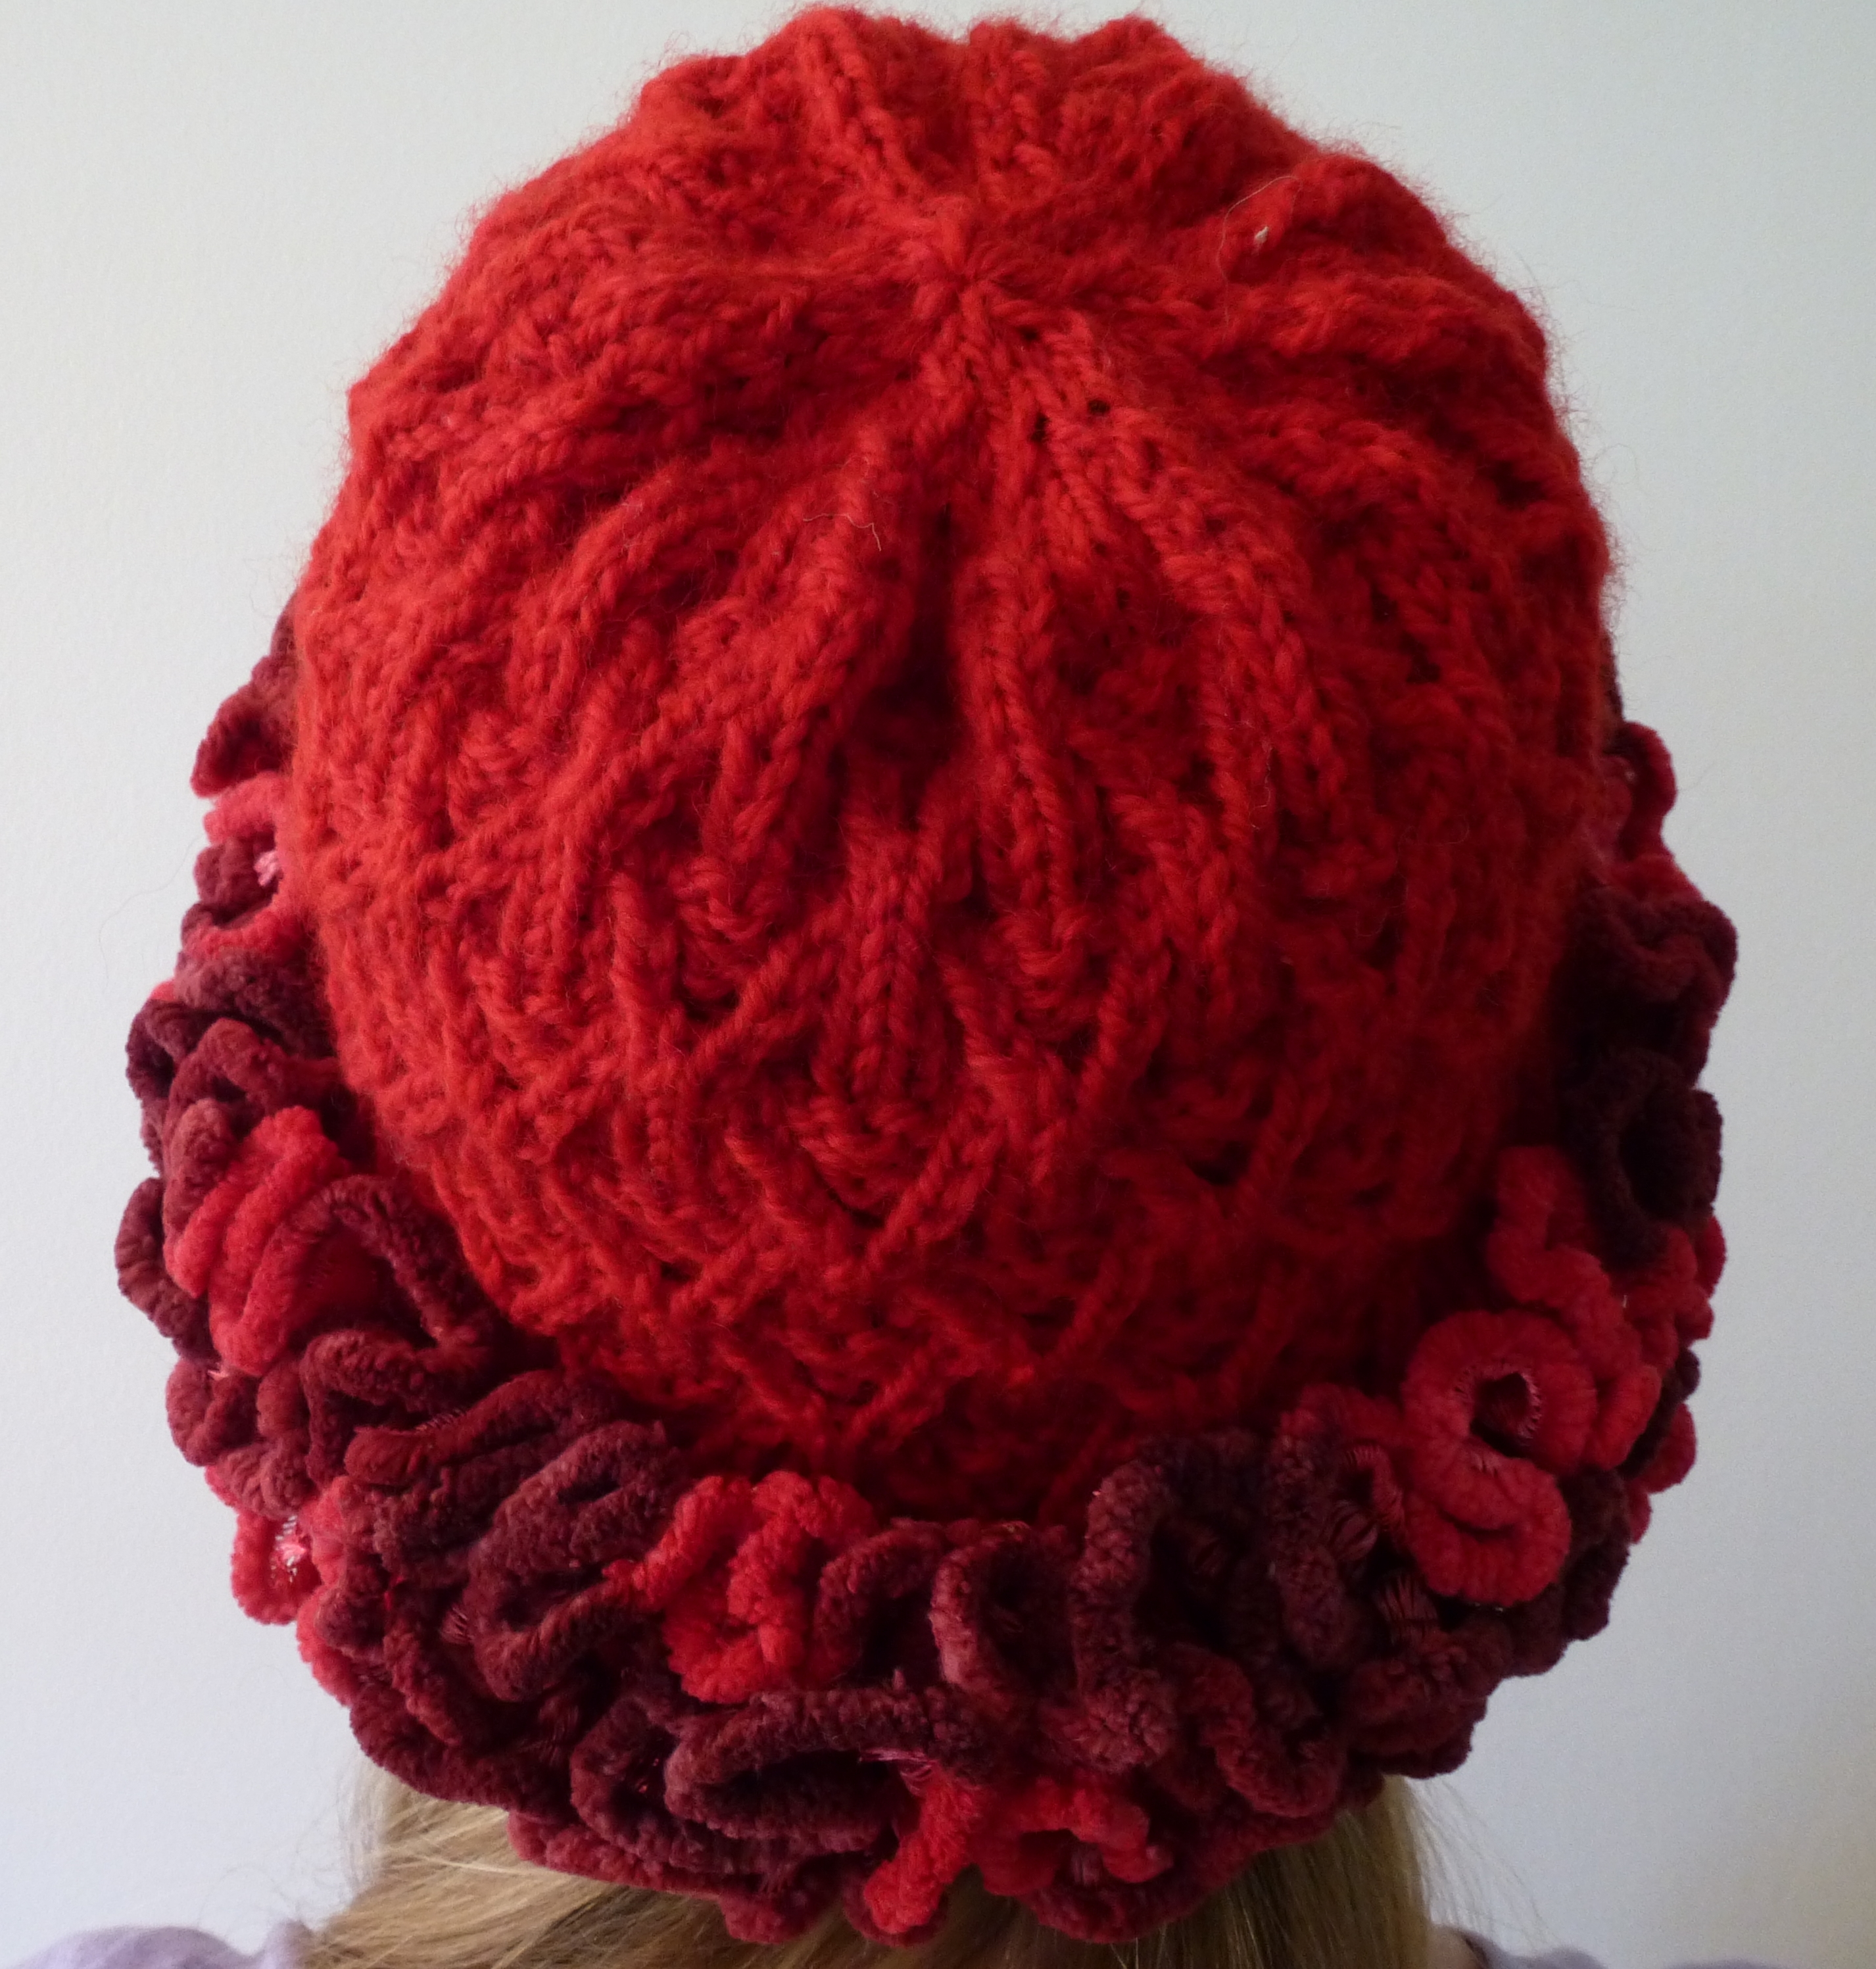
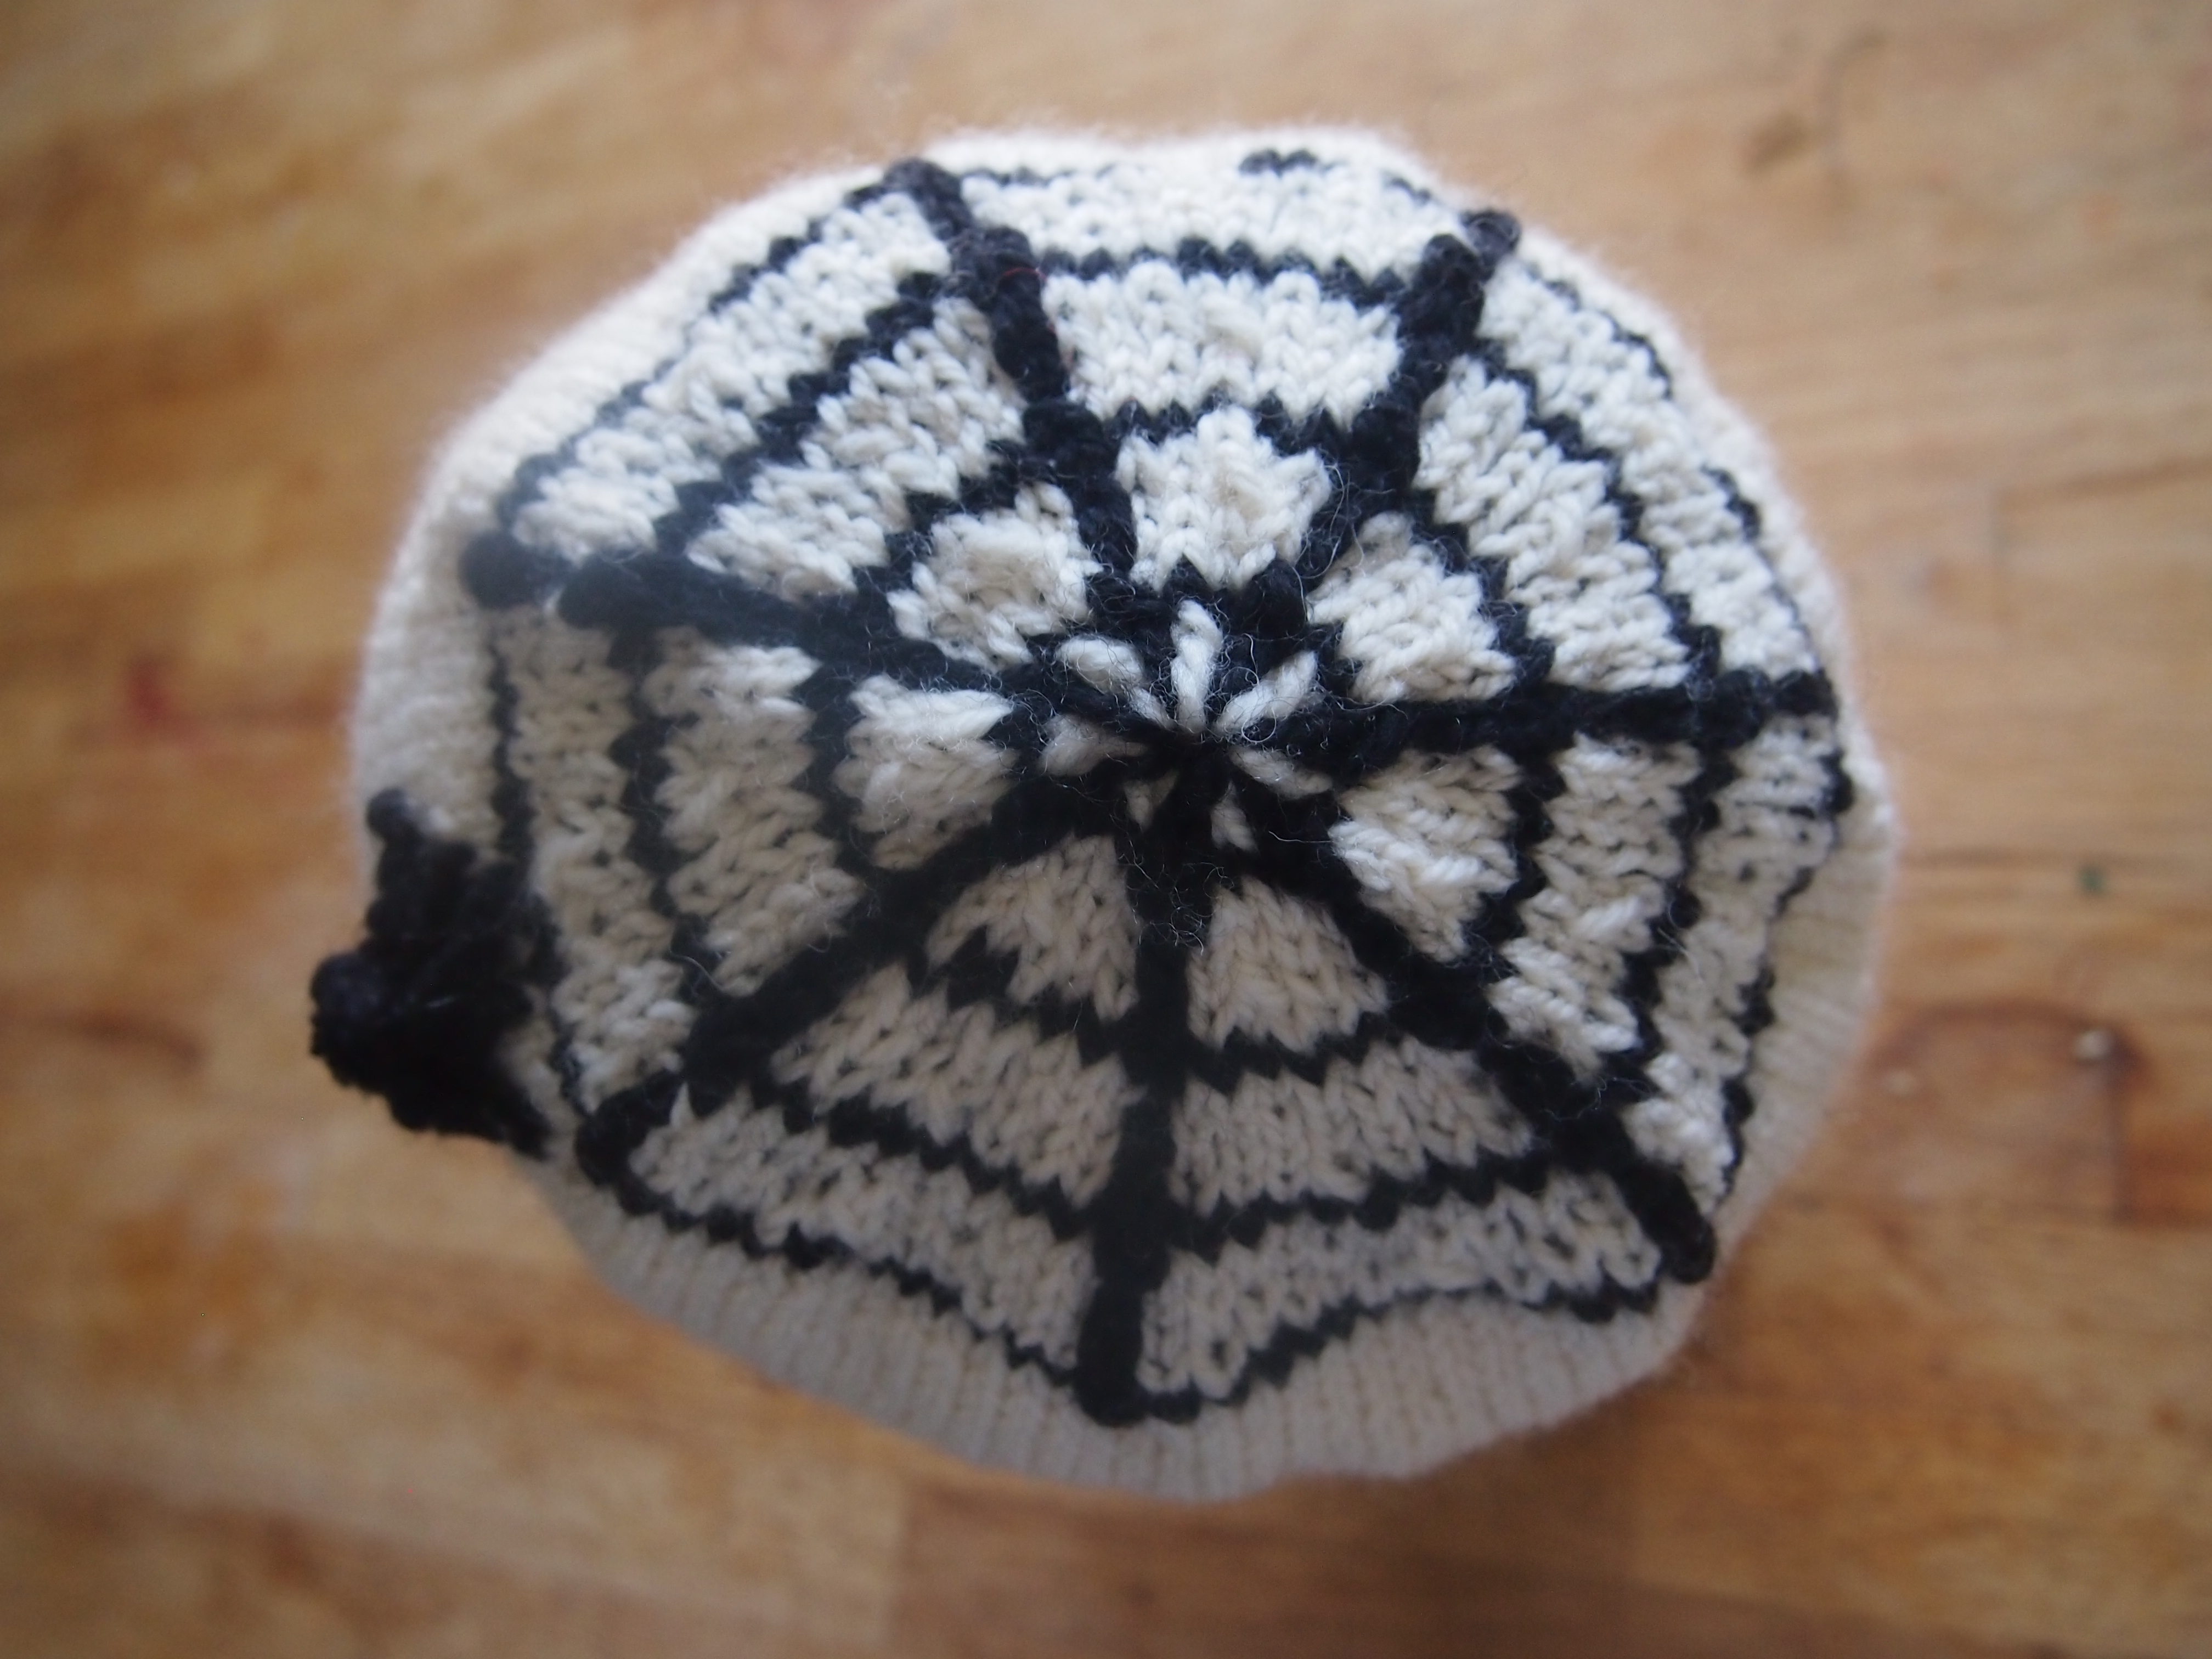
When I started designing my own hats 7 years ago, I played around with i-cord toppers.  Last year when I started designing hats again, I first made what is now the first round of a rose.  I asked my daughter Heather if there was enough loops and she said “go big or go home, mum”.  I kept going for two more rounds, then corralled the whole thing.  I was very pleased with the result and I have used it on many hats.  I have played around with it a lot as you can see.  Many people have said they liked the effect.

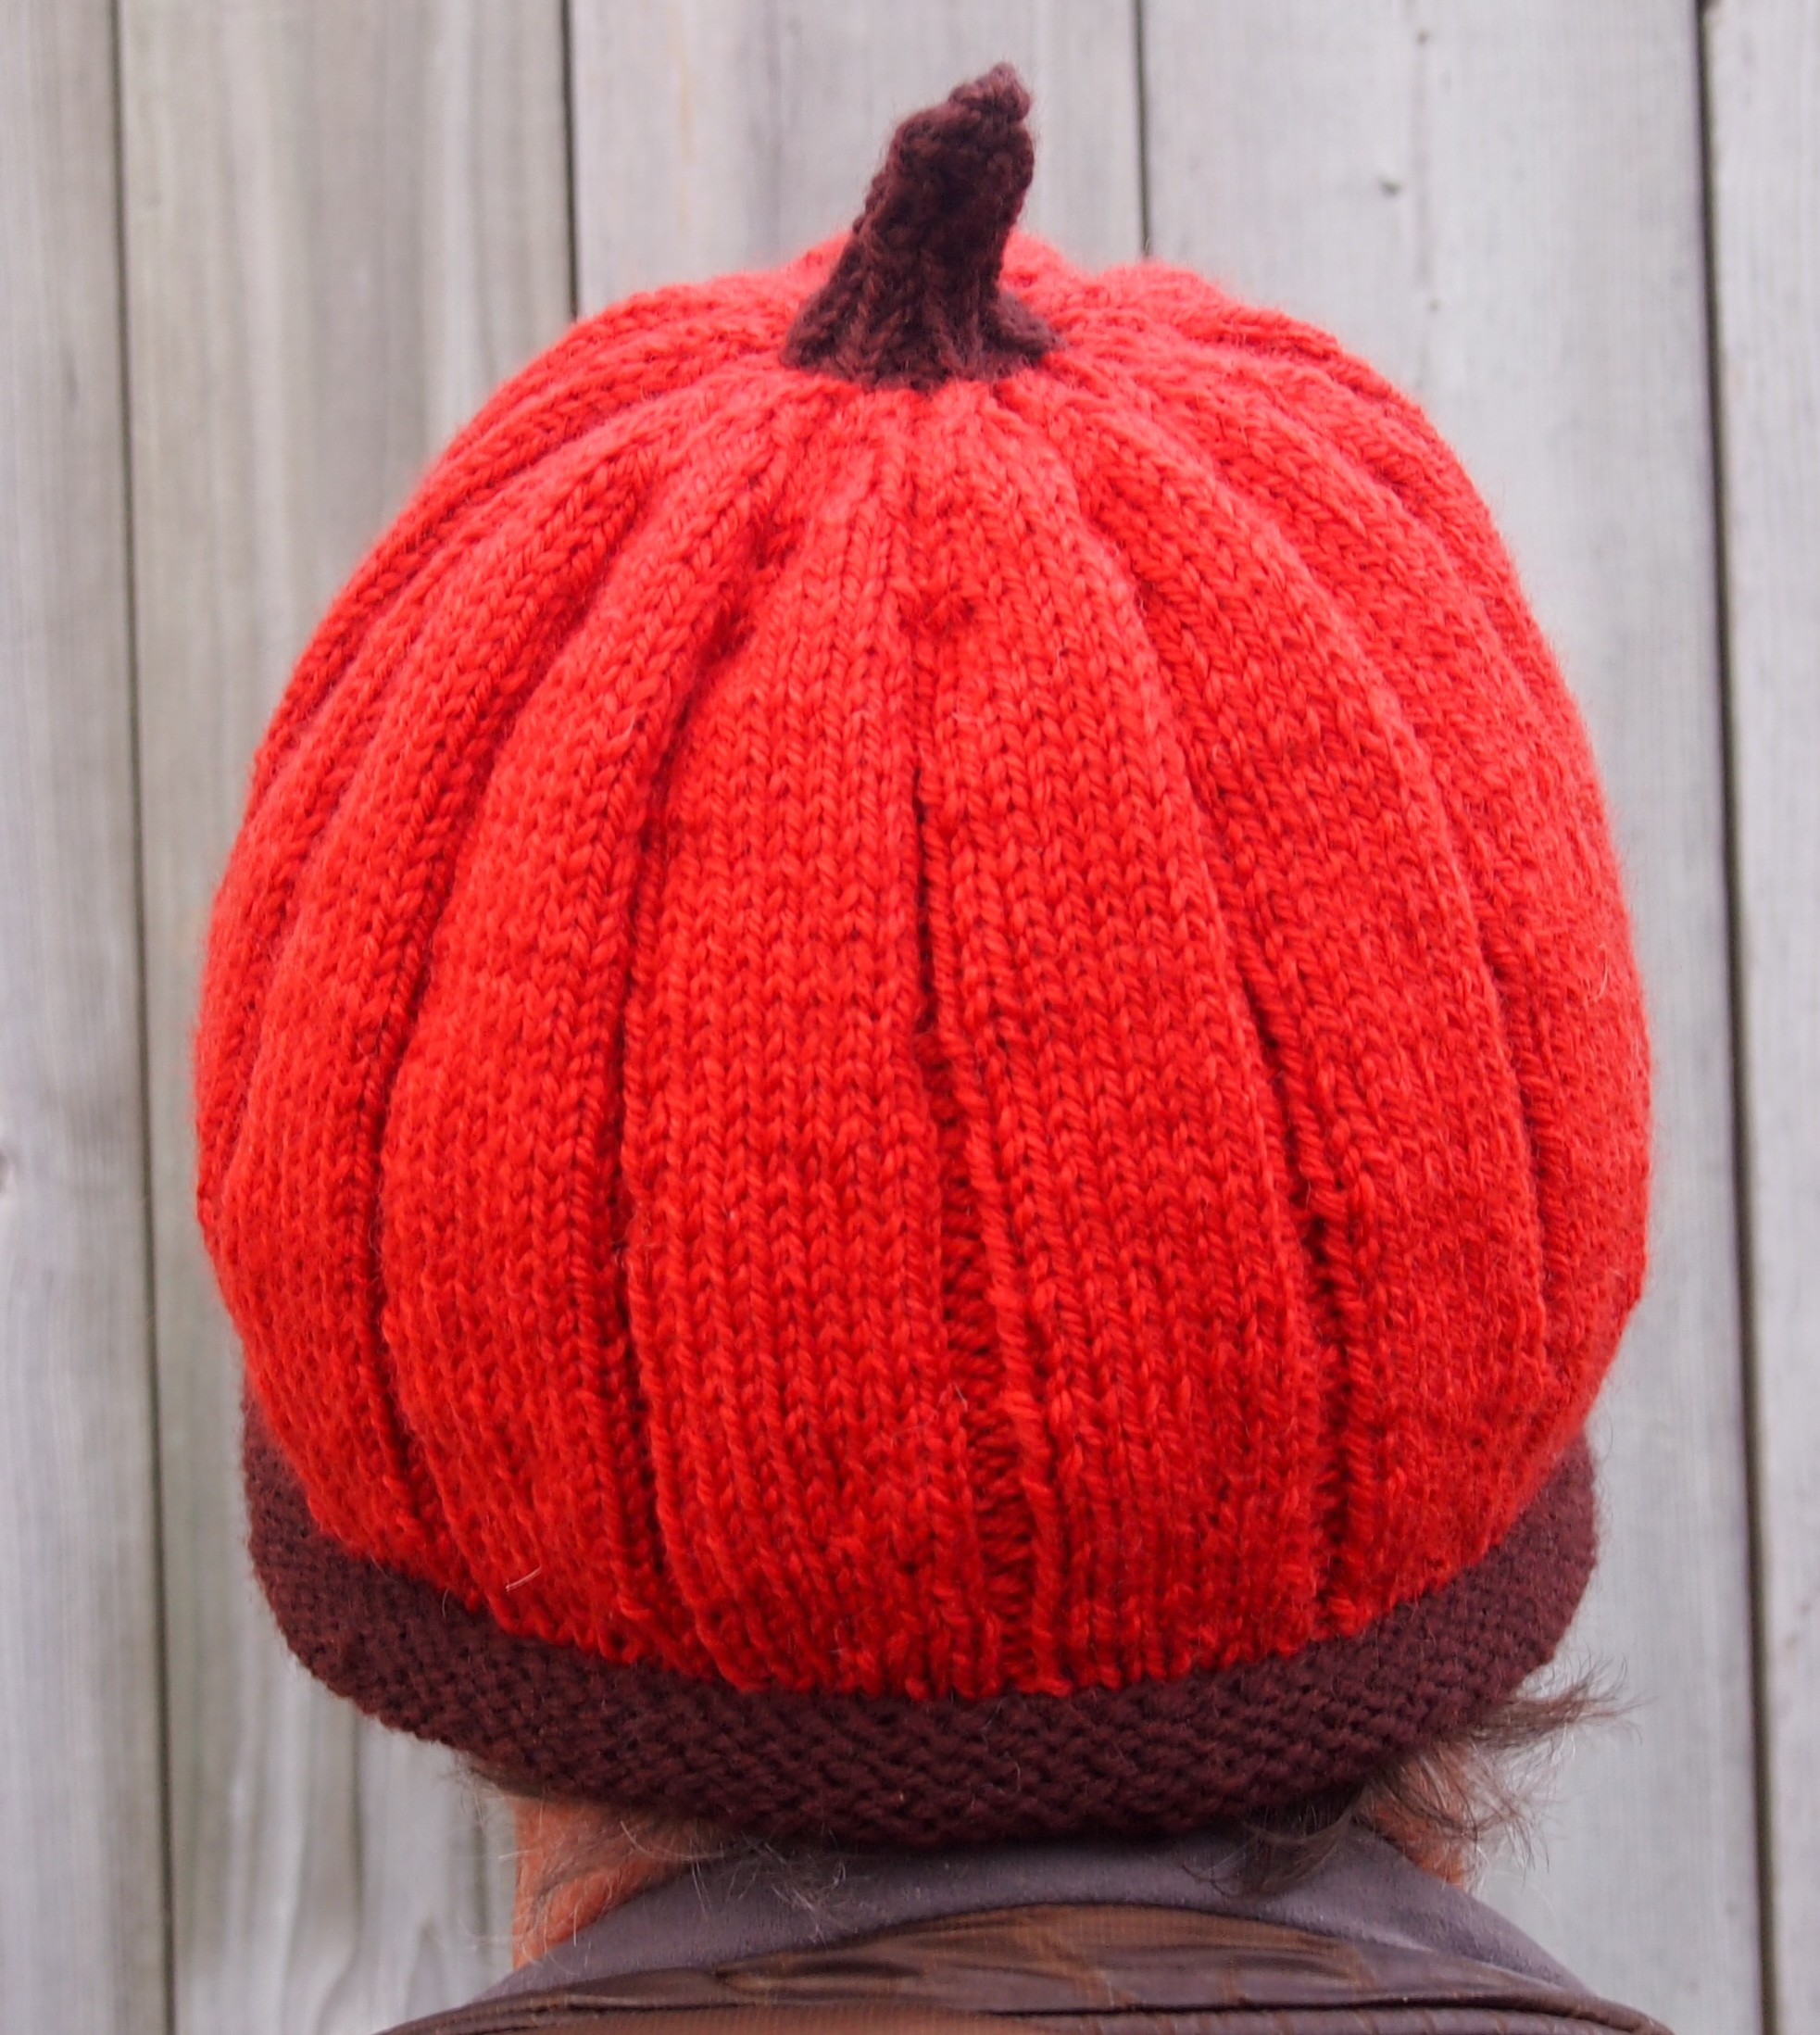
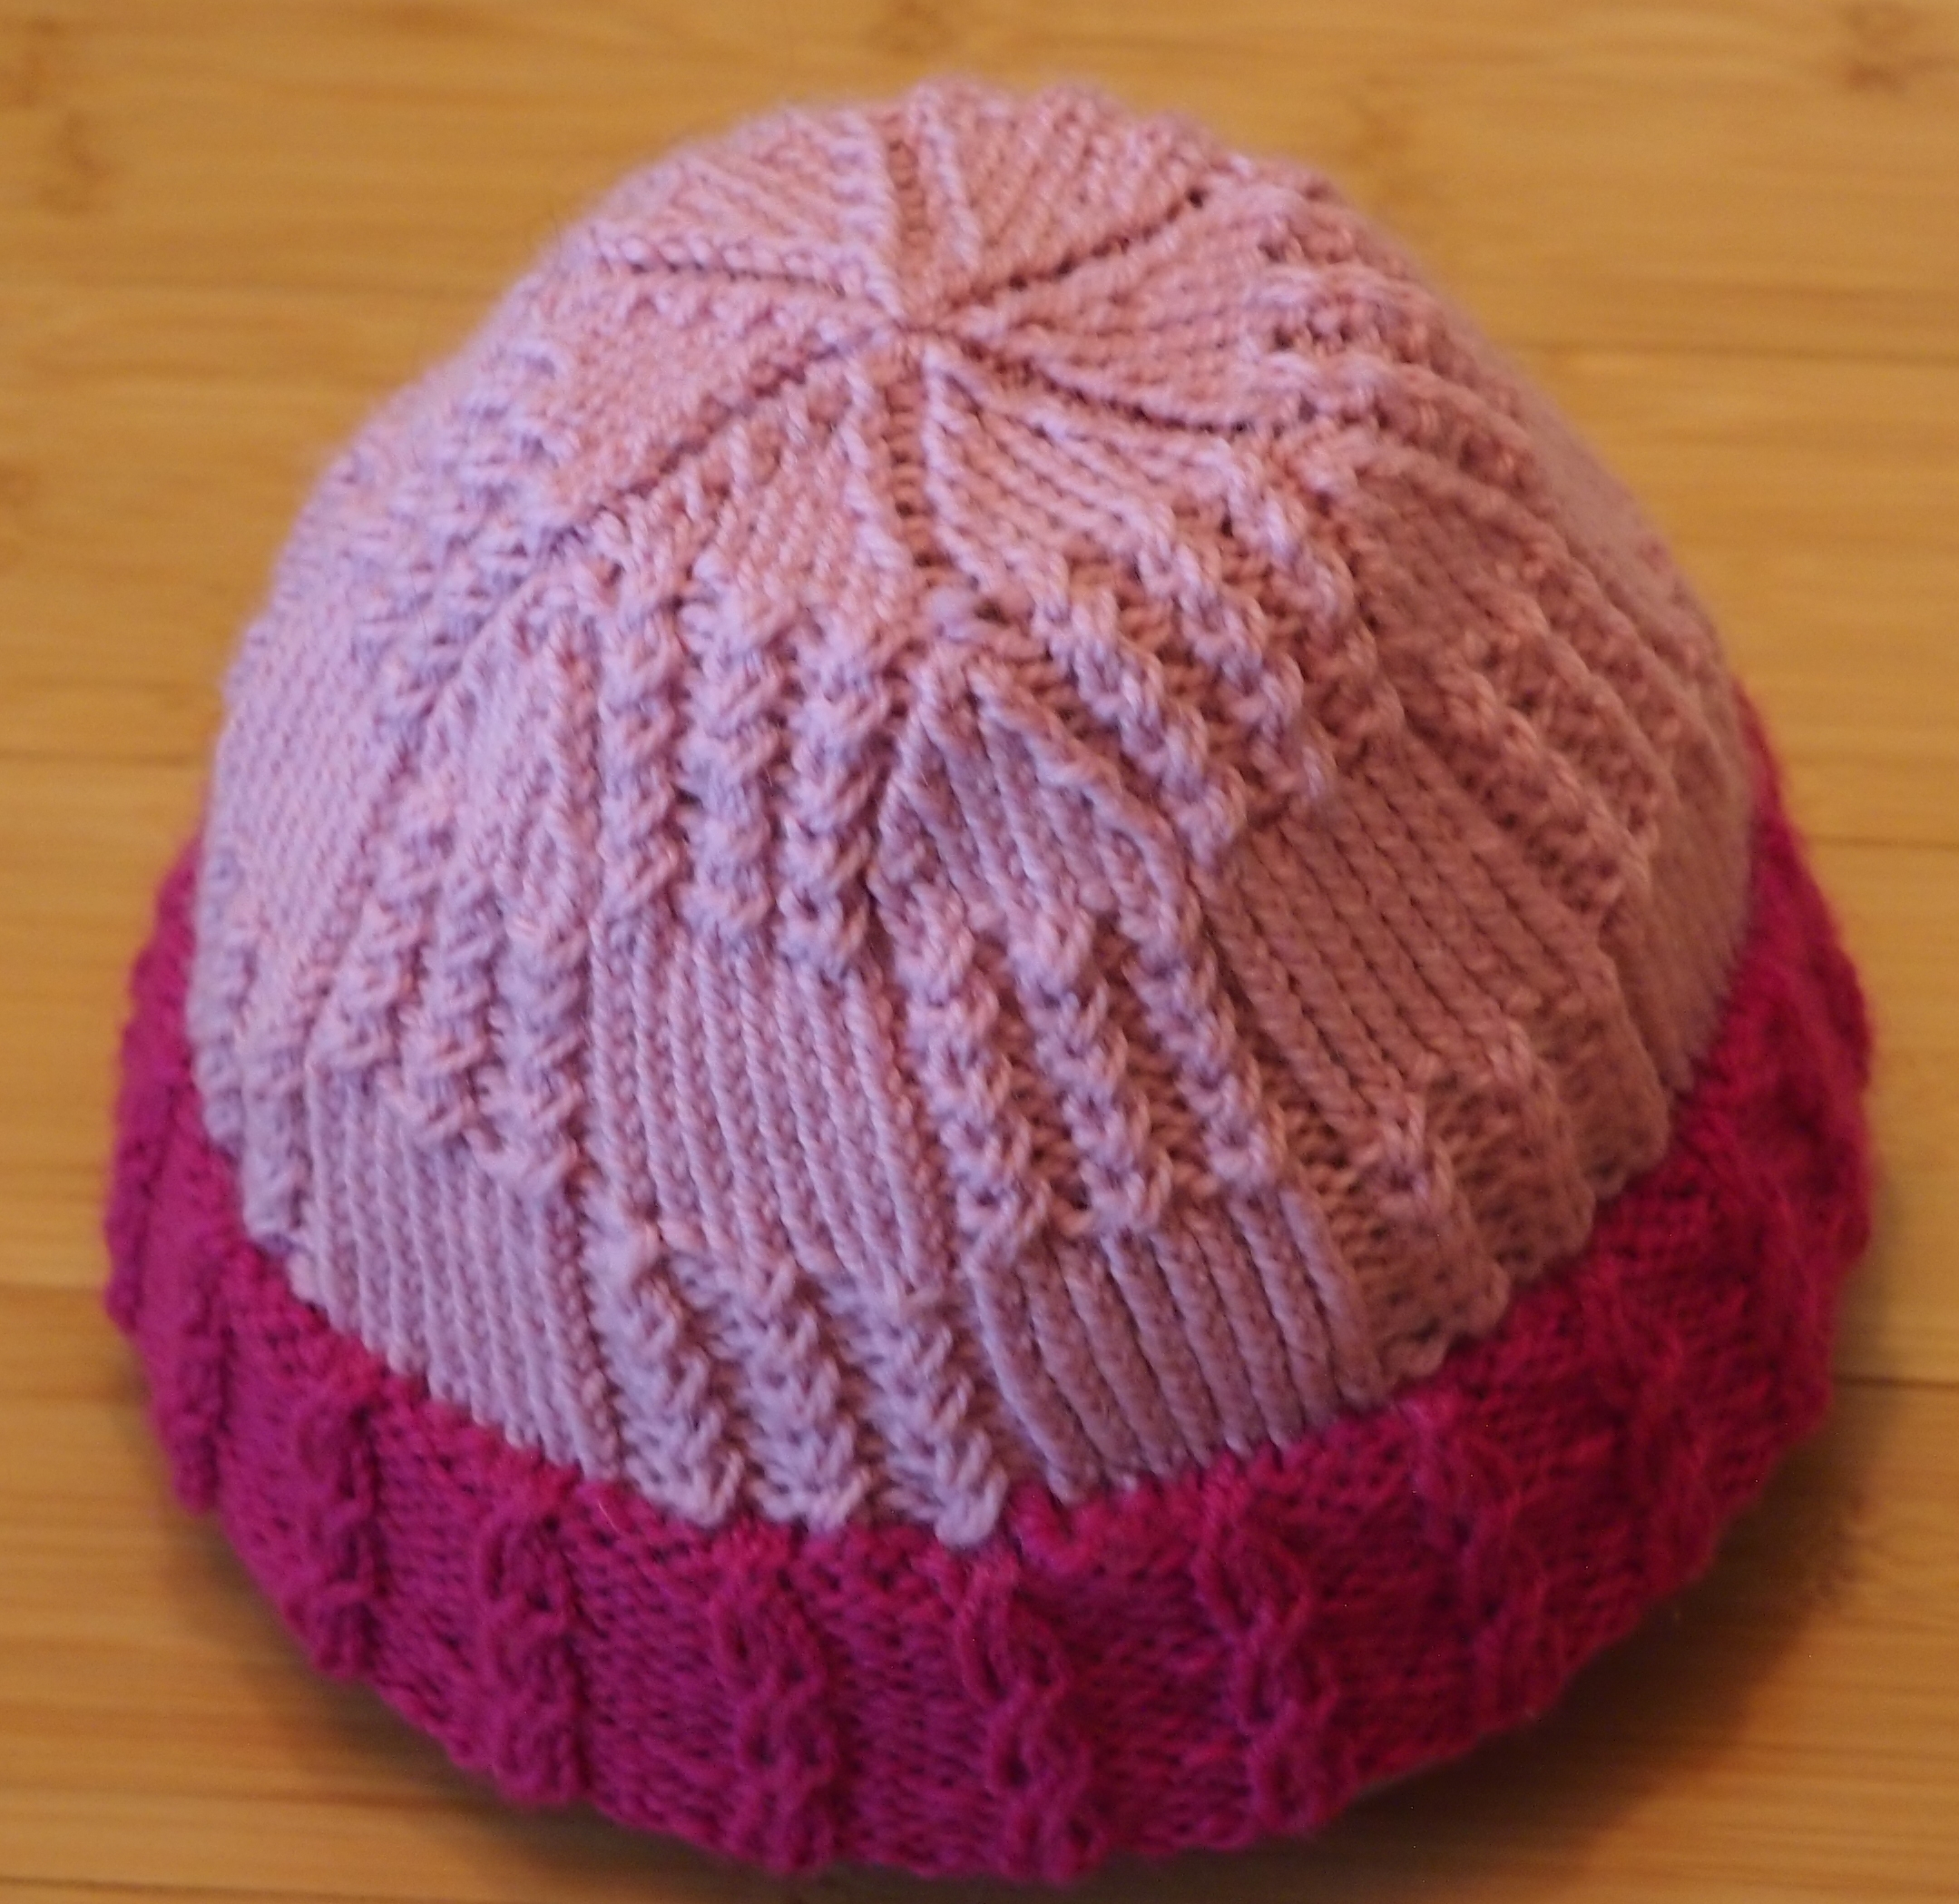
It is quite versatile and can have many different looks depending on the hat.  I have shown a few here,  I have also used variegated wool to good effect (see below).  You can also see another variation on the ‘elegant fireworks’ hat from yesterday’s post.  On that hat I did one row of petals in each of the three novelty yarn colours.

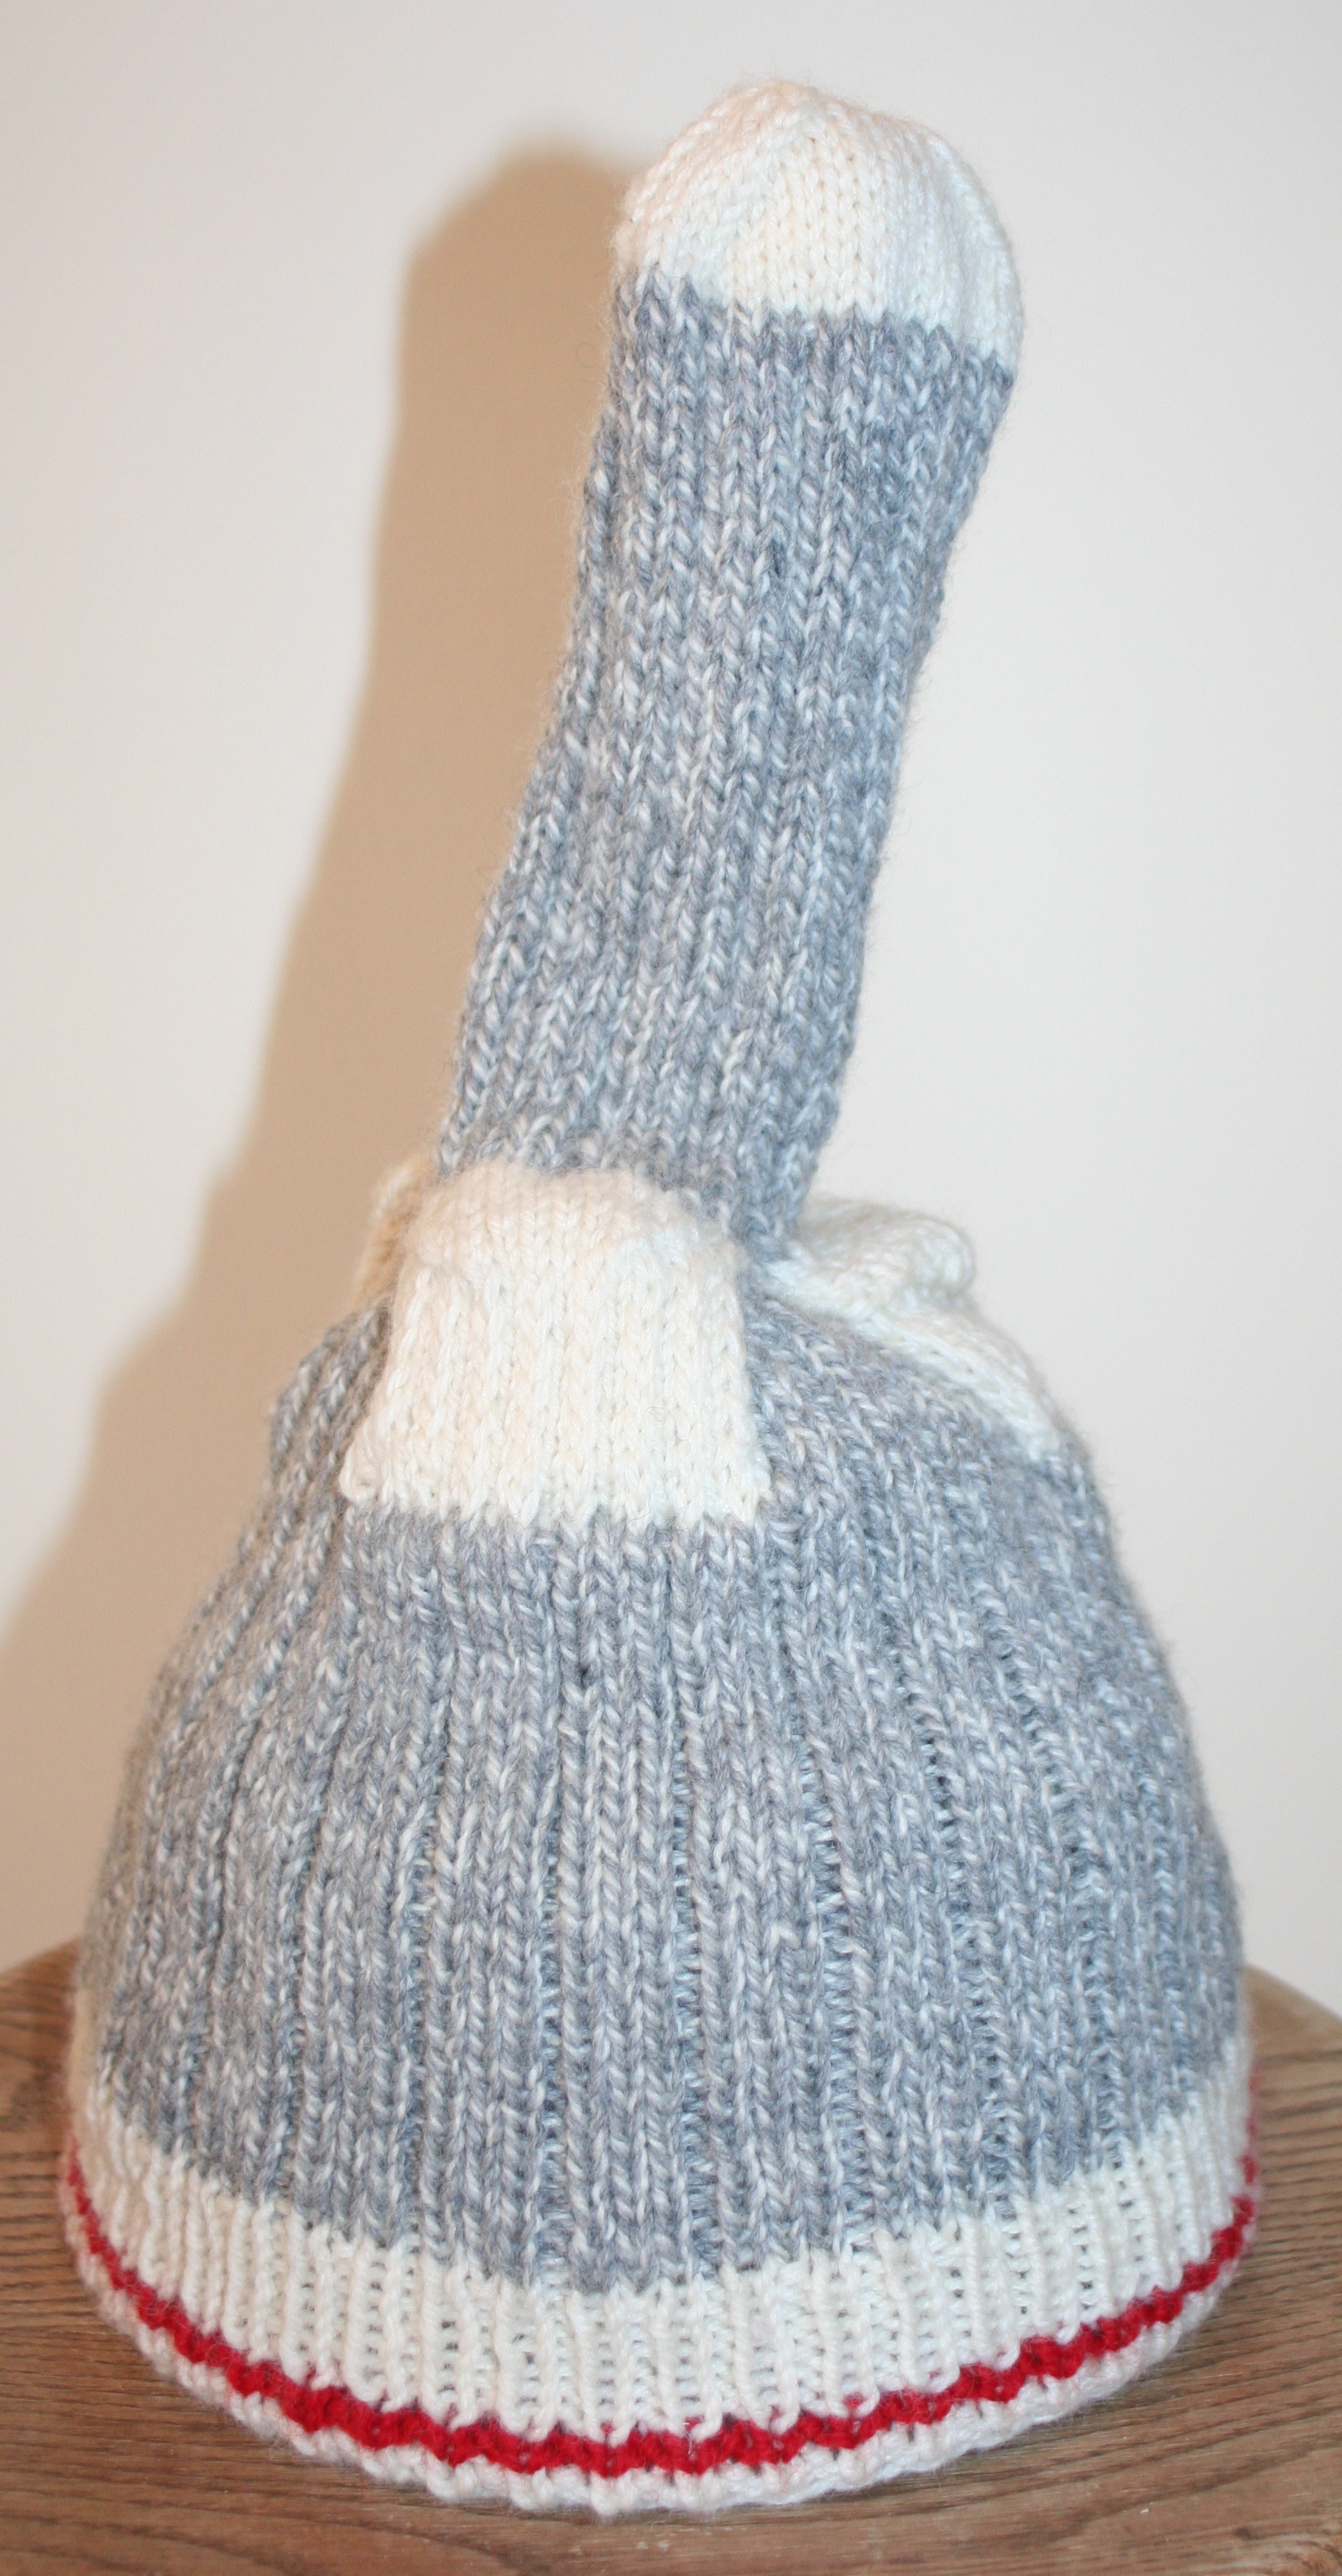
The three stitch i-cord rose replaces the traditional pompom on a hat. It can be used to cover up a bad ending to a hat, when the top just doesn’t look quite right, or to bring back a colour used lower down in the hat.  It is a bit more work, but to me it makes a hat look much more finished than a regular pompom.

Technique:

1.  End the hat with 15 live stitches in the last round.  You may have to fudge the last round by either not decreasing as many, or decreasing a few more stitches than you should to get to the magic 15.  Not to worry, the last couple of rounds are hidden under the rose anyway.

2.  Make an i-cord with the first 3 live stitches. Distribute the remaining 12 on your other two needles. Knit the i-cord for 15 rows, then for row 16 slip one, knit 2 together and pass the slipped stitch over so you have only one stitch left.

begin second petal

begin second petal

3.  Use this stitch and pick up the next two live stitches from your spare needles.  This action both finishes the first petal and starts the next one.  Make 15 rows again, reduce to one stitch, then take up the next two stitches, etc.  Repeat until all the stitches are used and you have 7 petals around.  Join the last petal in beside the first one with a slip stitch.

finish row 1

finish row 1

4.  Slip stitch over to the middle of the first petal then pick up 2 more stitches at the base of the first petal and use these three stitches to make an i-cord.  Join into the base of each petal from the previous row to make 7 petals for the second row, To make a third row, you join the petals to the point where a pair of petals from Row 1 meet.  This way you have three staggered rows on top of each other.

5.  When the third row is complete, cut your yarn with a 10″ tail and thread it onto a darning needle.  Make a series of running stitches twice around the base of the rose and tighten up (see below).

begin row 2

begin row 2

finish row 3

finish row 3

make running stitchesmake running stitches

finished rose

finished rose