Category Archives: sculptural

An ode to Stan Wawrinka’s shirt

2015 Australian Open - Day 2

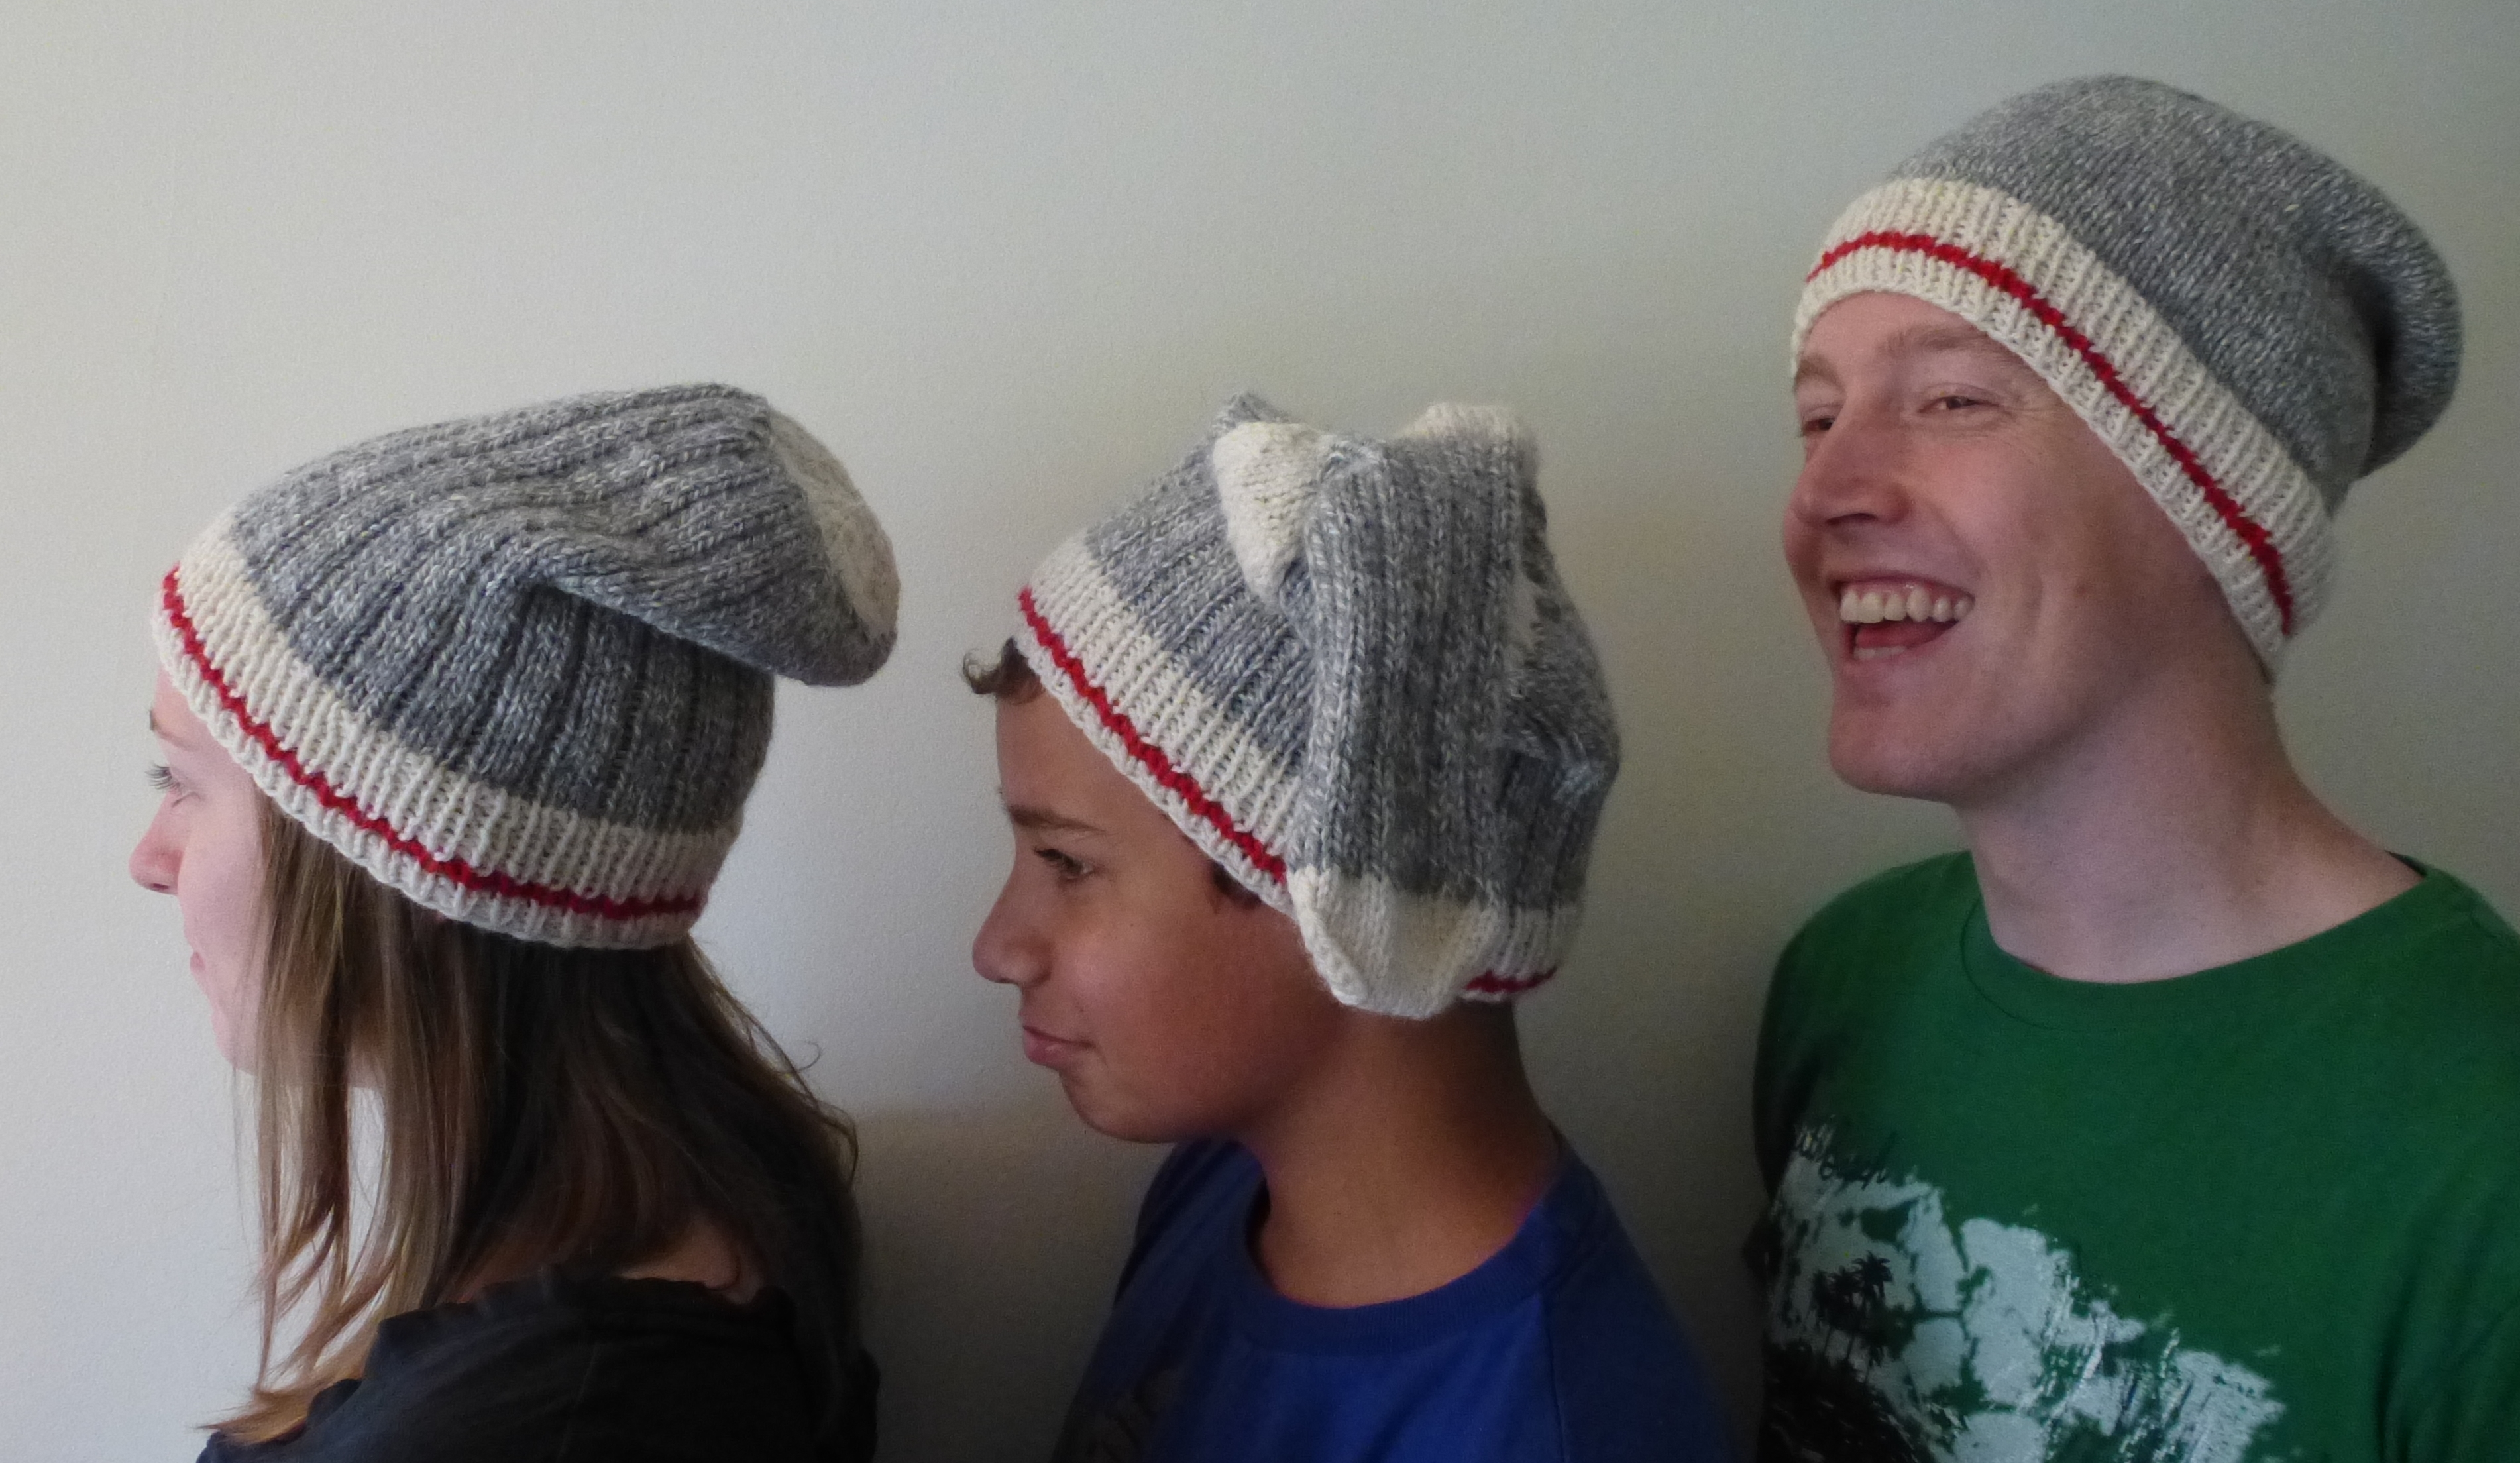
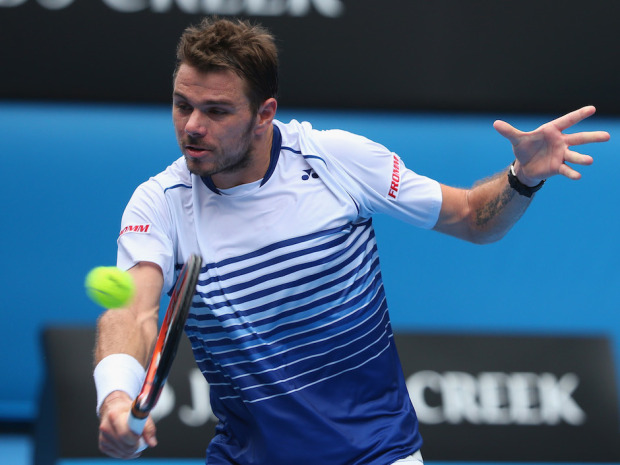
A while ago I was watching the Australian Open tennis and there was a match between Stan Wawrinka and Novak Djokovik. The courts were blue, and both men were wearing blue shirts, a symphony of blue. Being big on colour, I loved the look of the whole thing, but was especially captivated by Stan Wawrinka’s shirt. As you can see, it is deep blue at the bottom, transitions through a light blue in the middle, and into white at the top. Since that day, three of the hats I have made have been trying to capture the feeling of this colour shift.
gillianknits.com
gillianknits.com

ribbing folded under

ribbing folded under

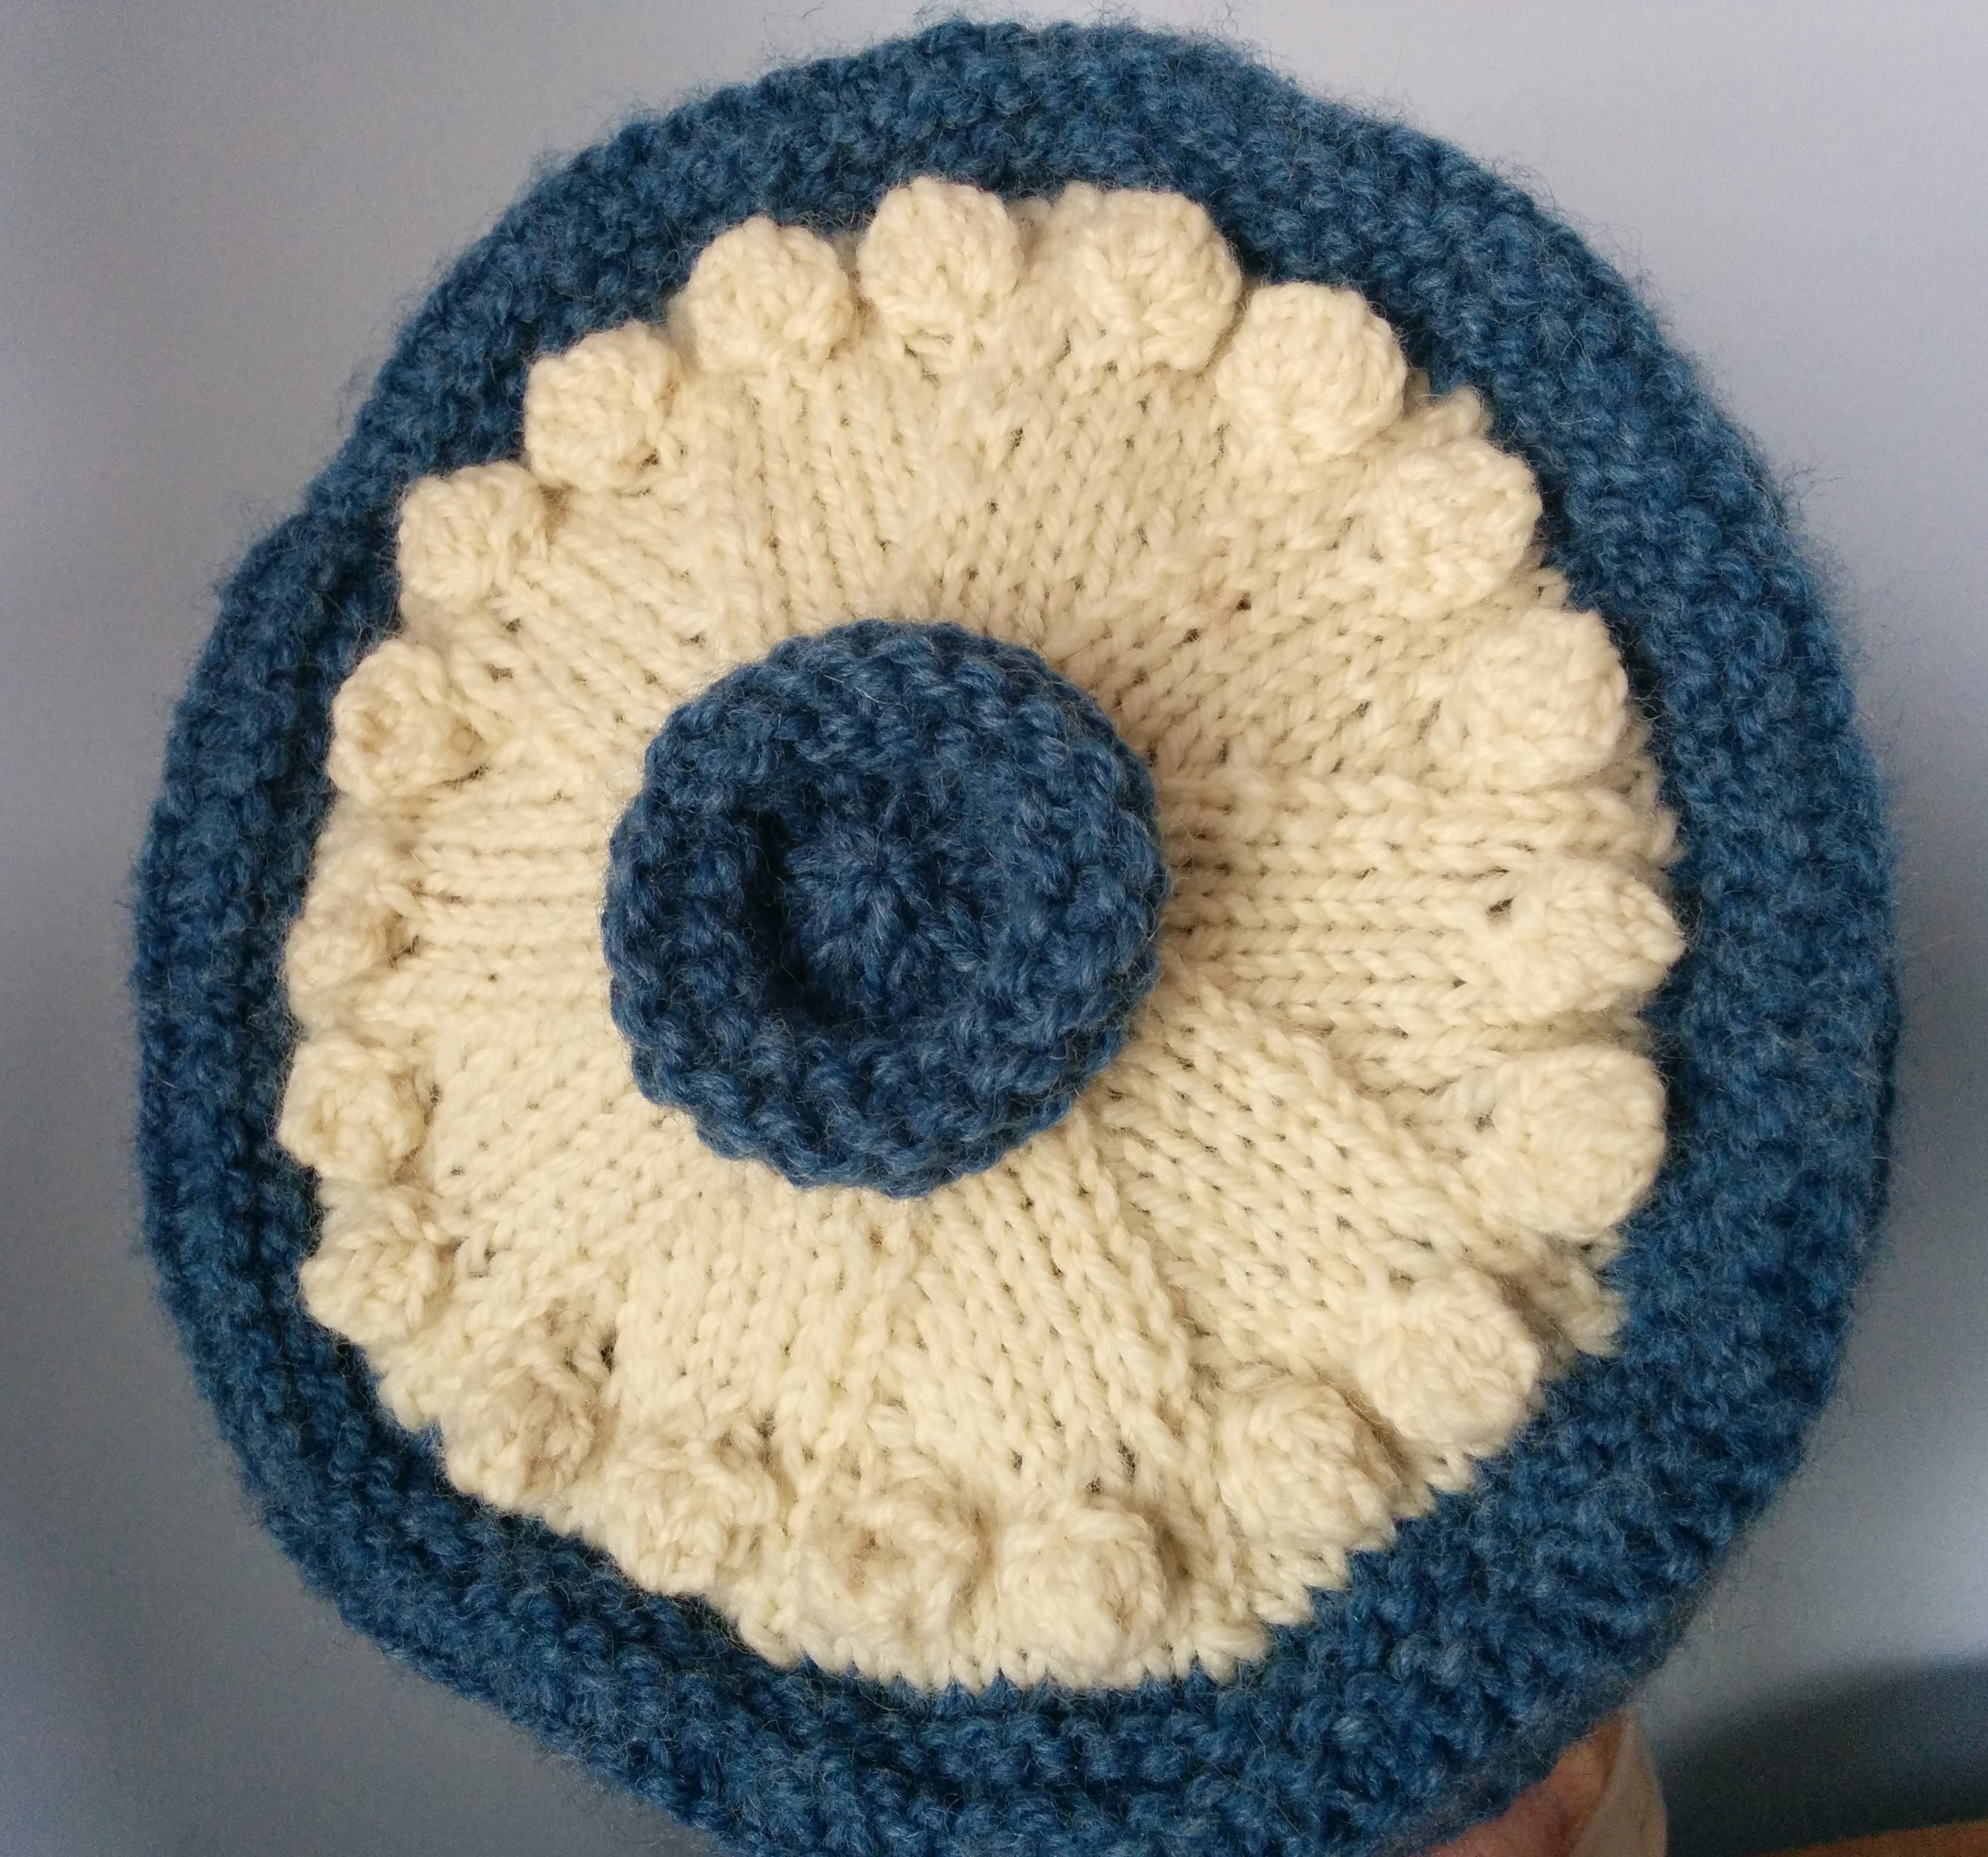
These three views show my first attempt. I was just going on the impression I had in my memory of the shirt.

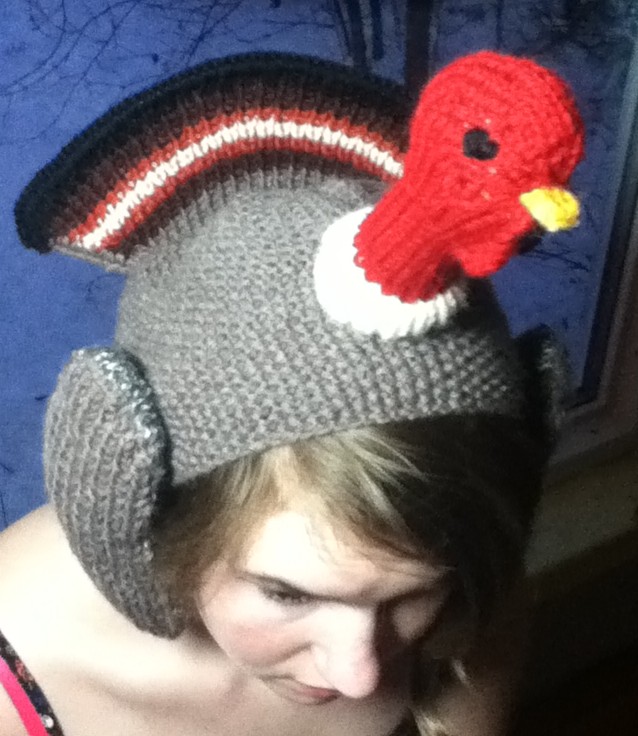
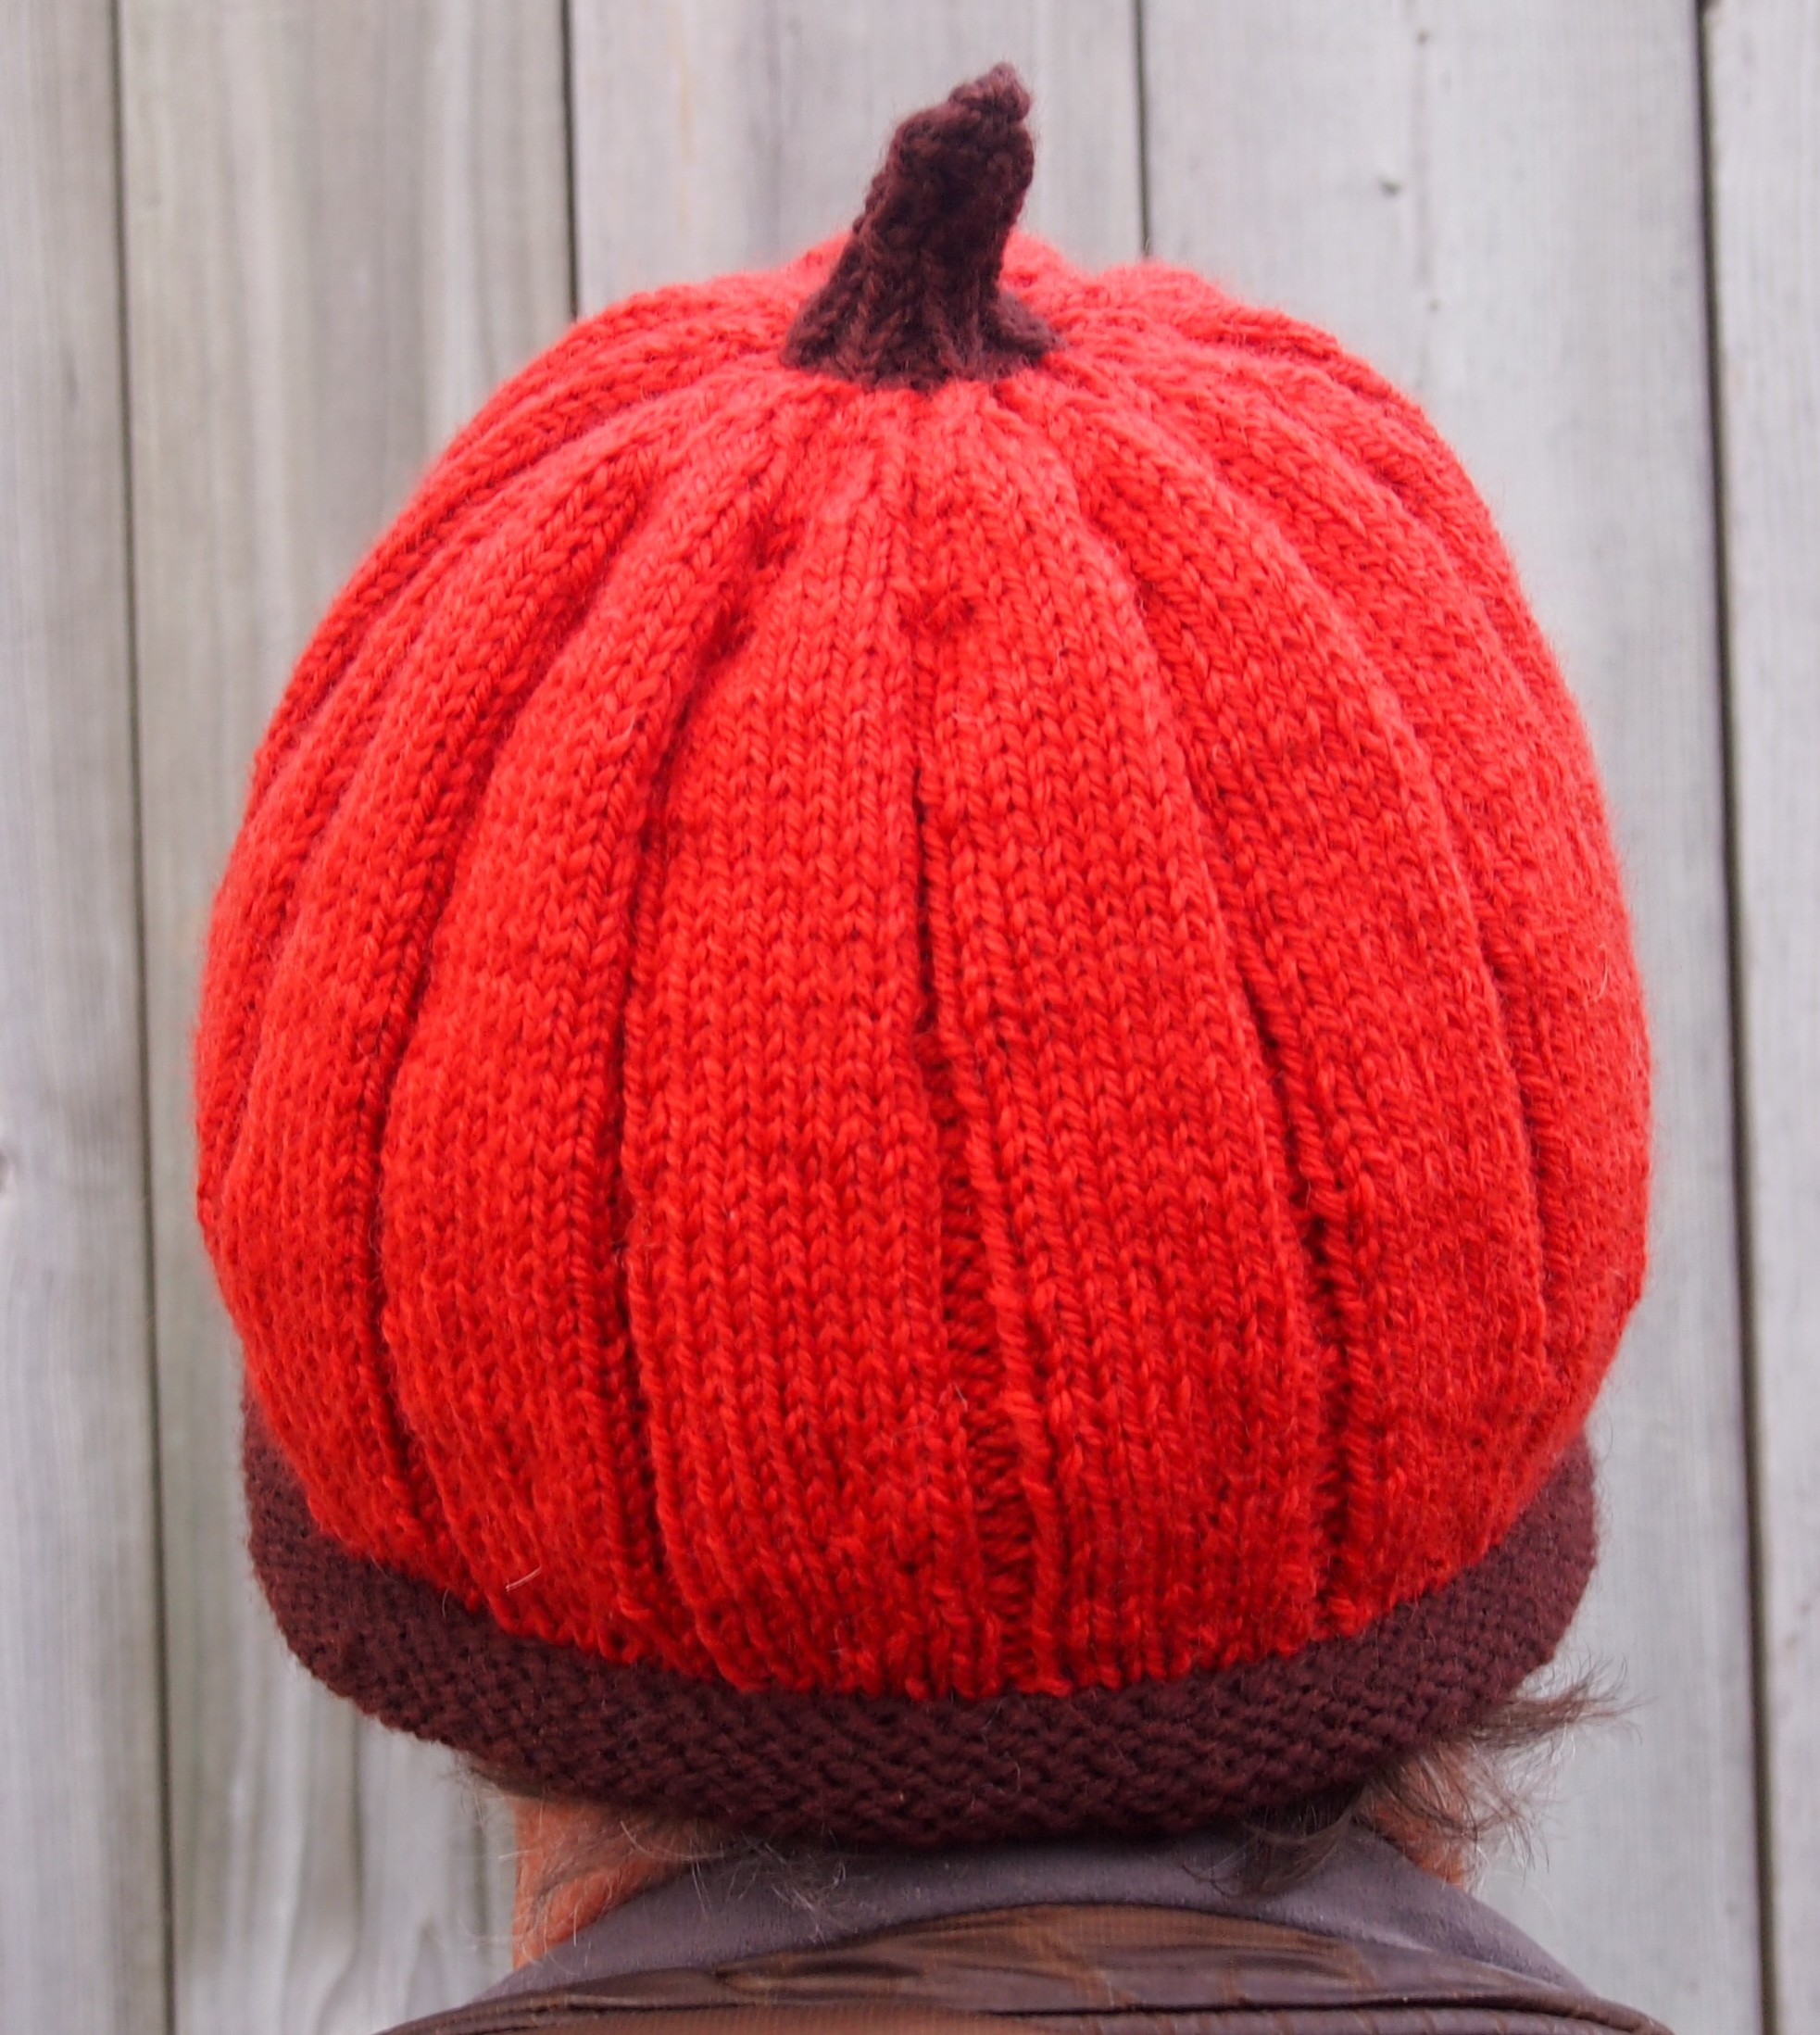
BTW, I will show you more of these sculptural hats I have been doing over the next few weeks. I have been on quite a knitting binge and have a lot of hats in the back of my car getting frozen in case moths may lurk in the house. Did I mention the freezer I bought to keep the hats in…lets just call the car the overflow catcher…freezer is getting full. |I guess I should have bought a bigger one.

gillianknits.com
gillianknits.com
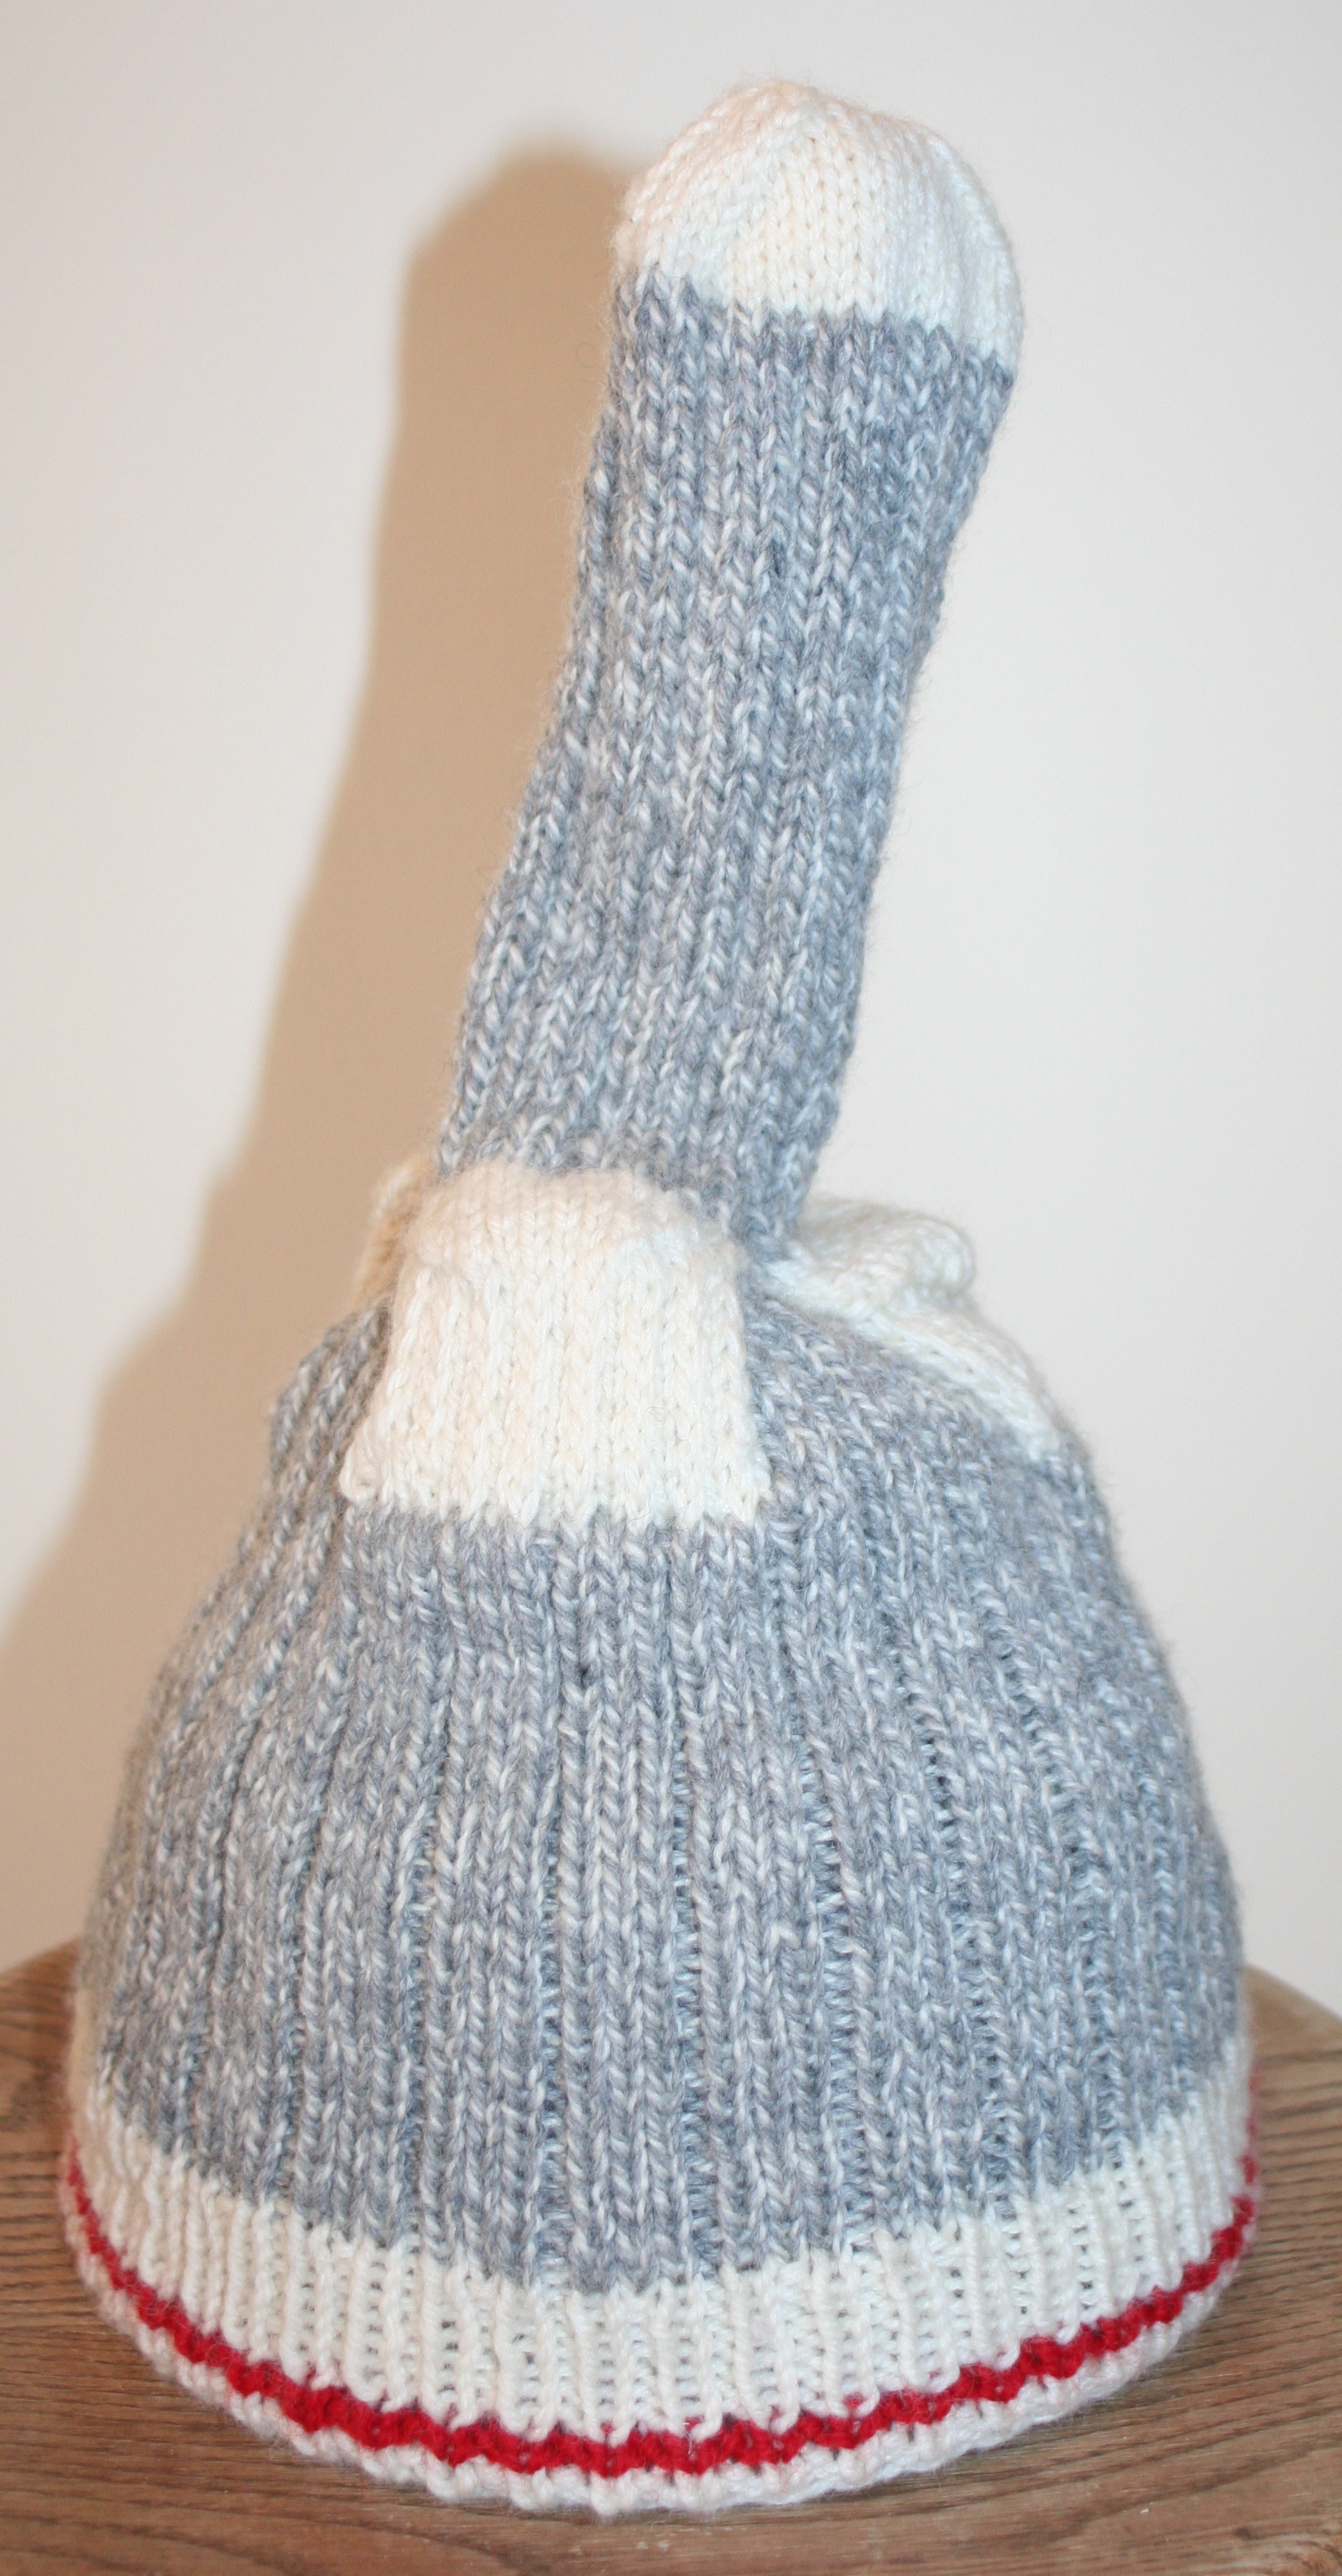
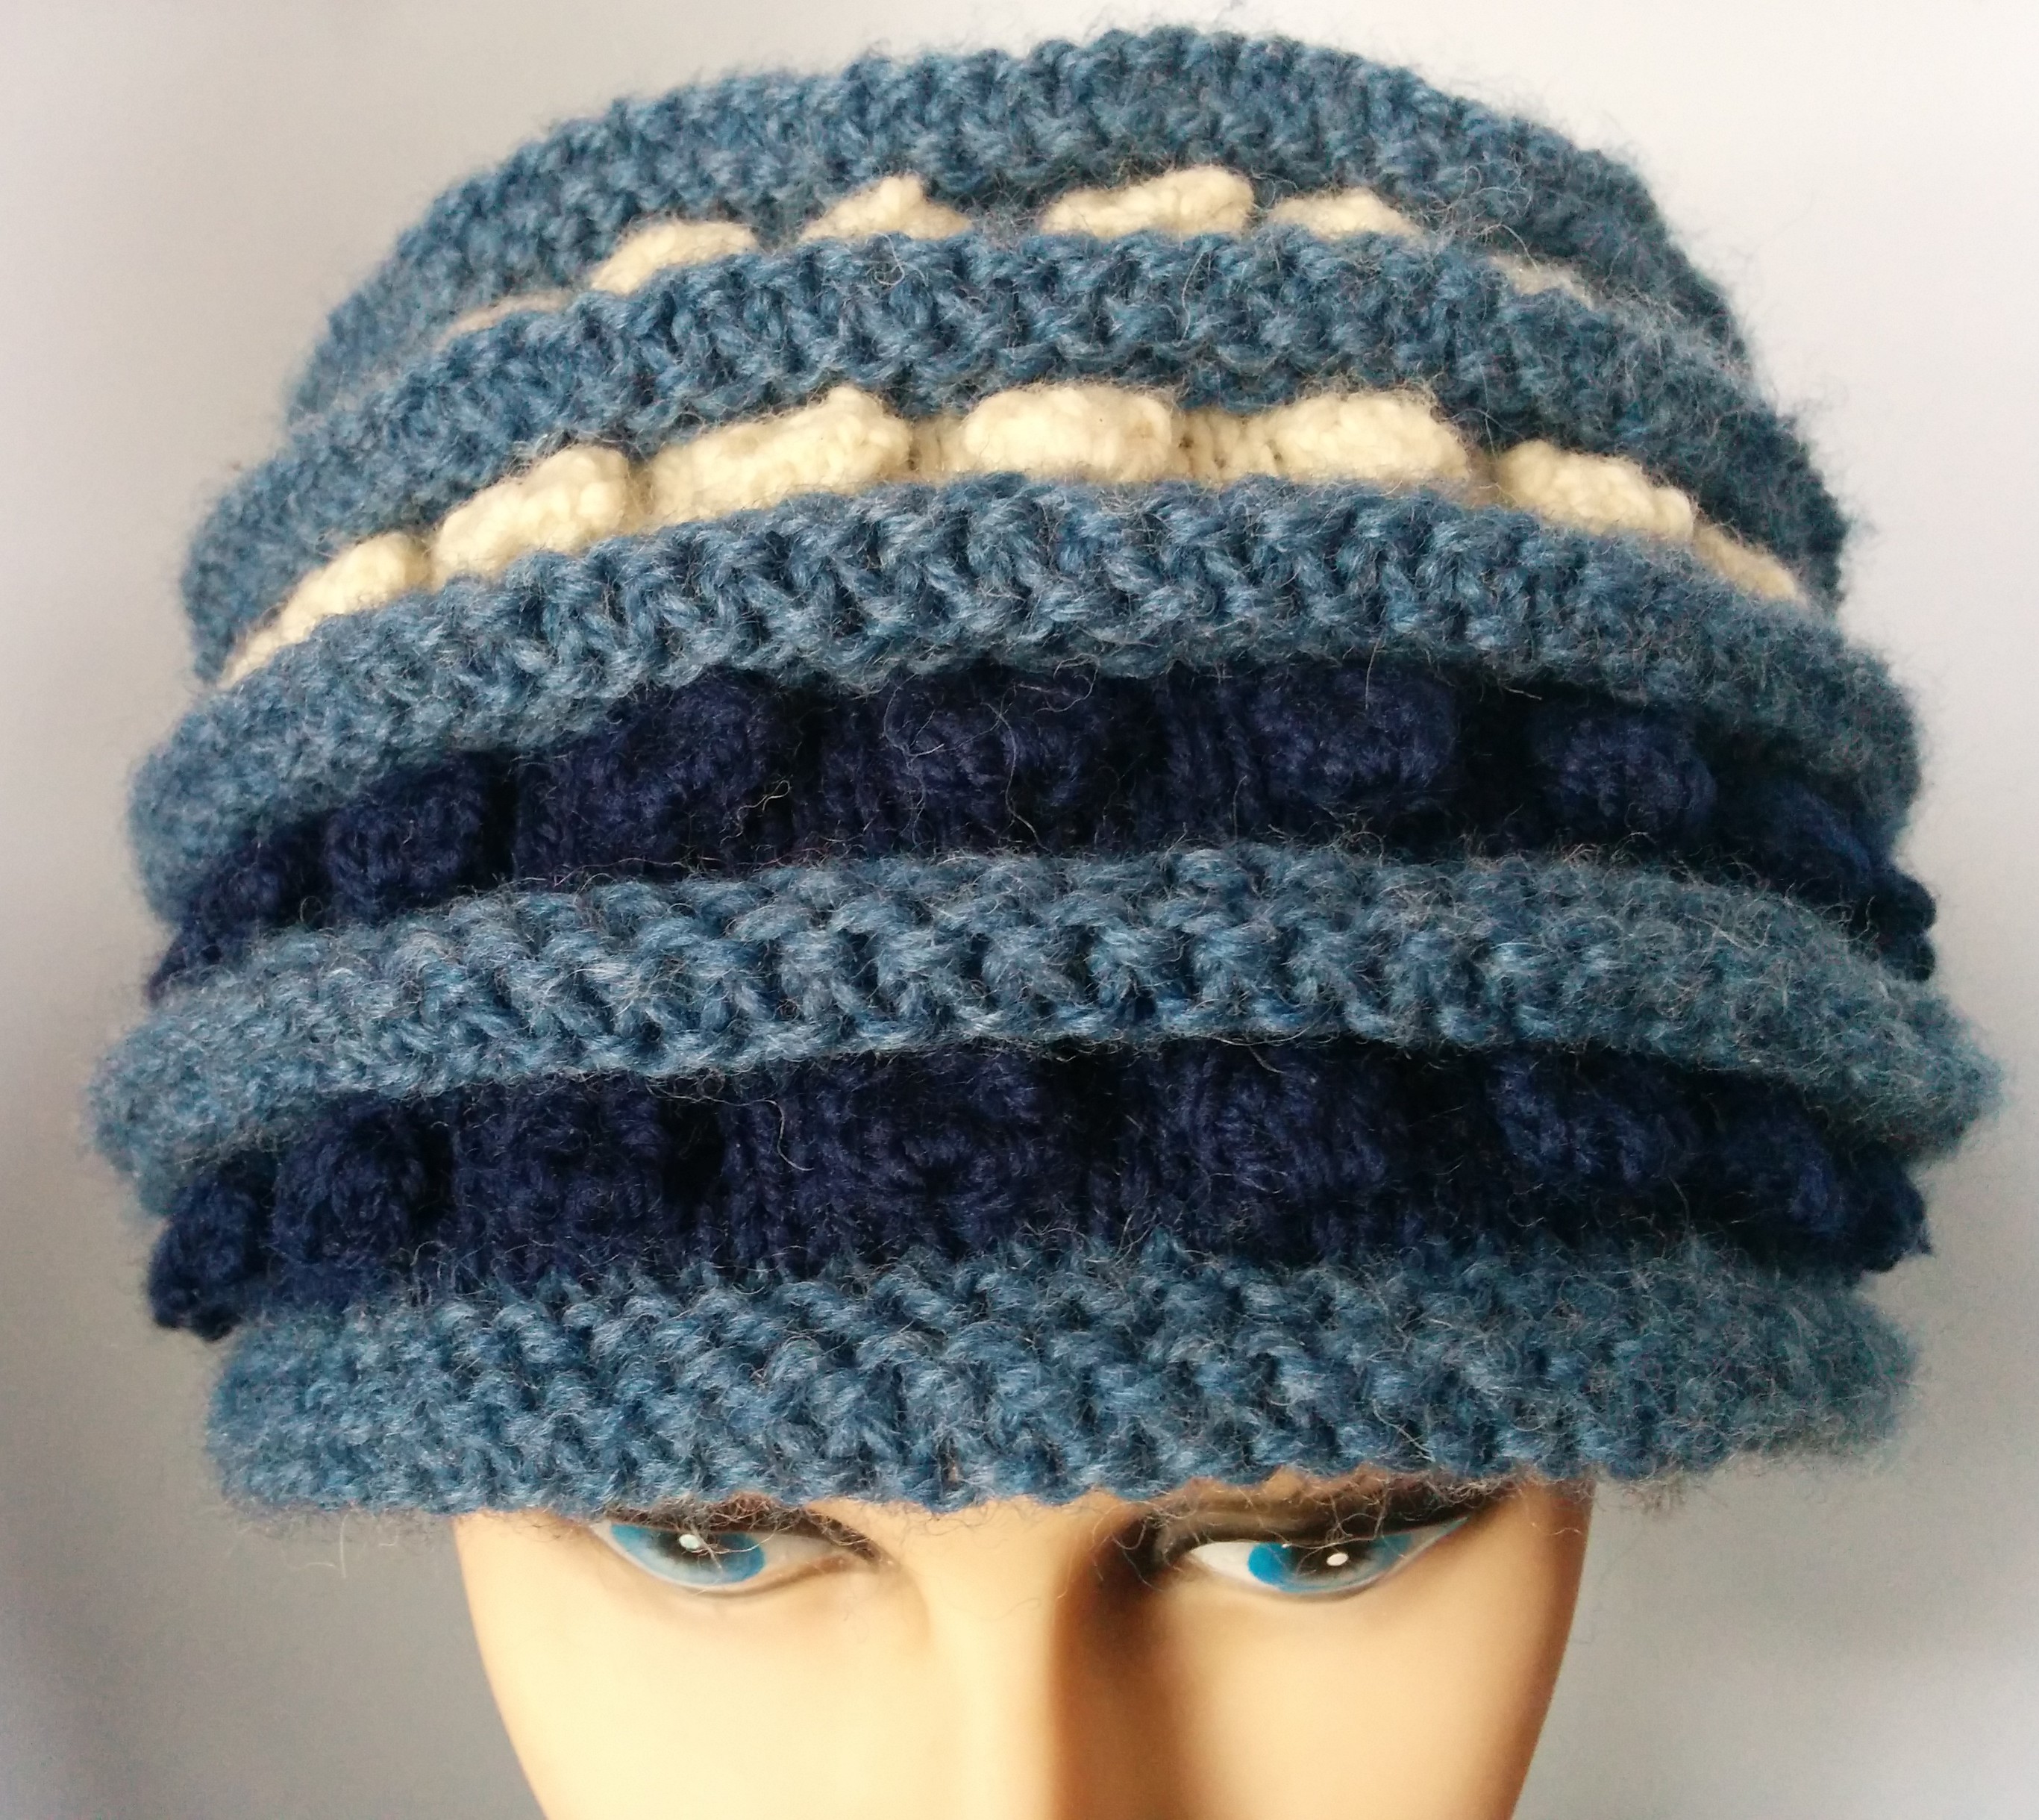
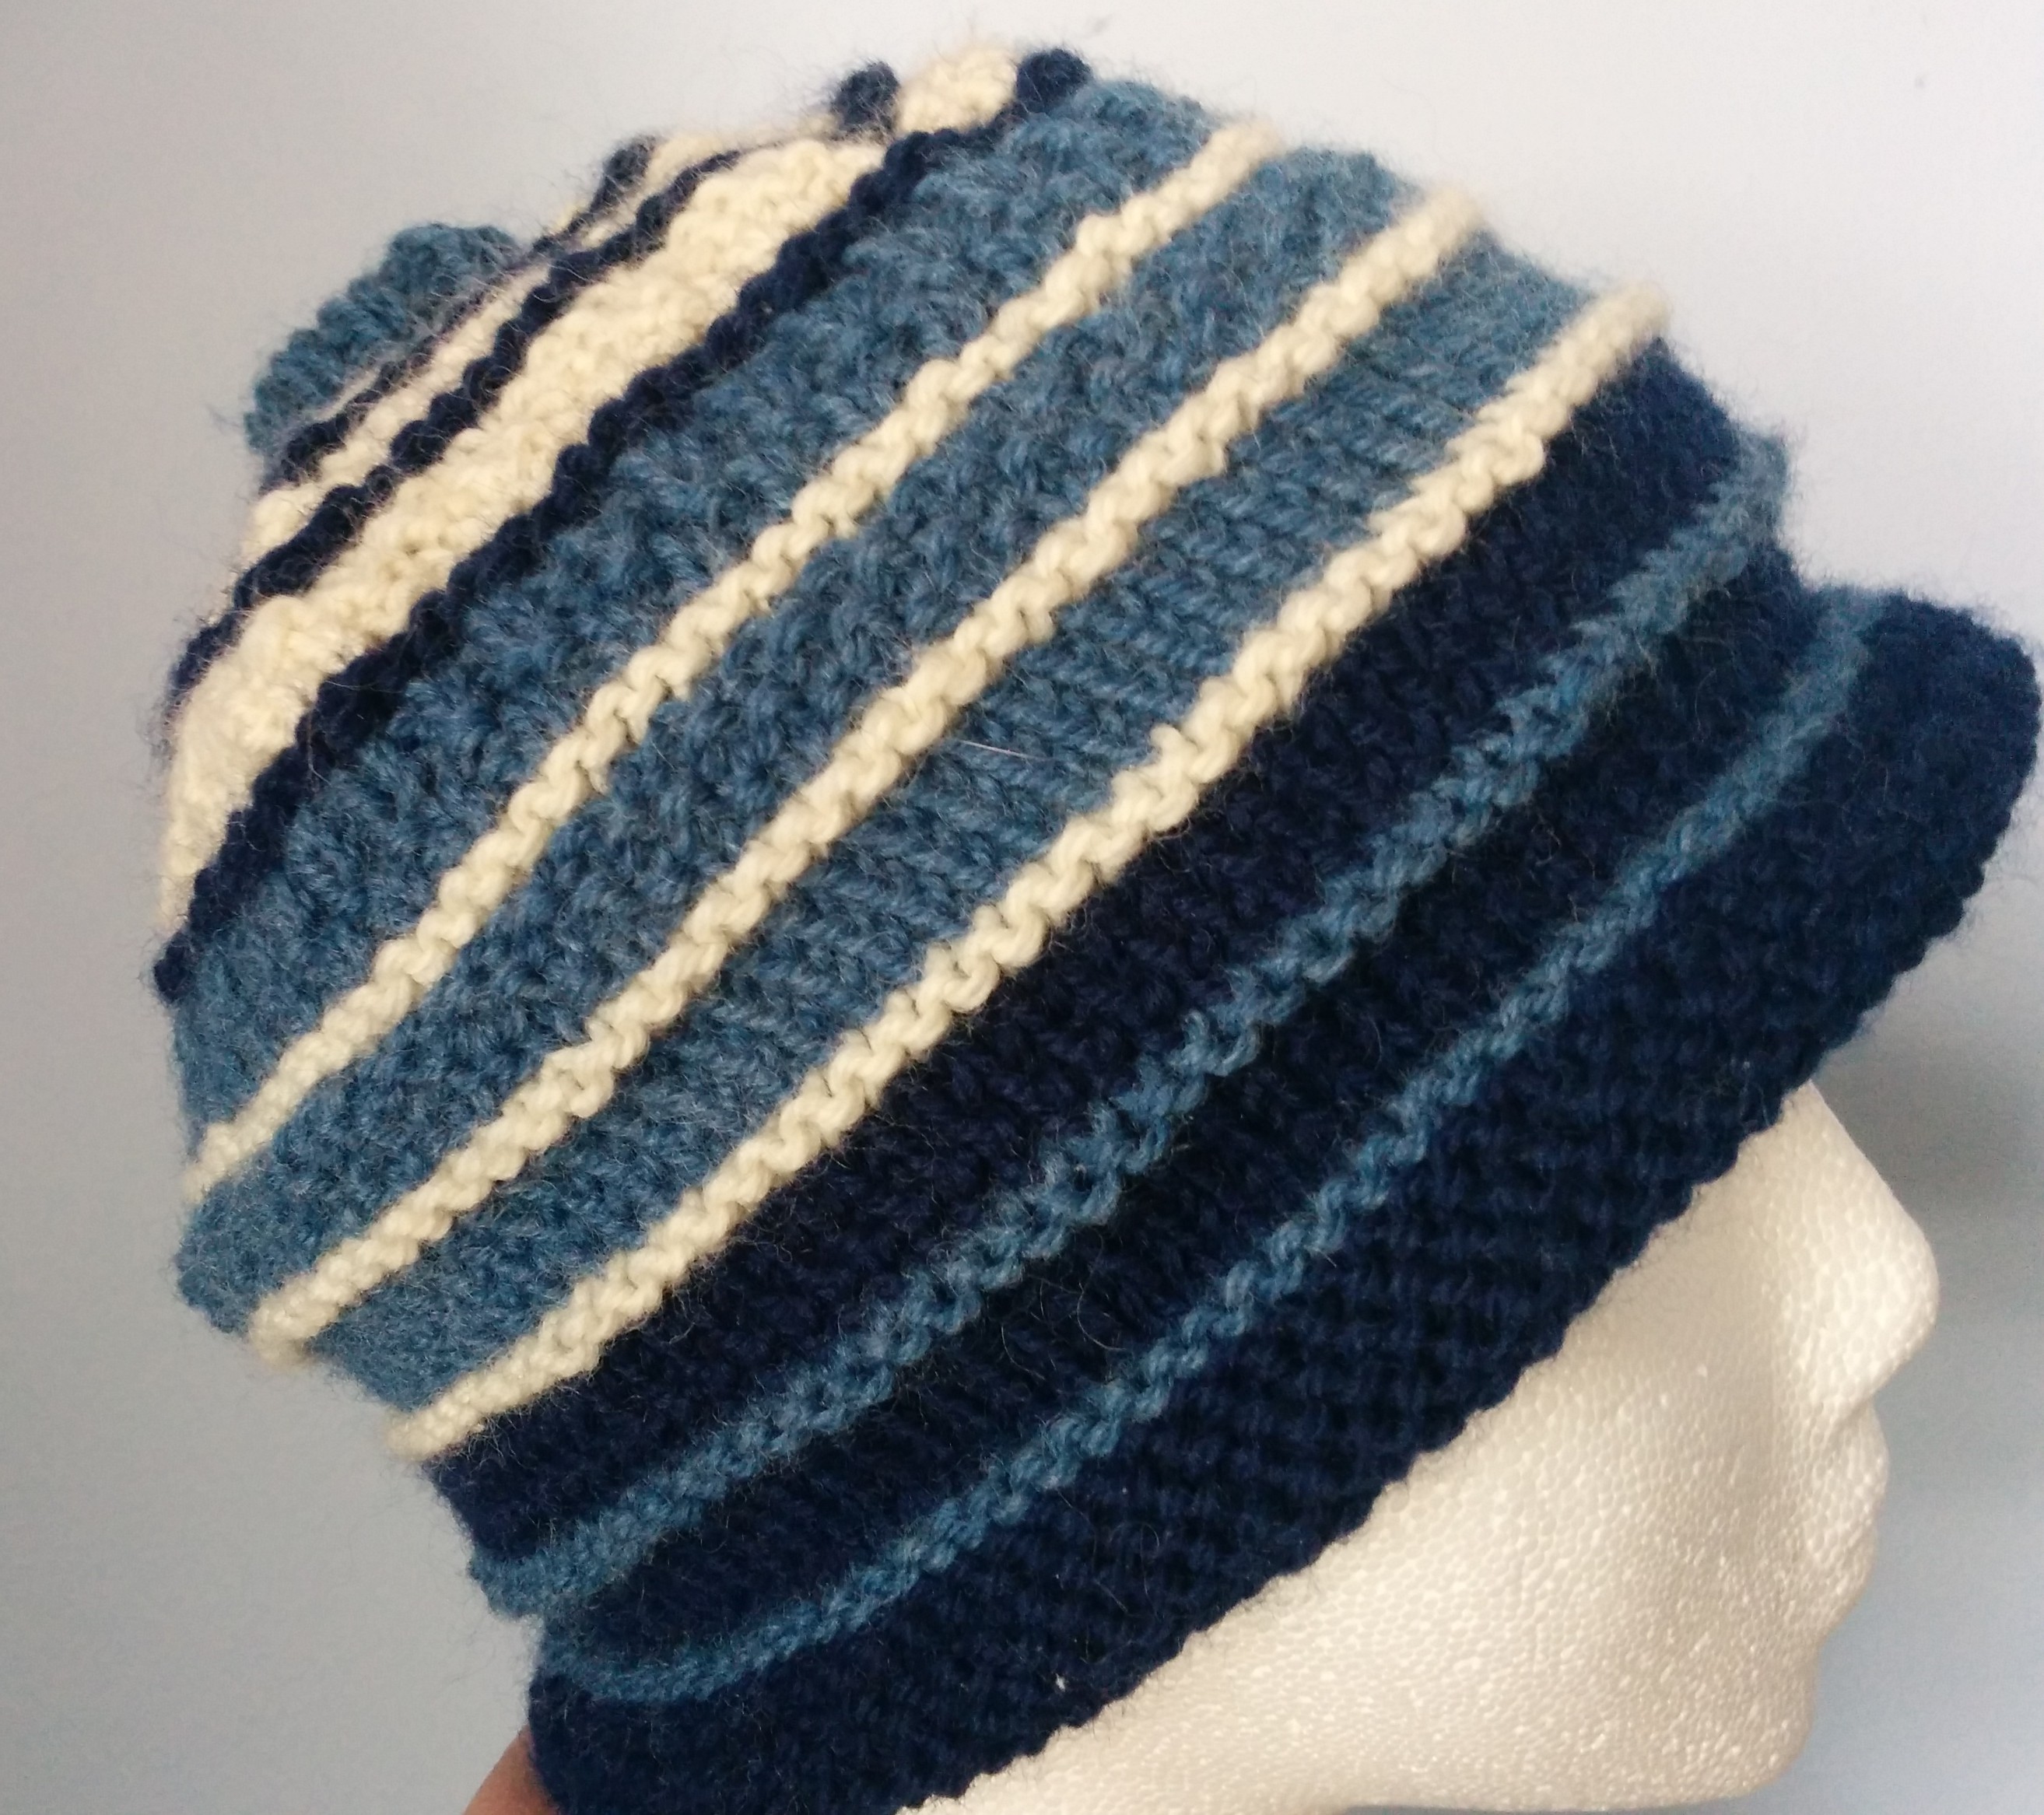
This is attempt number 2. I googled Stan (aka my good buddy at this point) and found a picture of the shirt. I thought that while I was happy with the first hat as a hat, I wasn’t sure I captured the colour change. On this hat I got quite literal. I analyzed the colour changes in the shirt from the internet images and recreated them as best I could on the hat. It is hard to get a good impression of the hat because it looks very different from different angles, but it is not really worth looking at too much, because, in my opinion, it doesn’t work. Which brings me to the one I finished yesterday. I put the second hat on the hat form on my coffee table for a couple of days and thought of how I might capture the the colour changes but make it work as a hat. This is what I came up with:

sampler hat

sampler hat


This is the last hat in my ode to Stan Wawrinka series, but my first in the tribute to Barbara Walker series. I have decided to do a kind of Julie/Julia thing with Barbara G. Walkers first book, A Treasury of Knitting Patterns. It has over 500 patterns in it, so I decided to put a whole bunch in the first one. This hat is actually a stitch sampler. From the bottom it covers garter stitch, stockinette stitch (three variations-plain, twited and crossed), seed stitch, moss stitch, double seed stitch, dot stitch, sand stitch and knit 1 purl 1 ribbing. I thought the hat might be a good way to get a lot of the boring stitches over with in one fell swoop. And I am even happy with it as a hat…bonus points!

The rules of the challenge will be that any project must use the next pattern that appears in the book, the caveat being that I can use the next one in any one chapter or several chapters together. This will hopefully give me a modicum of artistic discretion.

Happy (American) Thanksgiving

oops...there's a turkey on my head

oops…there’s a turkey on my head

We had ours six weeks ago, but I have often thought it must be good to have a holiday to slow down the advance of Christmas.  We are already starting to have Christmas music in the stores.

Heather was trying to stop me from making this hat for ages… ‘It is going to be DUMB, it is the WORST idea you have EVER had…’  She finally decided she wanted to model it so she could instagram a picture of it with ‘my mother has finally gone crazy’ as the caption.

I assembled the bits then put it together.  So far the pieces are only pinned into place because the base hat is too flimsy.  I have decided to make a felted base so it will be more solid.  I didn’t have time to finish it yet.

crocheting the tail onto a coat hanger

crocheting the tail onto a coat hanger

I knitted the tail then crocheted it onto a cut and bent coat hanger.

For the head, I started with 30 stitches for the base, then reduced to 15 for the neck.  I increased to 22 stitches for the head.  To turn the corner, I did 3 sets of 8 short rows across the back of the head which took me up and around.  I finished the head with the beak, which was only 6 stitches.  I then crocheted a waddle under the chin.

make 2 wings and put quilt batting between

make 2 wings and put quilt batting between

For the wing, I made two wings then stuffed them with quilt batting and sewed them together.

I will retake the picture of the finished hat when I have the felted base ready.

Not a pumpkin

The whole time I was making this hat Alan (this is him in the hat for those of you who don’t know him) and Heather insisted that it looked nothing like a pumpkin.  The colour was just plain TOO WRONG.  Alan thought it may end up being okay as a hat, and the colour was OK as a colour but it DID NOT LOOK LIKE A PUMPKIN.

not a pumpkin

not a pumpkin

not a pumpkin rear view

not a pumpkin rear view

I actually think it does.  So there.

When seemingly innocent design choices go horribly wrong….

I am not in the least averse to ripping out knitting if it is not working. In fact many hats I have done have had way more stitches ripped out than exist in the finished product. If you are not starting with a pretested pattern, things sometimes just don’t pan out. I sometimes have a few false starts before I knit to the finish. I have a philosophy that we are supposed to be knitting for pleasure, therefore the act of knitting itself should be pleasurable, right? Following this to its logical conclusion means that it shouldn’t bother us to rip out
knitting and start again if things are not going well. Even though this technically should be the case, I think sometimes we tend to be goal oriented and finishing the project becomes too important. We start to think about the time investment, etc..

The nice thing about hats is you have almost never wasted more than a few hours of work.  I have found over the years that if things look like they are not working out, doggedly knitting more of the same almost never improves things. Sometimes, however, you get to the very end before it becomes apparent how badly you have gone wrong.  Consider this hat. This is an example of when, what seems (to me anyway) to be a series of perfectly rational design choices, ends up going horribly wrong.

Laura, Jay and Jeremy

Laura, Jay and Jeremy

I was working on a series of work sock based hats (I know, I know it’s been done anyway but my husband Alan wears worksocks every day and I like the colour scheme). ANYWAY, I thought why not end at the top of the hat with an actual sock? Then, because the top of the hat is much bigger around than an actual sock, I thought why not have three heels around and do each one with a different heel turning method making it like a heel turning sampler, then finish with the foot of a sock so that the common foot part is shared by each of the three turned heels?

It wasn’t until I put the ‘toe’ on the sock that the reality of my mistake bit. Unfortunately, no matter how you look at the sock, the foot part seems to always have two very obvious heel parts at the base. And the foot almost always flops. I keep it as a joke, because there was no point in ripping it out at the very end. When my 13 year old nephew Jay (wearing the hat in the picture) put on the hat he said ‘and which side would you like me to wear the ….. on?’.  When Heather first saw it she thought it looked like someone giving you the finger…equally inappropriate, but in a totally different way.

...poor design decisions

…some very poor design decisions

Oh well, back to the drawing board…good thing I enjoy the design process, sometimes right until the bitter end.