Category Archives: felting

knitted felted items

firing the blog back up…

Hello one and all … it has been 6 months since I posted…I was working…what can I say…although that excuse wears thin a couple of months ago…so be it.

I am sick of starting new blogs when I travel so I am just going to stick you people with my travel stuff too.  There aren’t that many of you anyway.  I am leaving tomorrow for India and Bhutan (aka the happiest place on earth).  I have been to India, but never Kolkata, twice before (25 years ago on Alan and my year long 1/2 bike trip…India killed the bike part) and 8 years ago with the kids on the six month trip documented on:

http://rockingestlittleflightlessbirdsever.blogspot.ca/

This time I will spend a couple of days alone in Kolkata then be joined by my sister Felicity’s son, David, My sister Penny’s daughter, Laura, My sister Nicola’s husband, Surya and my sister Melanie’s husband, Pat for the Bhutan part of the trip.  I have already familiarized myself somewhat with the GKA, even though I am not actually on a plane yet.  This is for two reasons…1) we gave our Lonely Planet, India to street urchins in Bangkok so they could make money re-selling it and I don’t want to pay another $42 for a 2-inch book only a few pages of which are relavent.  and 2) did I mention I would be alone?

I have been getting ready for the trip by exercising.  I have been walking with friends and attending aquafitness classes.  I have discovered a pool where three times a week it is possible to go to 4 aquafitness classes in a row, thus getting 3 hours of exercise.  This has helped me build my stamina so I can do the walking around (with my pack if neccessary).

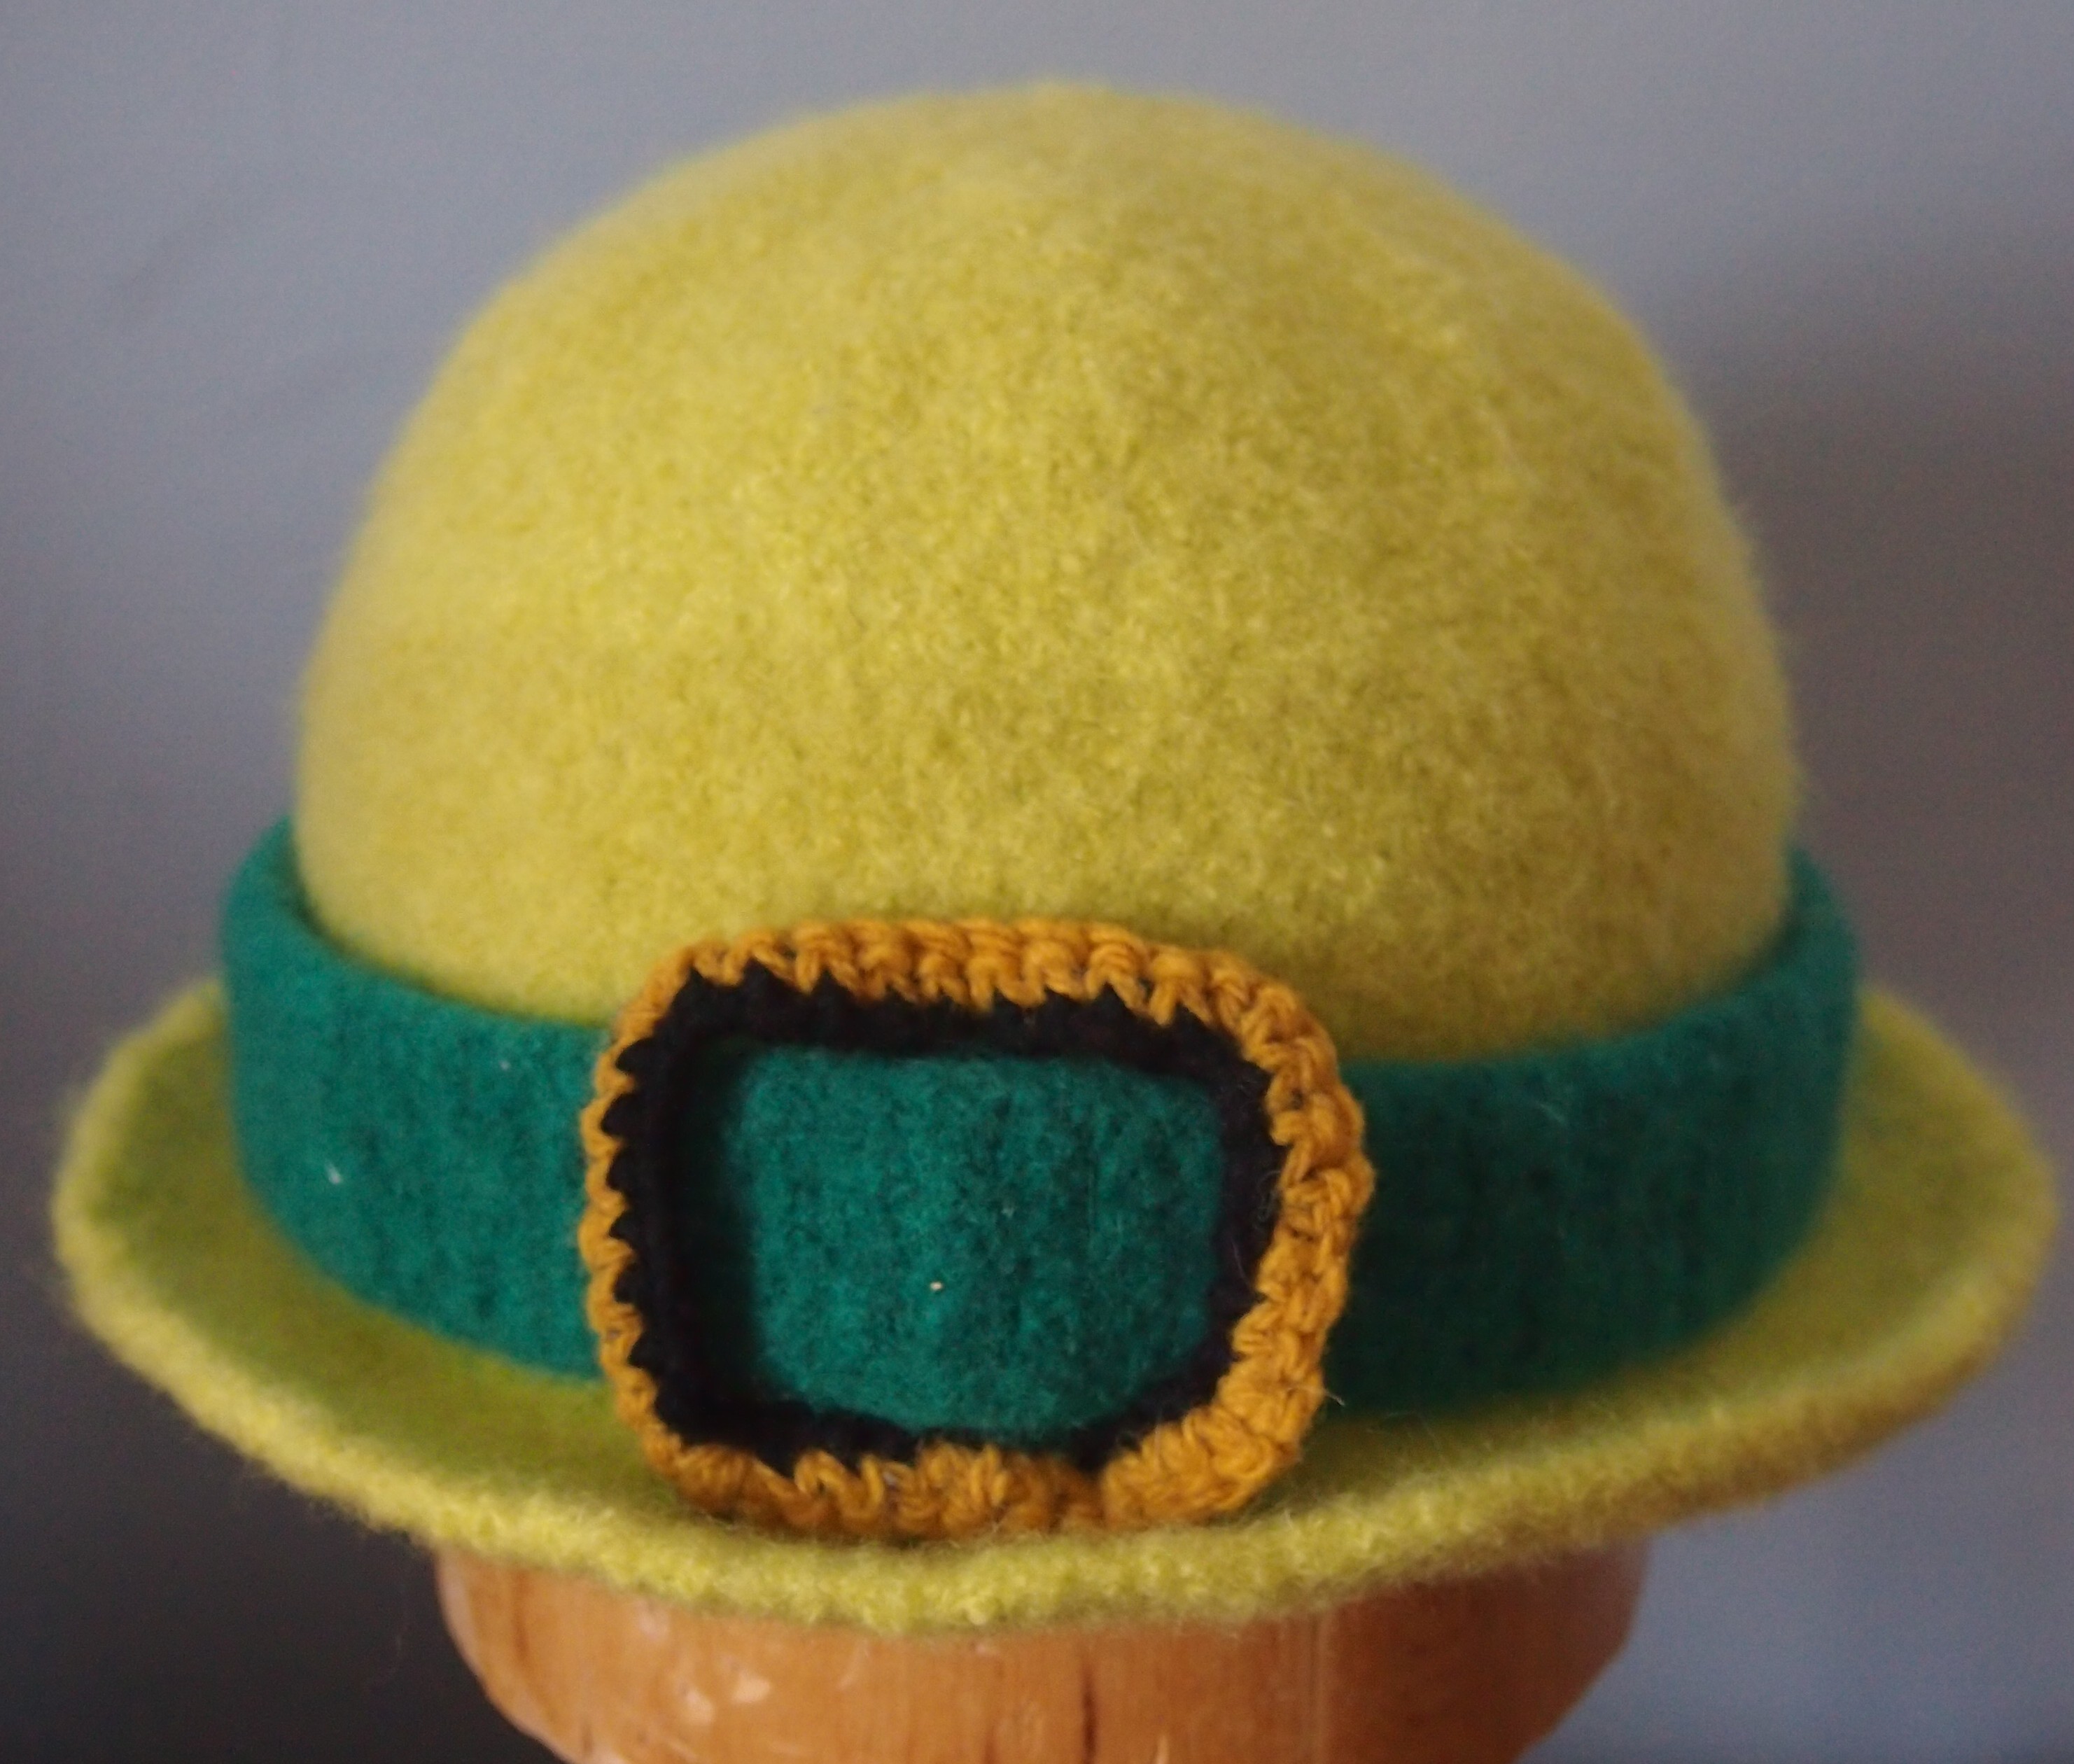
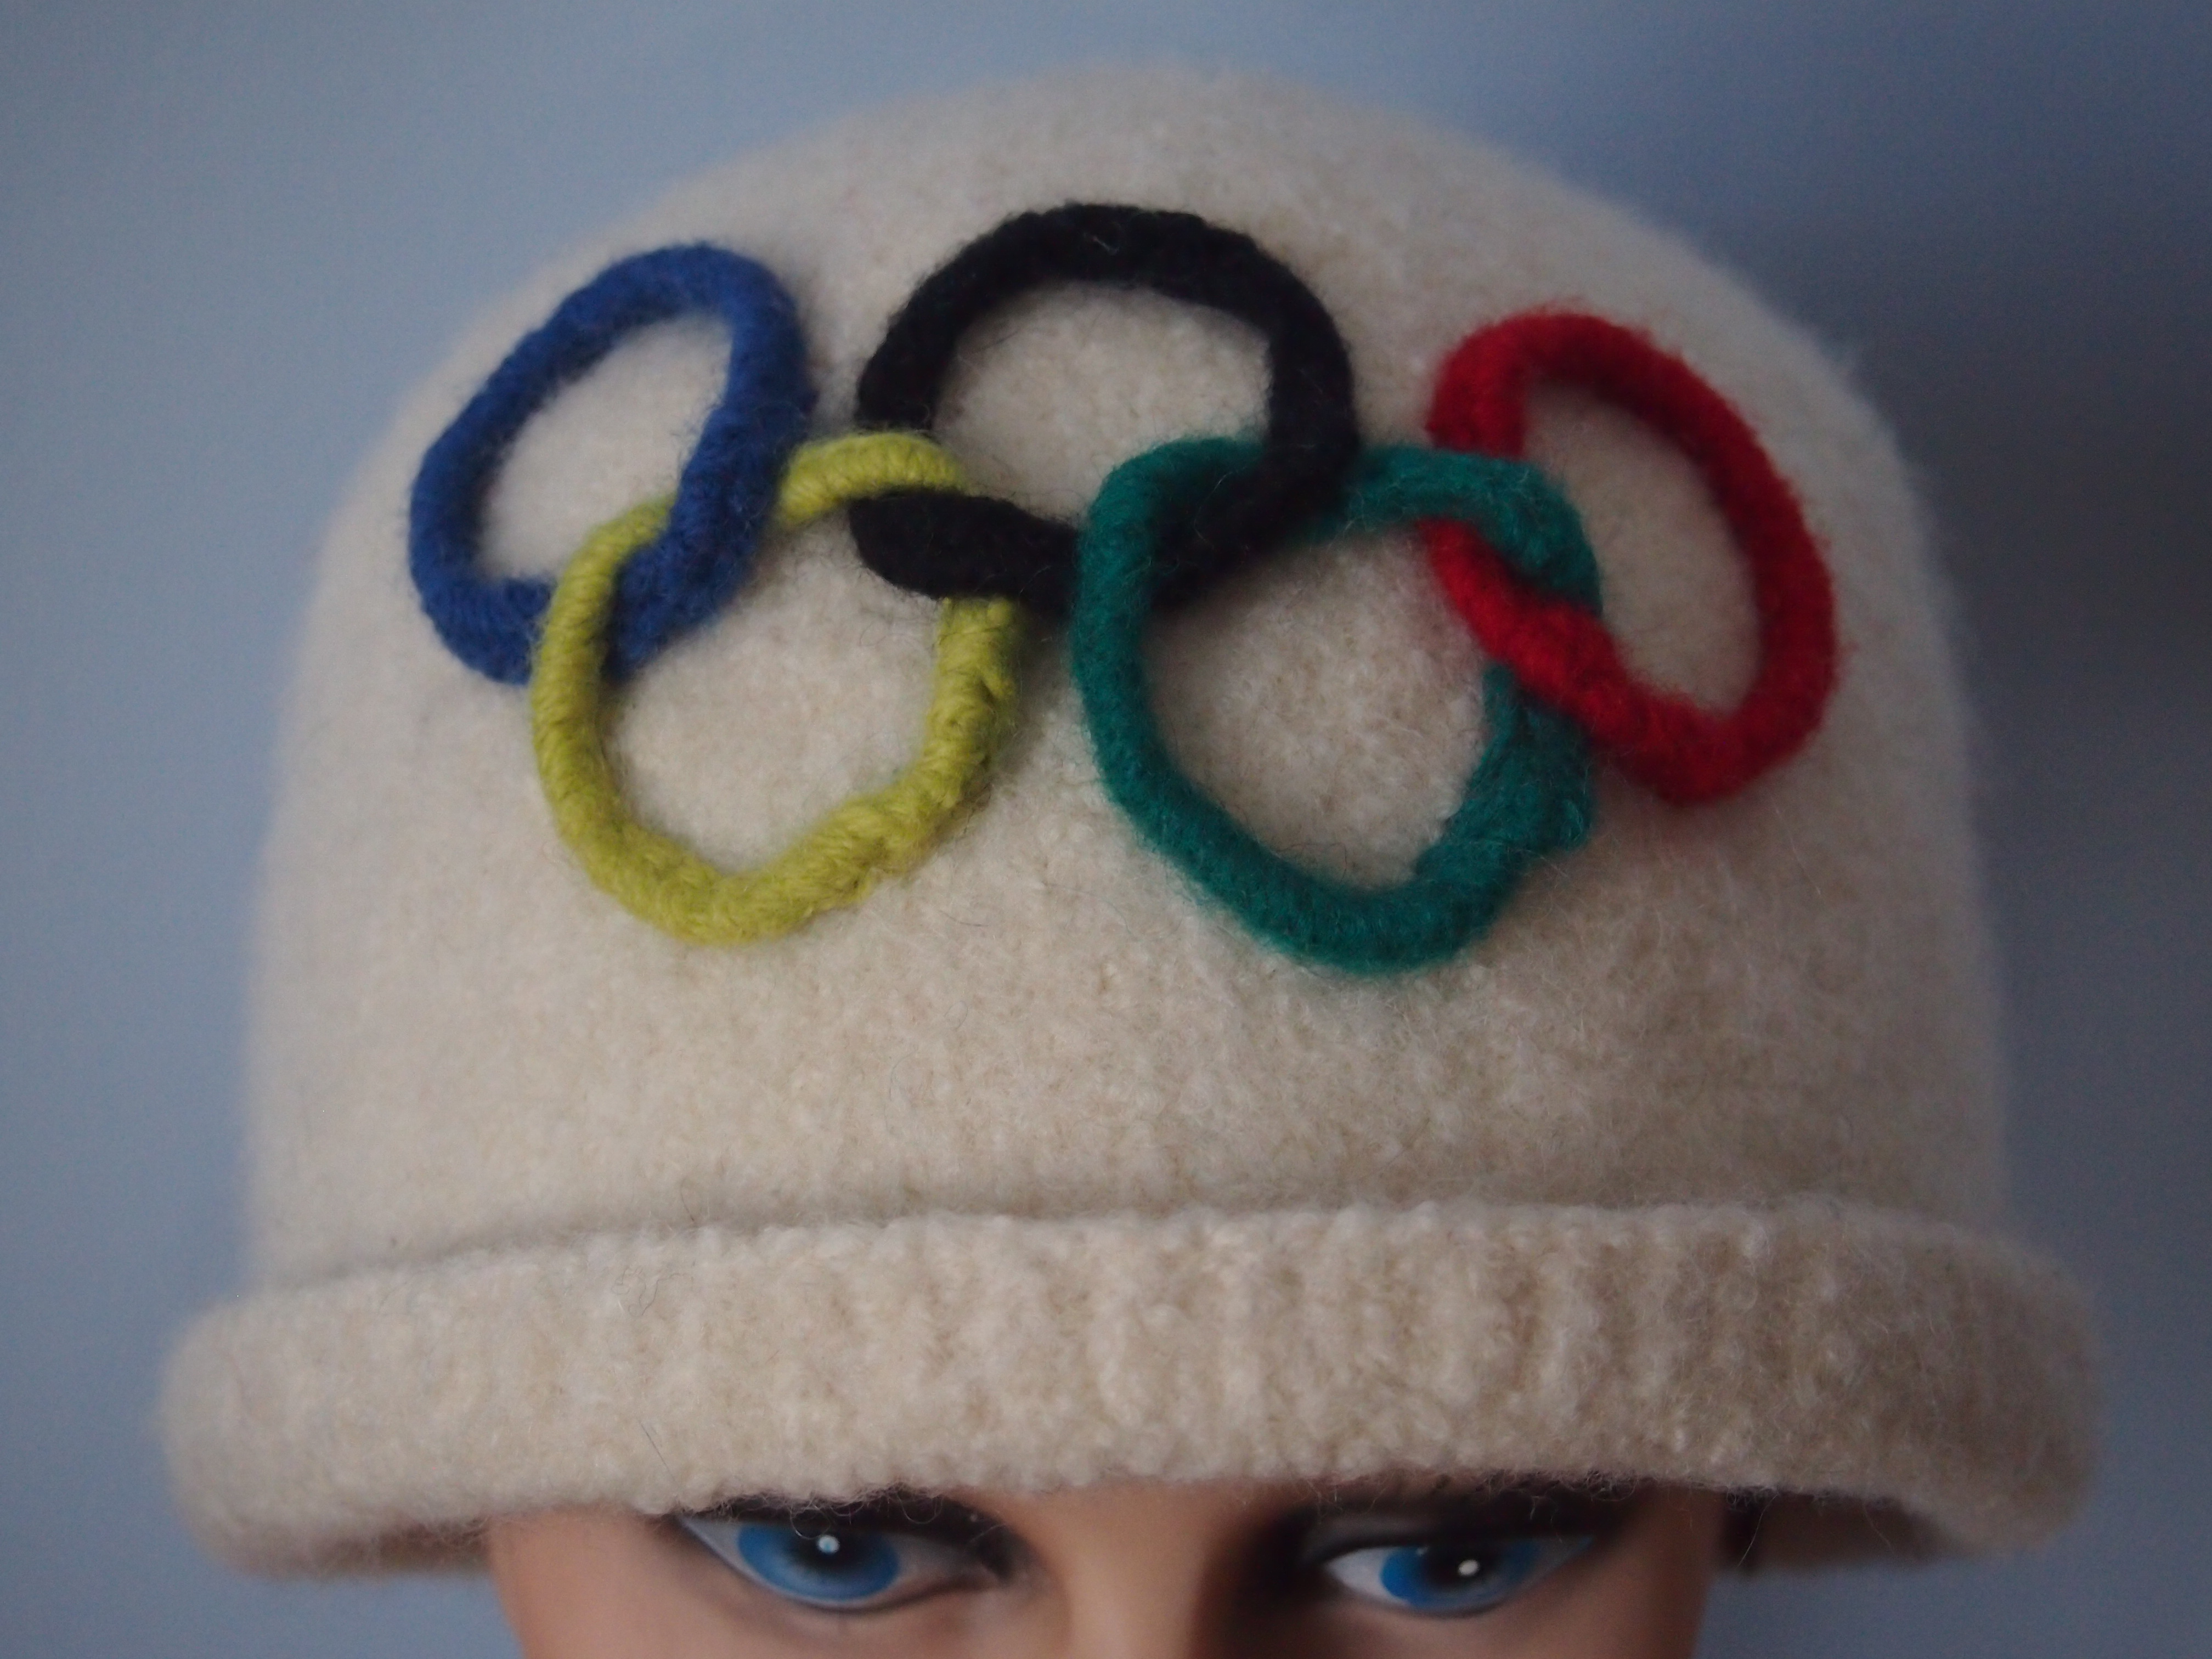
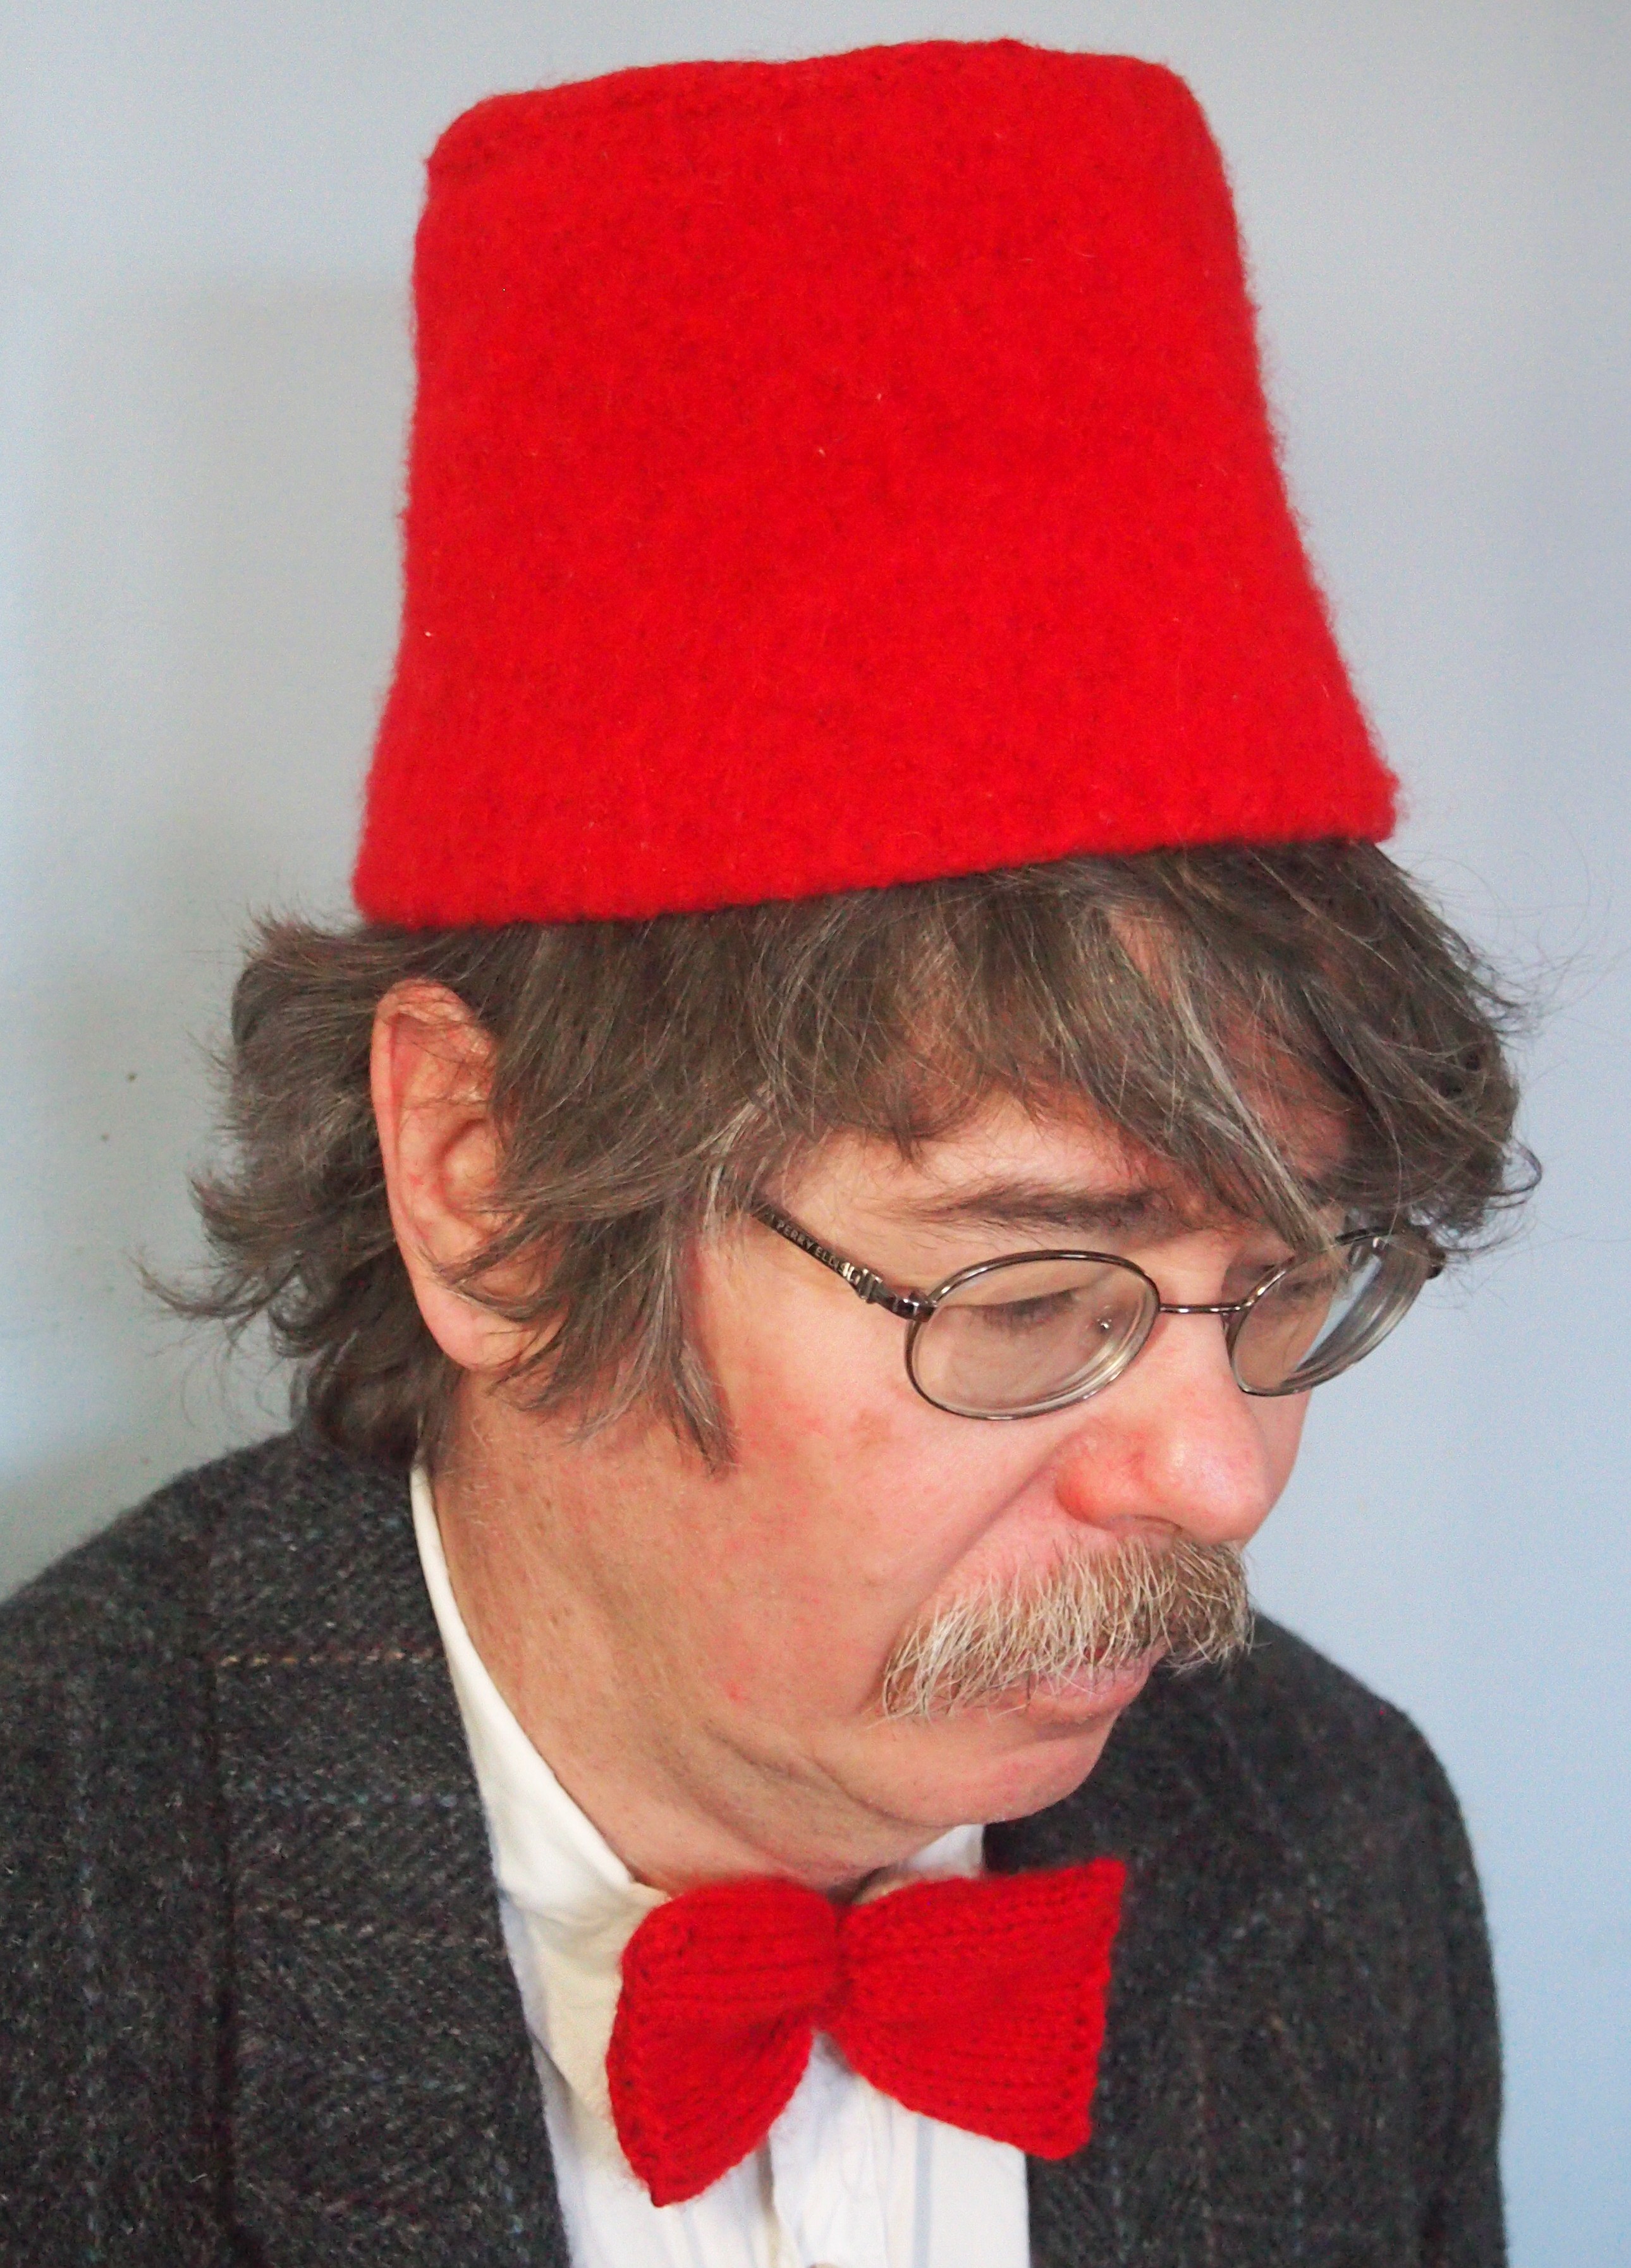
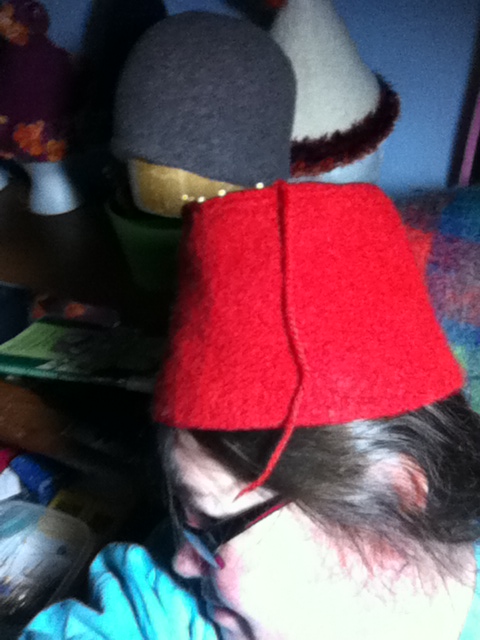
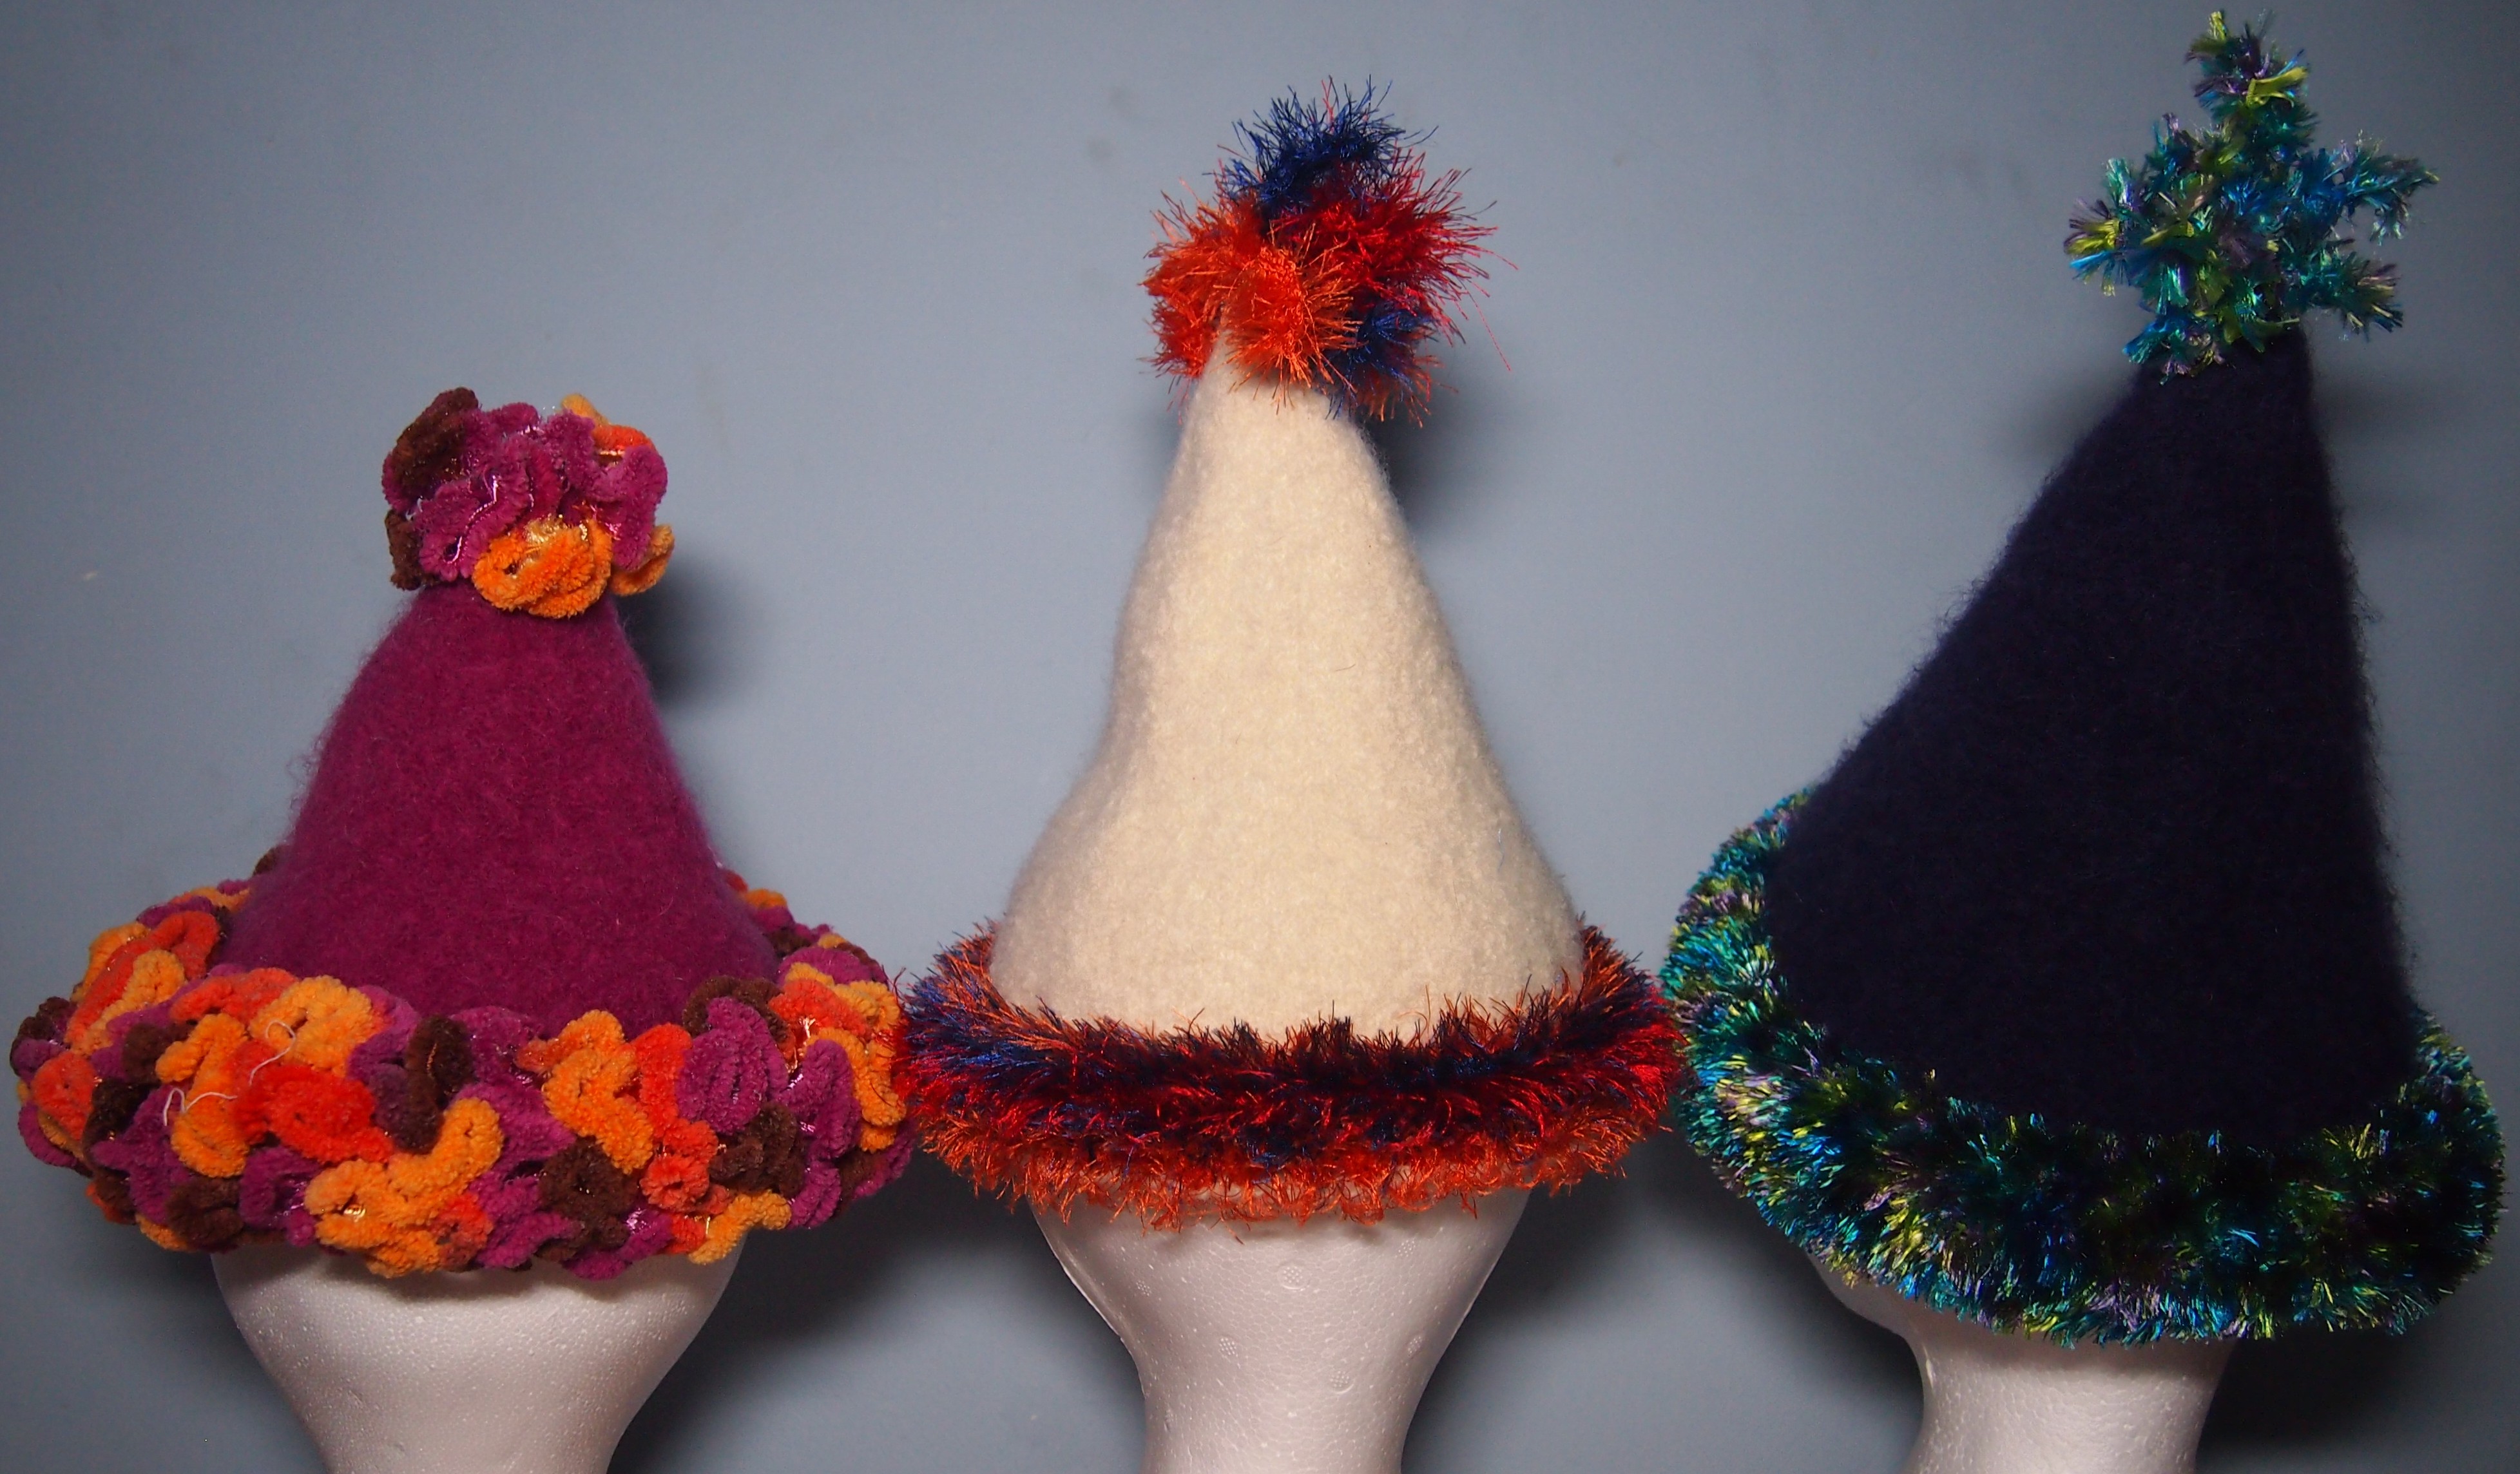
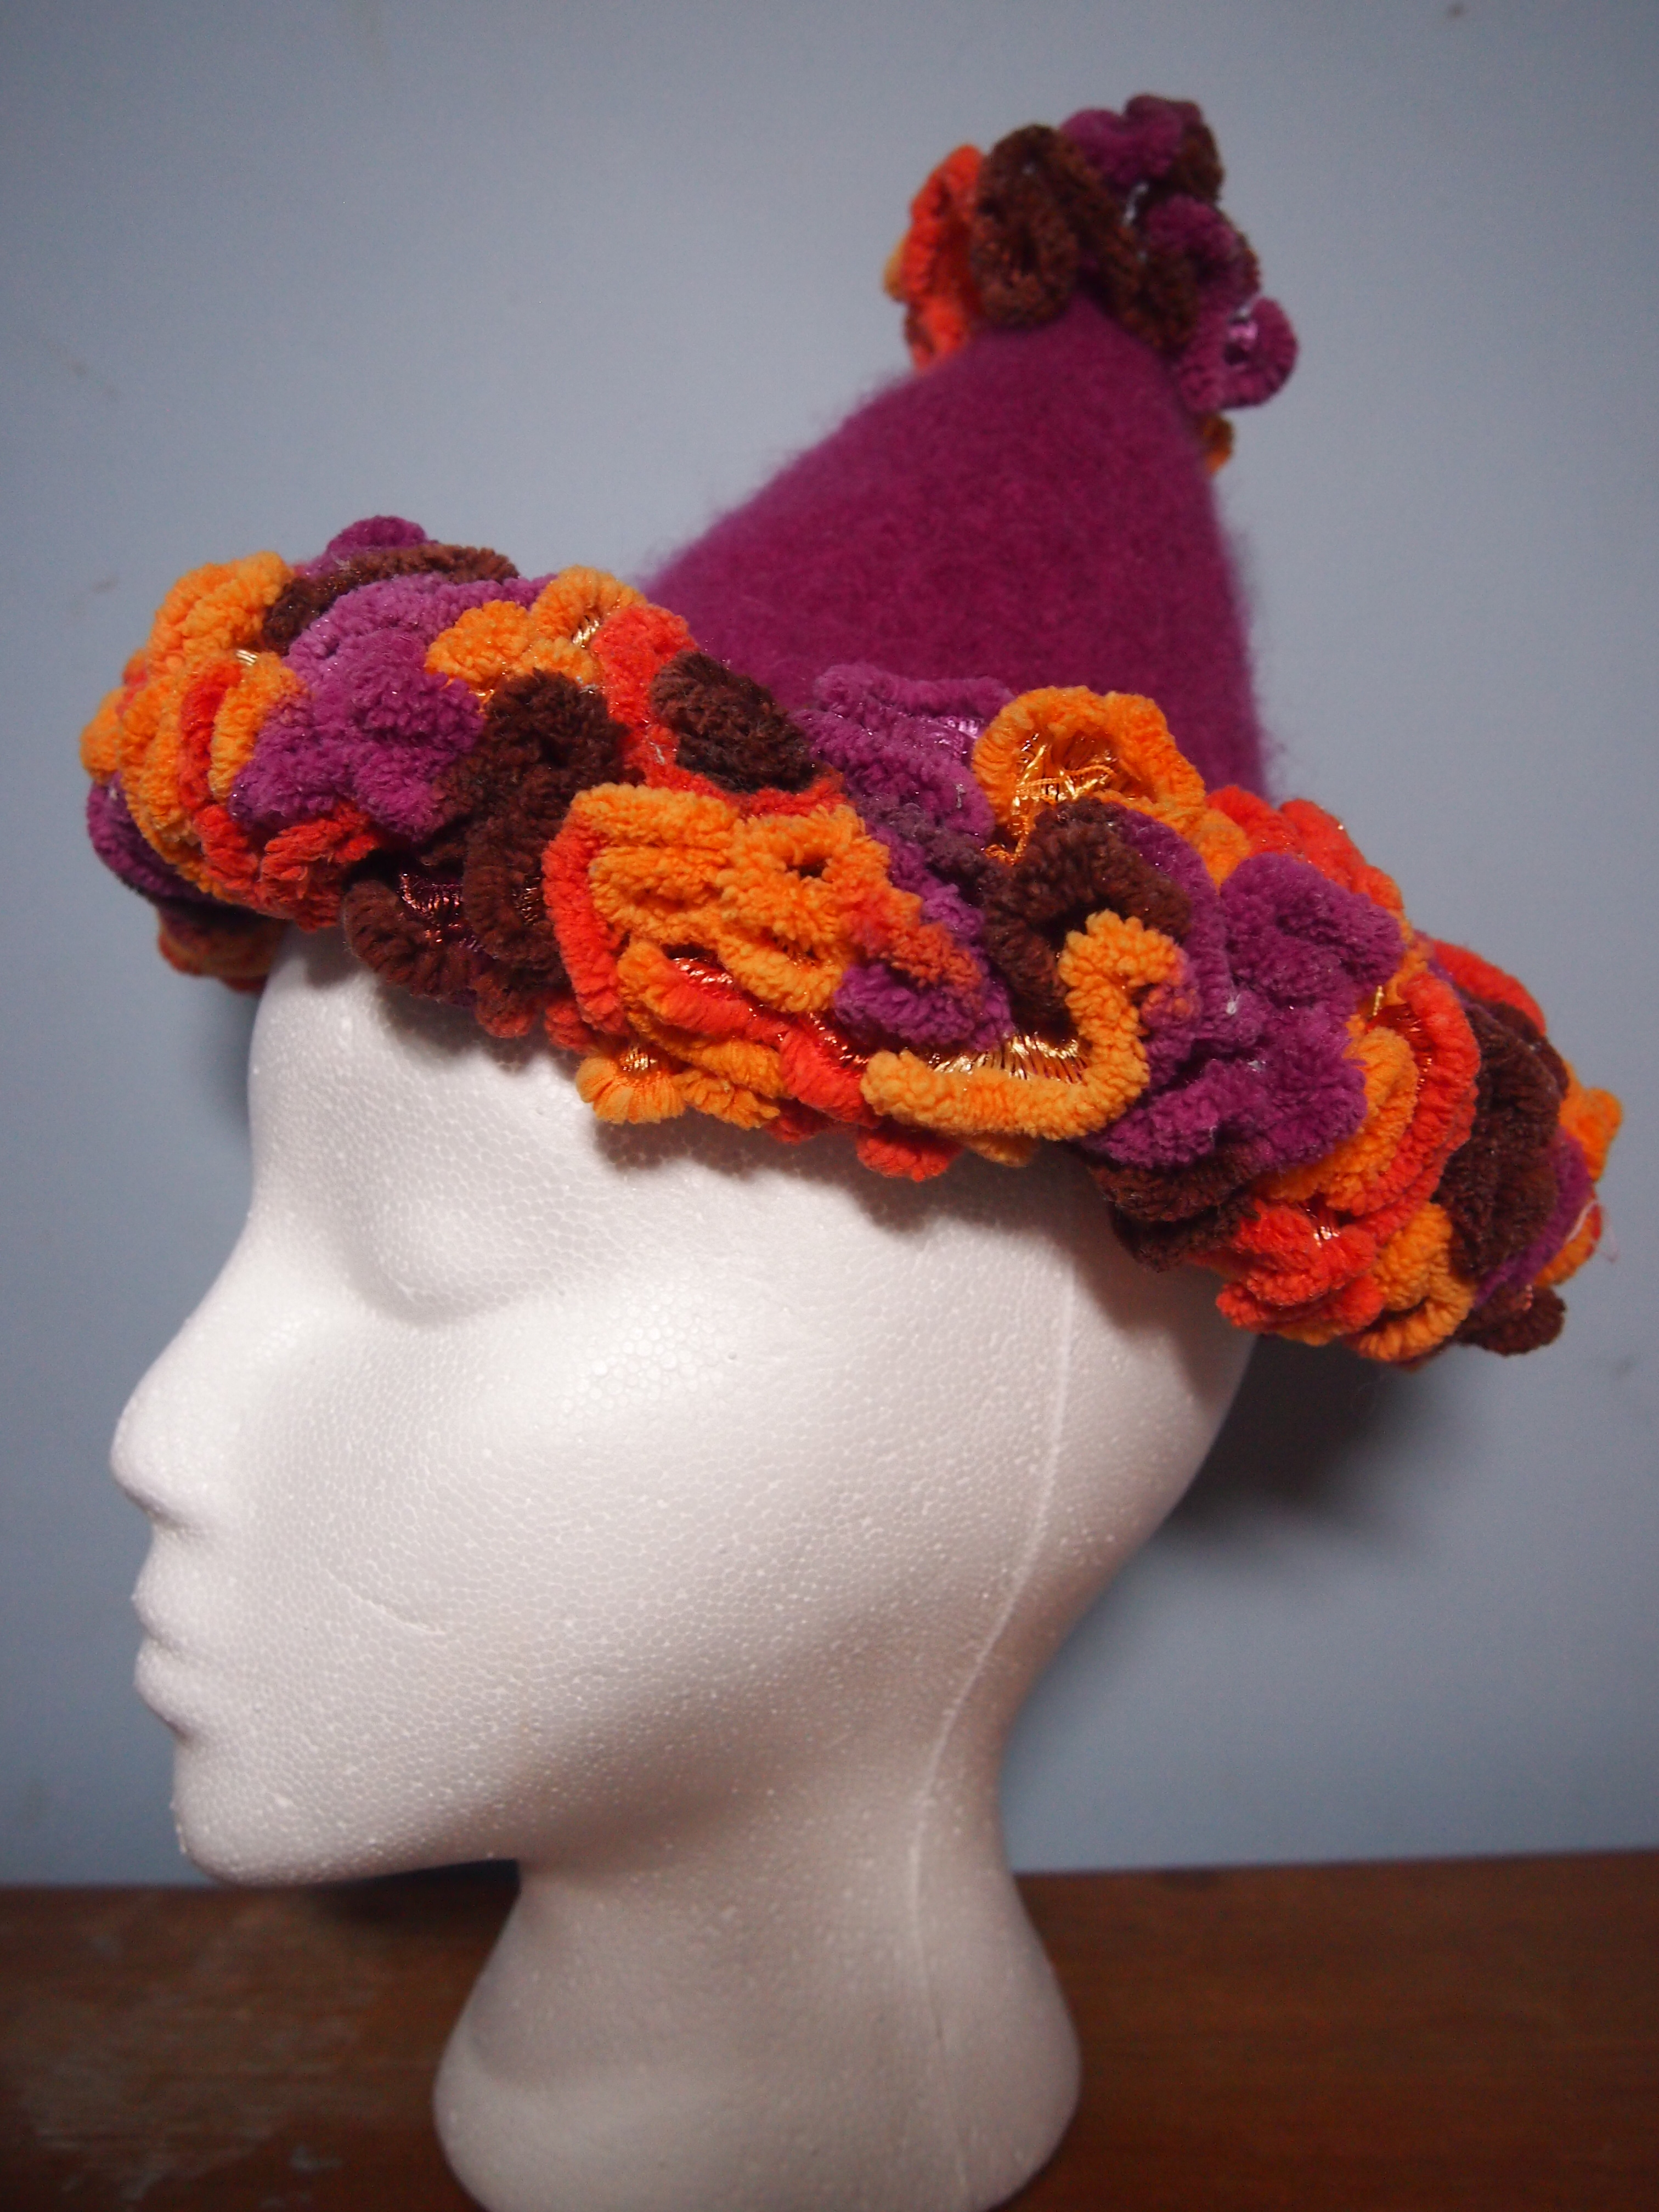
I did make a hat last week on the new years party hat theme..it is felted three times through the washer and dryer.  I am thinking of inserting an ear covering armature for cold nights and adding some decorative bits…

..he insisted that the cat may become an internet phenomenon if only she got exposure...

..Alan insisted that the cat may become an internet phenomenon if only she got exposure…

Back to basics…felting again

I decided to work out how to do a bit of a brim on a basic felted hat shape.

Basic felted hat with brim

Basic felted hat with brim

This hat could probably be used as a base for decoration like the pillbox, but I am showing it plain first.

Do it yourself: Patons Classic Wool size 4 1/2mm needles

Brim:  Cast on 200 stitches,  I worked the brim in garter stitch…knit one round, purl one round, decreasing was done on every other knit round (4th, 8th, 12th,16th and 20th rounds). There were 10 stitches decreased evenly around on each of the 5 decrease rounds, and the decreases were staggered each time.

Body: When you down to 150 stitches, continue in stocking stitch (knit every round) until work measures 9 1/2″ (24 cm) from the beginning.

Top: Next round *knit 27, slip 1, k2 tog, psso* repeat around (this will dec 10 stitches around).  Knit 2 rounds plain.  *knit 25, slip 1, k2 tog, psso* repeat around.  Knit 2 rounds plain….continue in this manner doing the decreases with two plain rounds between until after the row with *knit 15, slip 1 k2 tog, psso* at this point start putting only one plain round between until the round with *knit 3, slip 1 k2 tog, psso* after this round, keep knitting 2 together constantly until you have 7 stitches left.  Break your yarn and pull it through.

Run a string round the point at which the brim meets the body of the hat.  Pull it to the correct diameter for your head and tie with a reef knot.  Send the hat through the washer, dryer, and washer with laundry.  Dry on a form.

Cute but dumb

Way back when, when we were in high school, one of our sisters dated boys that fit into this category.  Back then, I was all over the cute, but not so much the dumb.  This phrase is what I have been thinking about  while making this hat.  And I have had as much fun making it as it is useless…

I think I mentioned that I had to make a trial run at the top of the fez the other day because I couldn’t get the red wool right away.  I had a pink flat felted top lying around and I felt (ha, ha) I had to use it.  “Self”, I said, “what else besides a fez has a flat top?”…answer…a pillbox hat…and so it goes…

After I had the basic hat made, I broke into my “stuff” cupboard and got out a 2″ (2cm) wide strip of leftover crepe bias which I gathered the edge of and put around a vintage button I picked up at the knitting guild vendors night.  Then I used pairs of peacock feathers that NIcky and Suja brought me back from India.  I put the pairs back to back so they are nice from either side and put them in behind the button.

This is NOTHING like the plan I had when I went into the stuff cupboard, but I am happy with the result.  I remember when I was doing my diploma in ceramics, I used to drive one of the professors crazy at the crits because she was an “artist” who believed you had to draw a picture of the finished pot before you started throwing the darn thing.  She would ask me why I did things to the pots and all I ever had to say was  “because I thought it would look good” or “I kept doing stuff till I thought it looked okay”.  Needless to say, my pottery never made it to galleries.

Do it yourself: (Patons Classic Wool 4 1/2 mm needles)

Sides: Cast on 112 stitches onto a 16″ (40 cm) needle.  Knit for 6 inches.  Cast off.  Run strings around the cast on and cast off edges, through each stitch.  Pull each string to a 5 1/2″ diameter circle and tie with reef knots. Put through the washer and dryer twice.  Fold bottom edge over 1/2″

Top: Cast on 4 stitches, purl one row, turn, Increase one stitch in each stitch (8 stitches).  DIvide onto 3 needles.  Knit one round plain.  Increase one stitch in each stitch around (16 stitches total).  Knit one round plain.  Knit one, increase one around (24 stitches total), Knit one round plain.  Knit 2, increase one around (32 stitches total).  Knit one round plain….continue until you have 112 stitches ending after the plain round.  Cast off loosely.  Put through washer and dryer twice.

Pin top down onto the bottom every 1/2″ (1 cm), then sew together using a ladder stitch.  Embellish as desired.

Yer basic felted hat

…remember on New Years day when I said if I mention felting again shoot me?  IT WAS A JOKE…please don’t shoot me, it would hurt…it seems like felting is all I can think about these days…It’s not that I have an one track mind or anything (like my father or several other family members I could name in an instant..you know who you are)…

This is a basic felted hat I have been working on.  I had been planning on using my embellishing machine to play with the surface of it but I like it plain for now.  I may do another one and play with it.  Since it is straight knitting it can be done anywhere. Heather and I are getting along a lot better lately.  She is only providing constructive criticism these days…not such good copy but a much calmer homelife in general I must say…Not to worry, she is 17 and I am me so I am sure we will be able to tick each other off again at some point…  The purple bow accent was her idea and I think it is nice.  It is the same bow tie as I made the other day to go with the Dr. Who fez.

Do it yourself:

(Patons Classic Wool … lime green 4 1/2mm needles) I use a 16″ (40cm) needle until the stitches won’t fit then switch to a set of 4

Cast on 140 stitches.  Do 2 rounds k1, p1 rib then knit plain till it measures 9 1/12 inches.   Next round…knit 25, slip 1, k2 tog, psso, around (=loose 10 stitches).  Do two rounds plain, Next round knit 23, slip 1, k2 tog, psso around.  Do two rounds plain…

Keep going this way doing your decreases every third round until the round that you do knit 15, slip 1 knit 2 tog, psso around.  At this point you start only putting one round in between your decrease rounds instead of two.

At the point where you have done knit 3, then your decrease around (i.e. 20 stitches left) it is time for the rapid descent or you will end up with an elfen point.  When I got down to the 20 stitch mark, I just kept knitting 2 together until I had about 7 stitches left, then cut my thread and ran the end through and pulled it tight.

I sent it through the washing machine twice and the dryer once in between. If you look at the pictures close up you can see that there is still some detail in the stitches visible.  You would have to cast on more stitches if you were planning to felt it completely and make the fabric indistinct.

I dried it the second time on my hat form.  A cheap alternative to a hat form is a Styrofoam wig stand you get from a beauty supply place.  If you were going this route, I would put the hat on my head and tell it where to go before I let it dry on the Styrofoam head.

Bow:  Patons Classic wool 4 1/2 mm needles.  Cast on 26.  Divide onto a set of 3 needles.  Knit 12, p1 until it measures 4″(10cm). Cast off.  Sew up ends with purl stitches running down the sides and cinch the middle.

Telling your felting where to go

This post is relatively technical and if you are not a knitter, you may want to stop reading now before the boredom hits too hard, but please look at the pretty pictures anyway…

I have figured something out over time while I have been doing some of these felted hats. I may have been told these things somewhere back in the distant past and forgot them, but I will never forget them again. There are two major contributing factors to the shape of a knitted hat, only one of them being the stitches that are put into it.  Any knitter that has blocked a lace shawl (or a sweater for that matter) knows the power of the pins.  Felting in the washing machine and dryer is no different but you are not in there with the stuff to control things and there is no board to pin things on.

I would never expect to wash a lace shawl without blocking it so I am not sure why it took me so long to figure out I had to corral the hat before I felted it.  This is what went horribly wrong with the Remembrance Day hat back in November (before the epiphany).  I just put it through the washer and dryer and let it get tugged around by the wringer and the other laundry willy nilly.  It shrank but there was no control to it.  I went back today and re felted it with a string around the cinch point.  The hat may still have issues but that one is fixed…

It now looks quite a bit like the 20’s style cloche I was originally trying for but thought I had failed miserably at.  I also had only put it through the wash and dry once.  It really felts a lot the second time through.  Actually often it seems only two washes with a dryer in between is enough; take a good look after the second wash and decide if you really need to put it in again or not.  Things seem to depend on water temperature (hotter felts more) and the amount of other laundry in there with it (space to move felts things more).

So yesterday on the Doctor Who fez, I actually ran strings through the cast on and cast off edges.  I pulled them to about the tightness I thought they should end up at and eased the fullness around before I sent them through the washer and dryer….and P.S. be a Girl Scout…tie a reef knot so it will not come undone in the washing machine (ask me how I know!)

The Dr. Who fez

I started chatting to a woman I met a couple of weeks ago about my hats because I was knitting and she was crocheting.  I said that I didn’t follow patterns anymore but just figured it out as I went along.  She asked if I could do a Dr. Who fez for her.  My immediate reaction (internally) was wow that sounds hard..don’t they have a flat top? I can’t do that…Outwardly I deflected her with ‘oh, I don’t know…don’t hold your breath’.

I went home and looked up a picture and realized that I had been making some pretty solid hats lately with the New Years Party hats and the Halloween Witch hat, so I had a pretty good idea of how to make a hat that stood up by itself.  I have also made A LOT of shawls and doilies, so I figured that I only had to figure out how to make it solid instead of holey…and I said to myself CHALLENGE ACCEPTED!!

Unfortunately, there appeared to be an eastern Ontario wide shortage of bright red Patons Classic wool that week. I tried every Michaels store in Ottawa and even phoned down to Brockville.  The nice lady on the phone in Brockville told me that a shipment was due in the next week, so I figured that would be the same for Ottawa so I just decided to do a trial run on the top in another colour while I waited (patiently).  Patience is, after all, my middle name, lol.

Alan Who?

Alan Who?

I have been vaguely aware of Dr. Who off and on all my life.  I was a child in England when the show first started 50 years ago (gasp) and it has come in and out of vogue (and hence my consciousness)  ever since.  I have seen episodes here and there but have never followed it like Star Trek or some of my other deals.  When we were trying the hat on Alan, I was musing about how Dr. Who kept it on his head. For this, I got from Heather a heavy sigh and a roll of the eyes…’he is not called Dr. Who mom, the show is called Doctor Who, he is called The Doctor’…oops,..I stand corrected….

Do it Yourself:

Main body of the hat:

Cast on 130 stitches on a circular needle.  Do two rows of k1, p1 ribbing, then switch to straight stocking stitch (knit every stitch.  When your work measures 1 1/2″, 3″, 4 1/2″ 6″, 7 1/2″ and 8 1/2″, knit 2 stitches together three times evenly spaced around the hat.  This means that on 6 different rows you will reduce by three stitches, a total of 18 stitches and thus end up with 112 stitches at the top of the hat.  Keep knitting after the last decrease row until your work measures 9 1/2″,  then cast off loosely.

Top of the hat:

Cast on 4 stitches.  Purl one row.  Next row:  knit and Increase one stitch in each stitch across (end up with 8 stitches).  Divide these 8 stitches between 3 needles and join into a round. knit one row plain.

Next round: knit one, increase one around (16 stitches).   Do one round plain.  Then knit 2, increase 1 around (24 stitches).  Do one round plain.  Continue in this manner, increasing 8 stitches per round every other round with one plain round in between until you have 112 stitches, then cast off  loosely after the plain round.

Send both sections through the washing machine and dryer (with laundry) three times.  Pin the two sections and sew them together.  Here is a selfie halfway through the sewing process:

fez selfie

fez selfie

HAPPY NEW YEAR!

HAPPY NEW YEAR 2014!!!!

HAPPY NEW YEAR 2014

If I mention felting again…just shoot me and get it over with…there is sooo much more knitting in a felted hat.  I have done 4 of them in a little over a week…I do love how they stand up and hold their shape though.

As you may have gathered in previous posts, Heather is NOT happy with my ‘artistic’ direction.  The other day she said the blog has ruined my hat making ability.  In her opinion, I am trying too hard to be creative for my fans.  I did point out that 20 friends and family and 5 other people following me does not constitute much in the way of fame, but she was having none of that.

I think she just likes plain hats, no bells or whistles, just some pattern stitches and maybe a bobble on top.  None of this wacky stuff.  And I think she has a point.  I do like making the hats with novelty yarn and frills  but I am not sure many would wear them, holidays notwithstanding.

For today’s hat, I didn’t want any of the Bernat Boa left over, so I made the topper first.  I just kept crocheting chains 8 stitches long and returning to the base with 6 single crochet.  I kept this until I thought it had enough spikes. I then cast on 100 stitches and knit until I ran out.  I then switched to Patons Classic wool and increased to 150 stitches.  After 8 rows, I decreased to 144 then lost 8 stitches every 6 rows.

Party hat number two

New Years Party

New Years hat with Bernat Truffles and Patons Classic Wool

This is the second of (hopefully by tomorrow) three felted New Years party hats.

For this one I used Patons Classic Wool as the felting yarn and I combined it with Bernat Truffles as the accent.  I decreased more aggressively (10 stitches every 6 rows all the way up) on this hat than the one yesterday and I don’t think it was such a great idea.

I am going back to a less aggressive decrease for tomorrows hat.