Monthly Archives: April 2015

Barbara Walker…week 9

Only two items this week…I haven’t really made baby sweaters since my kids were babies.  And we all know they are not that any more.  There are only two kids in the next generation so far and my sister Jane is a knitter herself, so there was no real point.  Gotta say, hats are WAY easier….there are so many more stitches in this sucker than any hat.  Also way more design choices, potential problems.  Having to rip back a few times only adds to the psychological issues.  I probably should have aimed for newborn size instead of the second size, less knitting….BUT, I used three whole stitches from “THE BOOK” (A Treasury of Knitting Patterns. Barbara Walker. 1968).  Wheat Ear Rib, pg 43, Cloverleaf Eyelet Pattern, pg 169, and Eccentric Cables, pg 241.  I thought I had been making too many hats, and I needed to leave my wheelhouse for a bit.  I have made over 200 hats without patterns now and I make design choices almost automatically, for good or ill.  It almost never takes longer than walking to the kitchen to make a coffee to get me unstuck anymore.  Also, I couldn’t figure out how the wheat ear rib would be done in the round.  I think I have figured it out, but I thought it was cheating if I wasn’t sure it was the same stitch exactly.  I have to follow my own arbitrary, fictitious rules on this project, after all.  gillianknits.com

I have an issue at the back of the collar.  We are going to Toronto this week to pick the kids up from university, so I will try to visit the only grandniece I have and see how bad the problem is.  I am pretty sure I can jury rig it easily enough.  I am pretty vigilant these days about writing down the hat patterns, but I figured this was a dead loss and I quit writing it down somewhere near the middle of the raglans.  I am not really fussed about the look of the raglan edge, but better done than perfect as someone used to say.  A lot.
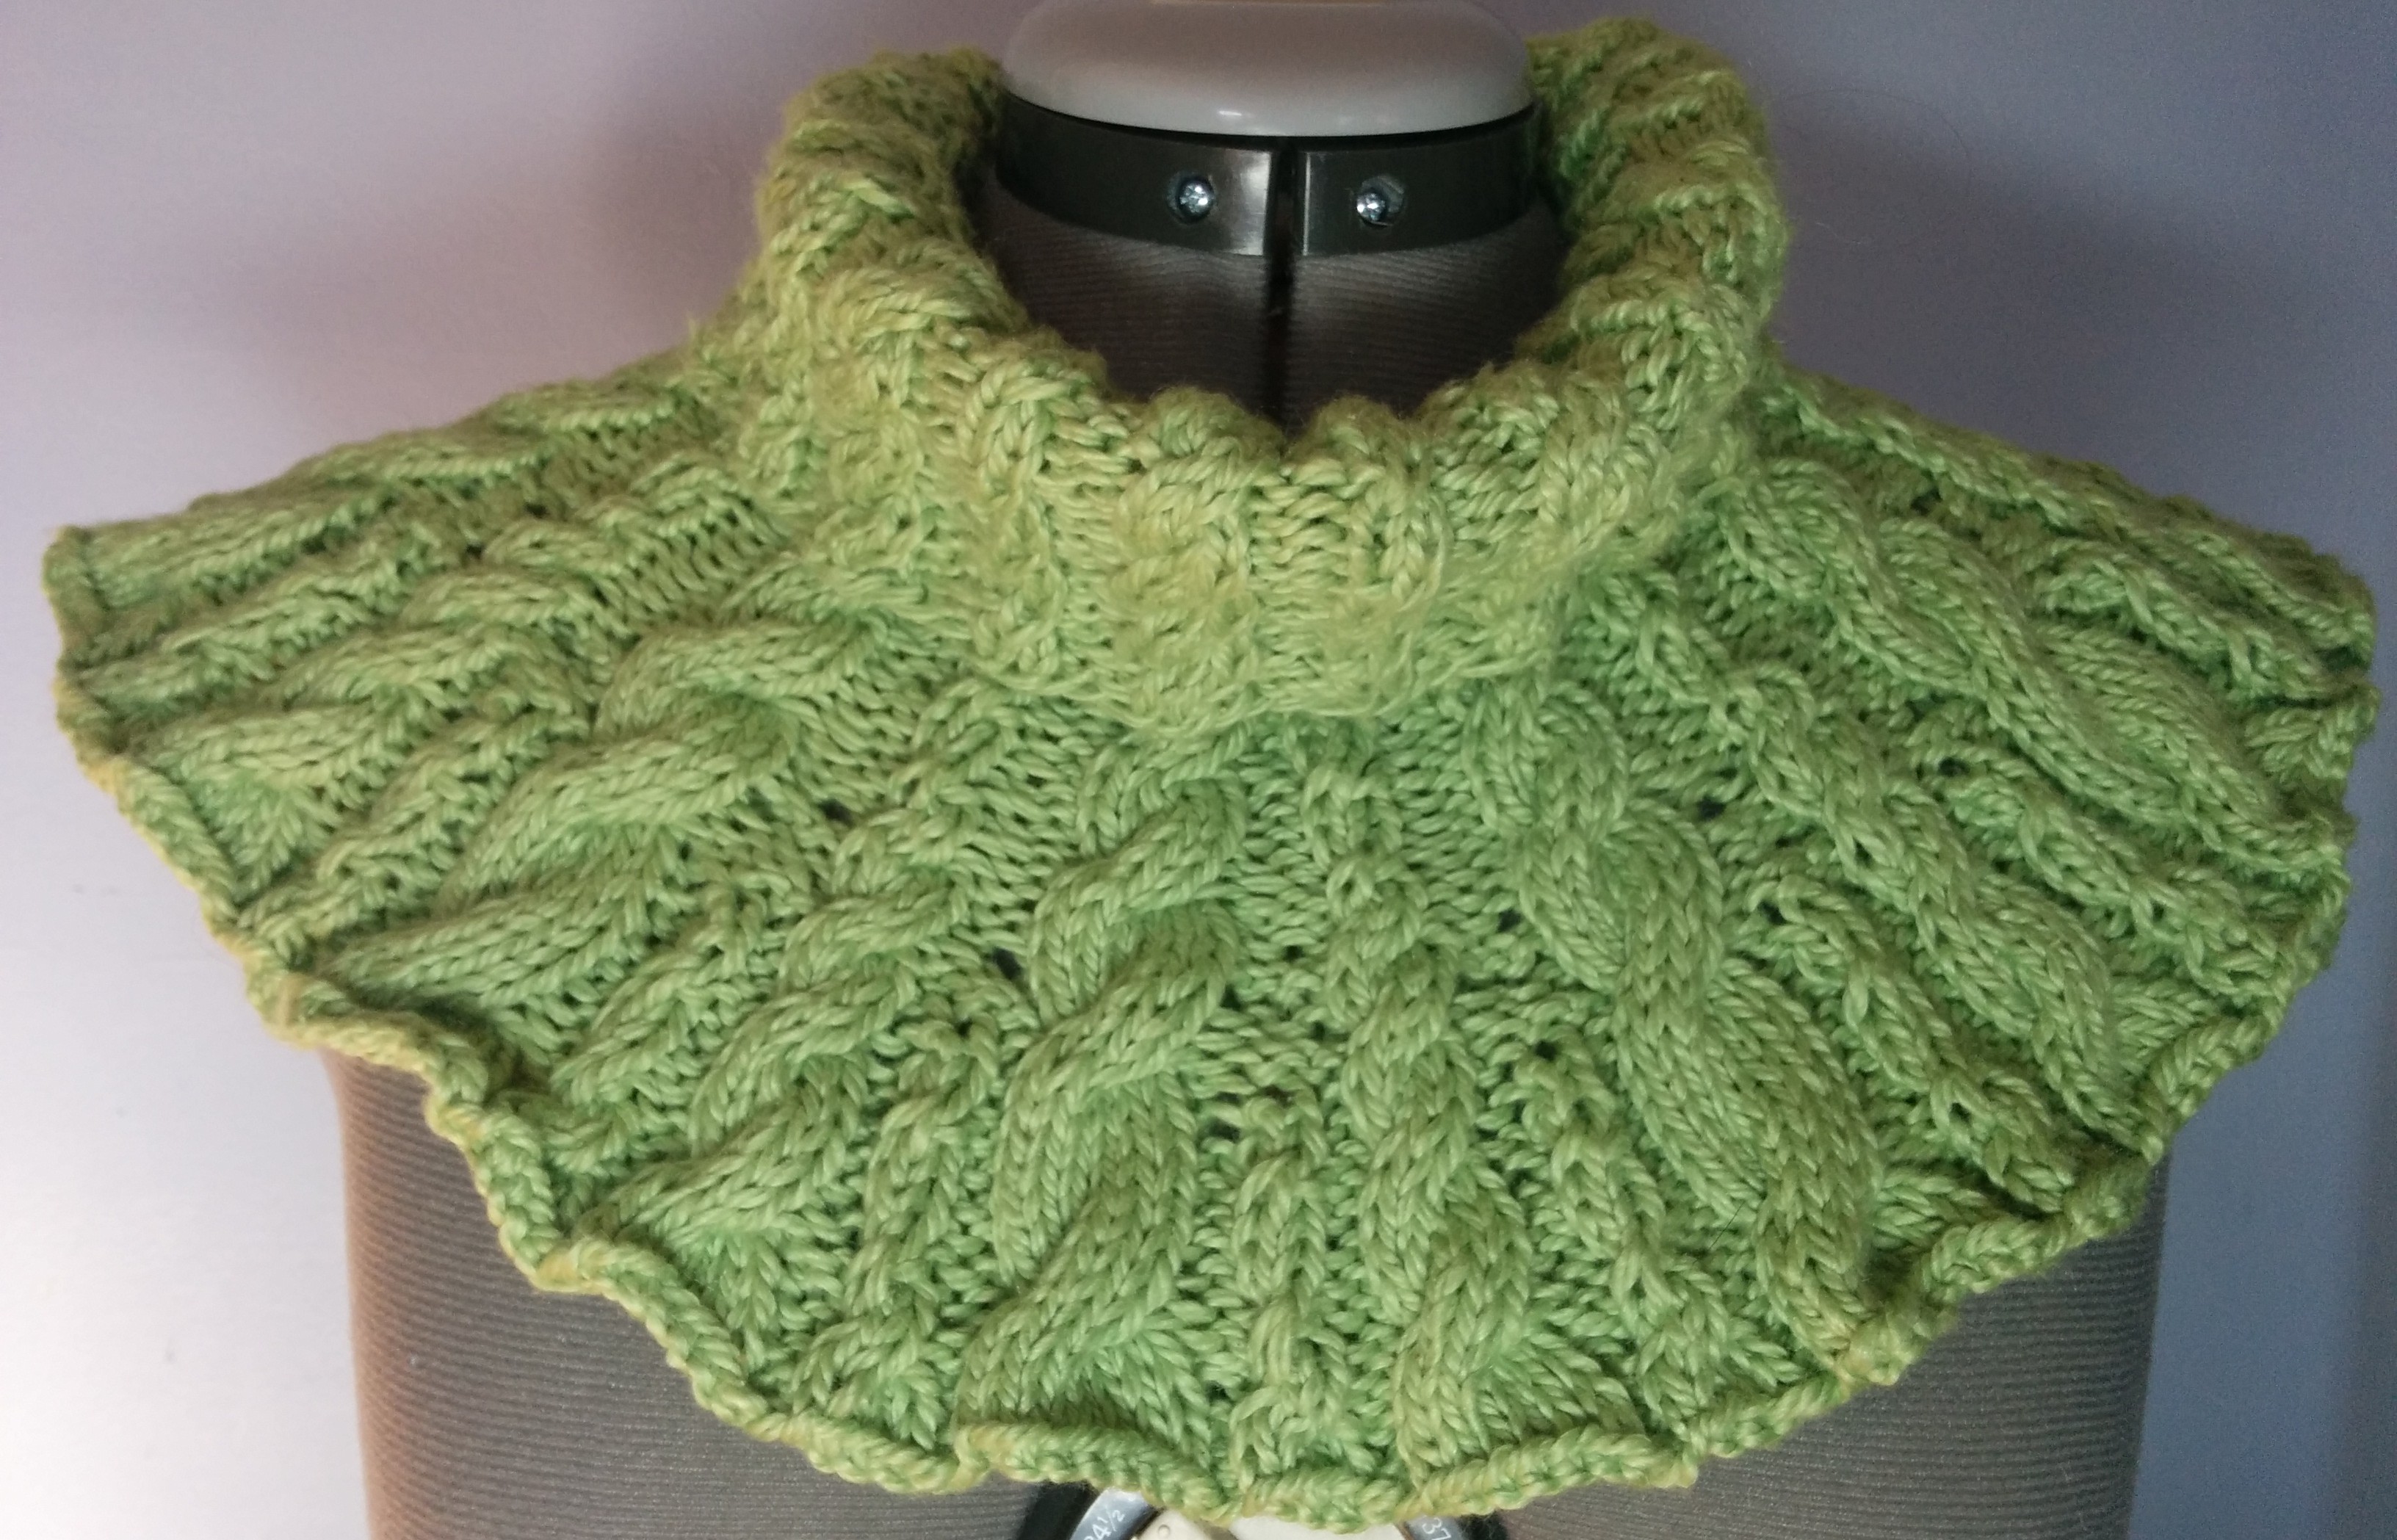
...a wam hug

…a wam hug

On our way home from Quebec City, we stopped in Plessisville at the Brassard et Fils weaving supply store  Near the cash they had this (sadly discontinued) Misti Cotton which is a blend of pima cotton and silk.  It felt so soft I couldn’t leave it there, so I bought three skeins.  I immediately knew that I wanted to make neck warmers with it.  I also knew that I had to break into the cable chapter, so I did this to use up a whole bunch of different cables.  I started at the bottom of the collar part with Classic Mock Cable, pg 115 and Four Stitch Cable Crossed Every Fourth Row, pg. 241.  Just before the collar part finished, I turned around as if to do a short row so that I flipped back and front.  I continued down the yoke part turning the mock cable into 4 x 4 cable then 6 x 6 cable.  I turned the 4 x 4 cable into 6 x 8 cable then 8 x 10 cable.  I was just trying to constantly increase as I went along.  I had measured and knew that I had to end up with about 2 1/2 times as many stitches at the bottom of the yoke as I had on the collar part.  I created new cables between the old ones which started as mock cables and transitioned into 4 x 4’s. At some point I was REALLY glad I wasn’t trying to follow someone else’s pattern instructions because I would have had to think too much.   With the baby sweater, this takes care of all the simple cables….yeah!  And it feels like a warm hug so, double bonus points.

Barbara Walker… week 8

Jah Rastafari

Jah Rastafari

Heather was home last week between classes and exams.  She mentioned that she will be going to a scout moot next weekend with the theme “Reggae vs DIsco”.  I immediately thought “do I have a stitch for you!”.  I knew this, Tricolor Wave Stripes, was the next stitch in Chapter Four, Color-Change Patterns.  It may have been good  to do another slouch, but it is difficult to get slouchy with such a dense stitch.

My next hat went from COLOUR! back to white, It uses Basketweave from Chapter Two, simple Knit-Purl Combinations and Braided Rib from Chapter Three, Ribbings.

Braided Rib and Basketweave

Braided Rib and Basketweave

I tried my best to stay in the pattern as I decreases at the top, but it was difficult to maintain the integrity of the stitch whilst decreasing the number of stitches per pattern repeat.  I don’t mind the top, but I think the basketweave got lost.

disappearing the basketweave

disappearing the basketweave

My last hat of the week uses Reverse Cross-Stitch Ribbing in combination with Mock Cable Rib (as suggested in the book).  I also broke into Chapter Nine, Eyelet Patterns with Zigzag Eyelet Pattern below the Simple Eyelet Pattern.

gillianknits.com

I played a bit with the top from last week.  Disappearing 14 stitches toward each other in four sections.  This time when I got to the top of this part, I continued up with slip 1, knit 2 together, psso to the top.  Not actually that much different than the top last week’s hat.

disappearing eyelets

disappearing eyelets

I didn’t get too far this week because my knitting guild challenge is due tonight and I had to finish up my entries on the weekend. My entries are very much also-rans this year, but someone has to lose, right?


Barbara Walker….week 7

Black and white sampler-side view

Black and white sampler-side view

For these first two hats, I cast on 108 stitches using Patons Classic (worsted weight) wool and 4 1/2 mm needles.  I like 108 stitches if I am doing something that pulls in a bit, like cables or colour work.  108 has a lot of ways to be divisible 3 x 36, 4 x 27, 6 x 18, 9 x 12. For more ordinary tension stitches, I usually cast on about 100 stitches, which covers stitch repeats of 4 or 5 nicely. or 98 or 105 for a stitch repeat of 7, 102 for stitch repeats of 6..  These first two hats used 9 different stitches, all from Chapter 4, Color-Change Patterns.  For the first hat I started at the bottom with Pin Stripe Pattern.  I did a total of 14 rows of each colour, then joined back in to the cast on edge.  I continued up the hat with Three-and-One Tweed, Corn on the Cob Stitch, Pin Check, Pin Check Variation, and finished with Waffle Check. I separated each section with a knit row, then a purl row of black.  I like how the hat fits and it is really cozy and warm…not that we need THAT any more this year, YEAH!!.  Here is the top of that first one:

Black and White sampler-top view

Black and White sampler-top view

I liked how the pinstripe looked, but I felt the band could be less puffy.   I experimented on the second hat and did 7 rows of knit 1, purl 1 ribbing before doing 8 rounds of each colour in the pinstripe pattern and joining back to the cast on edge.

Another black and white sampler

Another black and white sampler

I continued up this hat with Maltese Cross Stitch, Waffle Check Variation, and finished with Dotted Ladder Pattern.  I did a two stage decrease at the top, and I liked the effect (for each quarter of the hat, I decreased on 2/3 of the stitches with the decreases heading toward each other, then when these stitches were gone, did the same thing on the remaining stitches).

Another black and white sampler...top view

Another black and white sampler…top view

I was pleased with how that looked, so decided to do the same basic thing on my next hat, this time doing half the stitches first, then the rest, but without the visual distraction of the colours.

Quaker ridging slouch hat-back view

Quaker ridging slouch hat-back view

I like how this top looks, but unfortunately maybe not on the hat I did.  I used Little Hourglass Ribbing from Chapter 3, Ribbings for 14 rows, then switched to Quaker Ridging from Chapter 2, Simple Knit-Purl Combinations.  As I was knitting this hat, it struck me that it was a pretty flexible stitch and the purl sections might roll up like my socks from a couple of weeks ago, so I thought it might work well as a slouch hat, which I did.

Quaker Ridging slouch hat-side view

Quaker Ridging slouch hat-side view

Heather and my friend Jen both liked the slouch thing, so I decided to do another using Cross-Stitch ribbing and Banded Insertion Pattern.

Banded Insertion Pattern-side view

Banded Insertion Pattern-side view

J decided for this one to just let the stitch itself tell me how to reduce it, even though I still have some ideas related to the last cast off.  I will save them for the future.  I have made notes so I don’t forget.  I quite like how the back turned out.

Banded Insertion Pattern-back view

Banded Insertion Pattern-back view


Barbara Walker…week 6

silly little hat

silly little hat

I kept looking at the beginning of Chapter Four, Colour Work, which starts with this pattern, Simple Vertical Stripes, and thinking “ugh!” This pattern reminds me of Phentex slippers and old ladies’ tea cozies. I decided that I had to bite it and get going because I actually love colour work and am looking forward to later things in this chapter. My compromise is to make a little hat which I can stick in the drawer of the doll’s dresser. It needs to be populated anyway. I used 1 mm (US 00000) needles and some knitting-in wool from spools I bought at one of my local wool stores.  Yarn Forward.


Little spools of wool

Little spools of wool

So now I am passed that little hurdle, I have made a couple of regular hats with some of the colour change patterns after that one.

 Two-Stitch Check/Four-Stitch Check Hat

Two-Stitch Check/Four-Stitch Check Hat

This hat uses the next two patterns in the chapter.  I redid the top four times before I left it.  I tried to disappear the stitches staying in the two-stitch check pattern several times before giving up and putting this top on it instead.  I used 9 points of decrease, decreasing on the white (knit) rows, alternating with plain rounds of black (purl).  I did another hat this way a month or so ago before I fired the blog back up.

Top view of Two-Stitch Check/Four-Stitch Check Hat

Top view of Two-Stitch Check/Four-Stitch Check Hat

I then carried on.  I really was not fussed about this, (Elongated Check) pattern, but it is OK on the hat, I think.  Better done than perfect, as they say.  Whoever THEY are.

Hat using Elongated Check Pattern

Hat using Elongated Check Pattern

This hat also uses the next stitch in Chapter 3, Ribbings- Embossed Moss Stitch Ribbing.  I played with disappearing the stitches in stockinette stitch on the top using 7 points of decrease. I did ssk at the beginning of each decrease section every row for 3 rows, did a row with no decrease, then did three rows where I did a k2tog at the end of each decrease section, followed by another plain row.  I alternated like this till I had nothing left.  I quite like how it looks.

Top of Elongated Check Pattern Hat

Top of Elongated Check Pattern Hat

That’s all she wrote for this week, better luck next time…