Way back when, when we were in high school, one of our sisters dated boys that fit into this category. Back then, I was all over the cute, but not so much the dumb. This phrase is what I have been thinking about while making this hat. And I have had as much fun making it as it is useless…
-

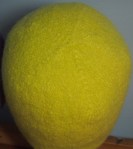
- Cute but dumb
-

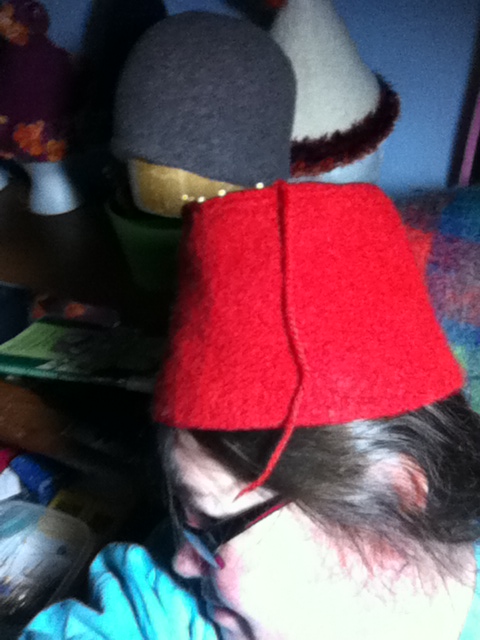
- Close up
I think I mentioned that I had to make a trial run at the top of the fez the other day because I couldn’t get the red wool right away. I had a pink flat felted top lying around and I felt (ha, ha) I had to use it. “Self”, I said, “what else besides a fez has a flat top?”…answer…a pillbox hat…and so it goes…
After I had the basic hat made, I broke into my “stuff” cupboard and got out a 2″ (2cm) wide strip of leftover crepe bias which I gathered the edge of and put around a vintage button I picked up at the knitting guild vendors night. Then I used pairs of peacock feathers that NIcky and Suja brought me back from India. I put the pairs back to back so they are nice from either side and put them in behind the button.
This is NOTHING like the plan I had when I went into the stuff cupboard, but I am happy with the result. I remember when I was doing my diploma in ceramics, I used to drive one of the professors crazy at the crits because she was an “artist” who believed you had to draw a picture of the finished pot before you started throwing the darn thing. She would ask me why I did things to the pots and all I ever had to say was “because I thought it would look good” or “I kept doing stuff till I thought it looked okay”. Needless to say, my pottery never made it to galleries.
Do it yourself: (Patons Classic Wool 4 1/2 mm needles)
Sides: Cast on 112 stitches onto a 16″ (40 cm) needle. Knit for 6 inches. Cast off. Run strings around the cast on and cast off edges, through each stitch. Pull each string to a 5 1/2″ diameter circle and tie with reef knots. Put through the washer and dryer twice. Fold bottom edge over 1/2″
Top: Cast on 4 stitches, purl one row, turn, Increase one stitch in each stitch (8 stitches). DIvide onto 3 needles. Knit one round plain. Increase one stitch in each stitch around (16 stitches total). Knit one round plain. Knit one, increase one around (24 stitches total), Knit one round plain. Knit 2, increase one around (32 stitches total). Knit one round plain….continue until you have 112 stitches ending after the plain round. Cast off loosely. Put through washer and dryer twice.
Pin top down onto the bottom every 1/2″ (1 cm), then sew together using a ladder stitch. Embellish as desired.