Tag Archives: knitted hat

The Dr. Who fez

I started chatting to a woman I met a couple of weeks ago about my hats because I was knitting and she was crocheting.  I said that I didn’t follow patterns anymore but just figured it out as I went along.  She asked if I could do a Dr. Who fez for her.  My immediate reaction (internally) was wow that sounds hard..don’t they have a flat top? I can’t do that…Outwardly I deflected her with ‘oh, I don’t know…don’t hold your breath’.

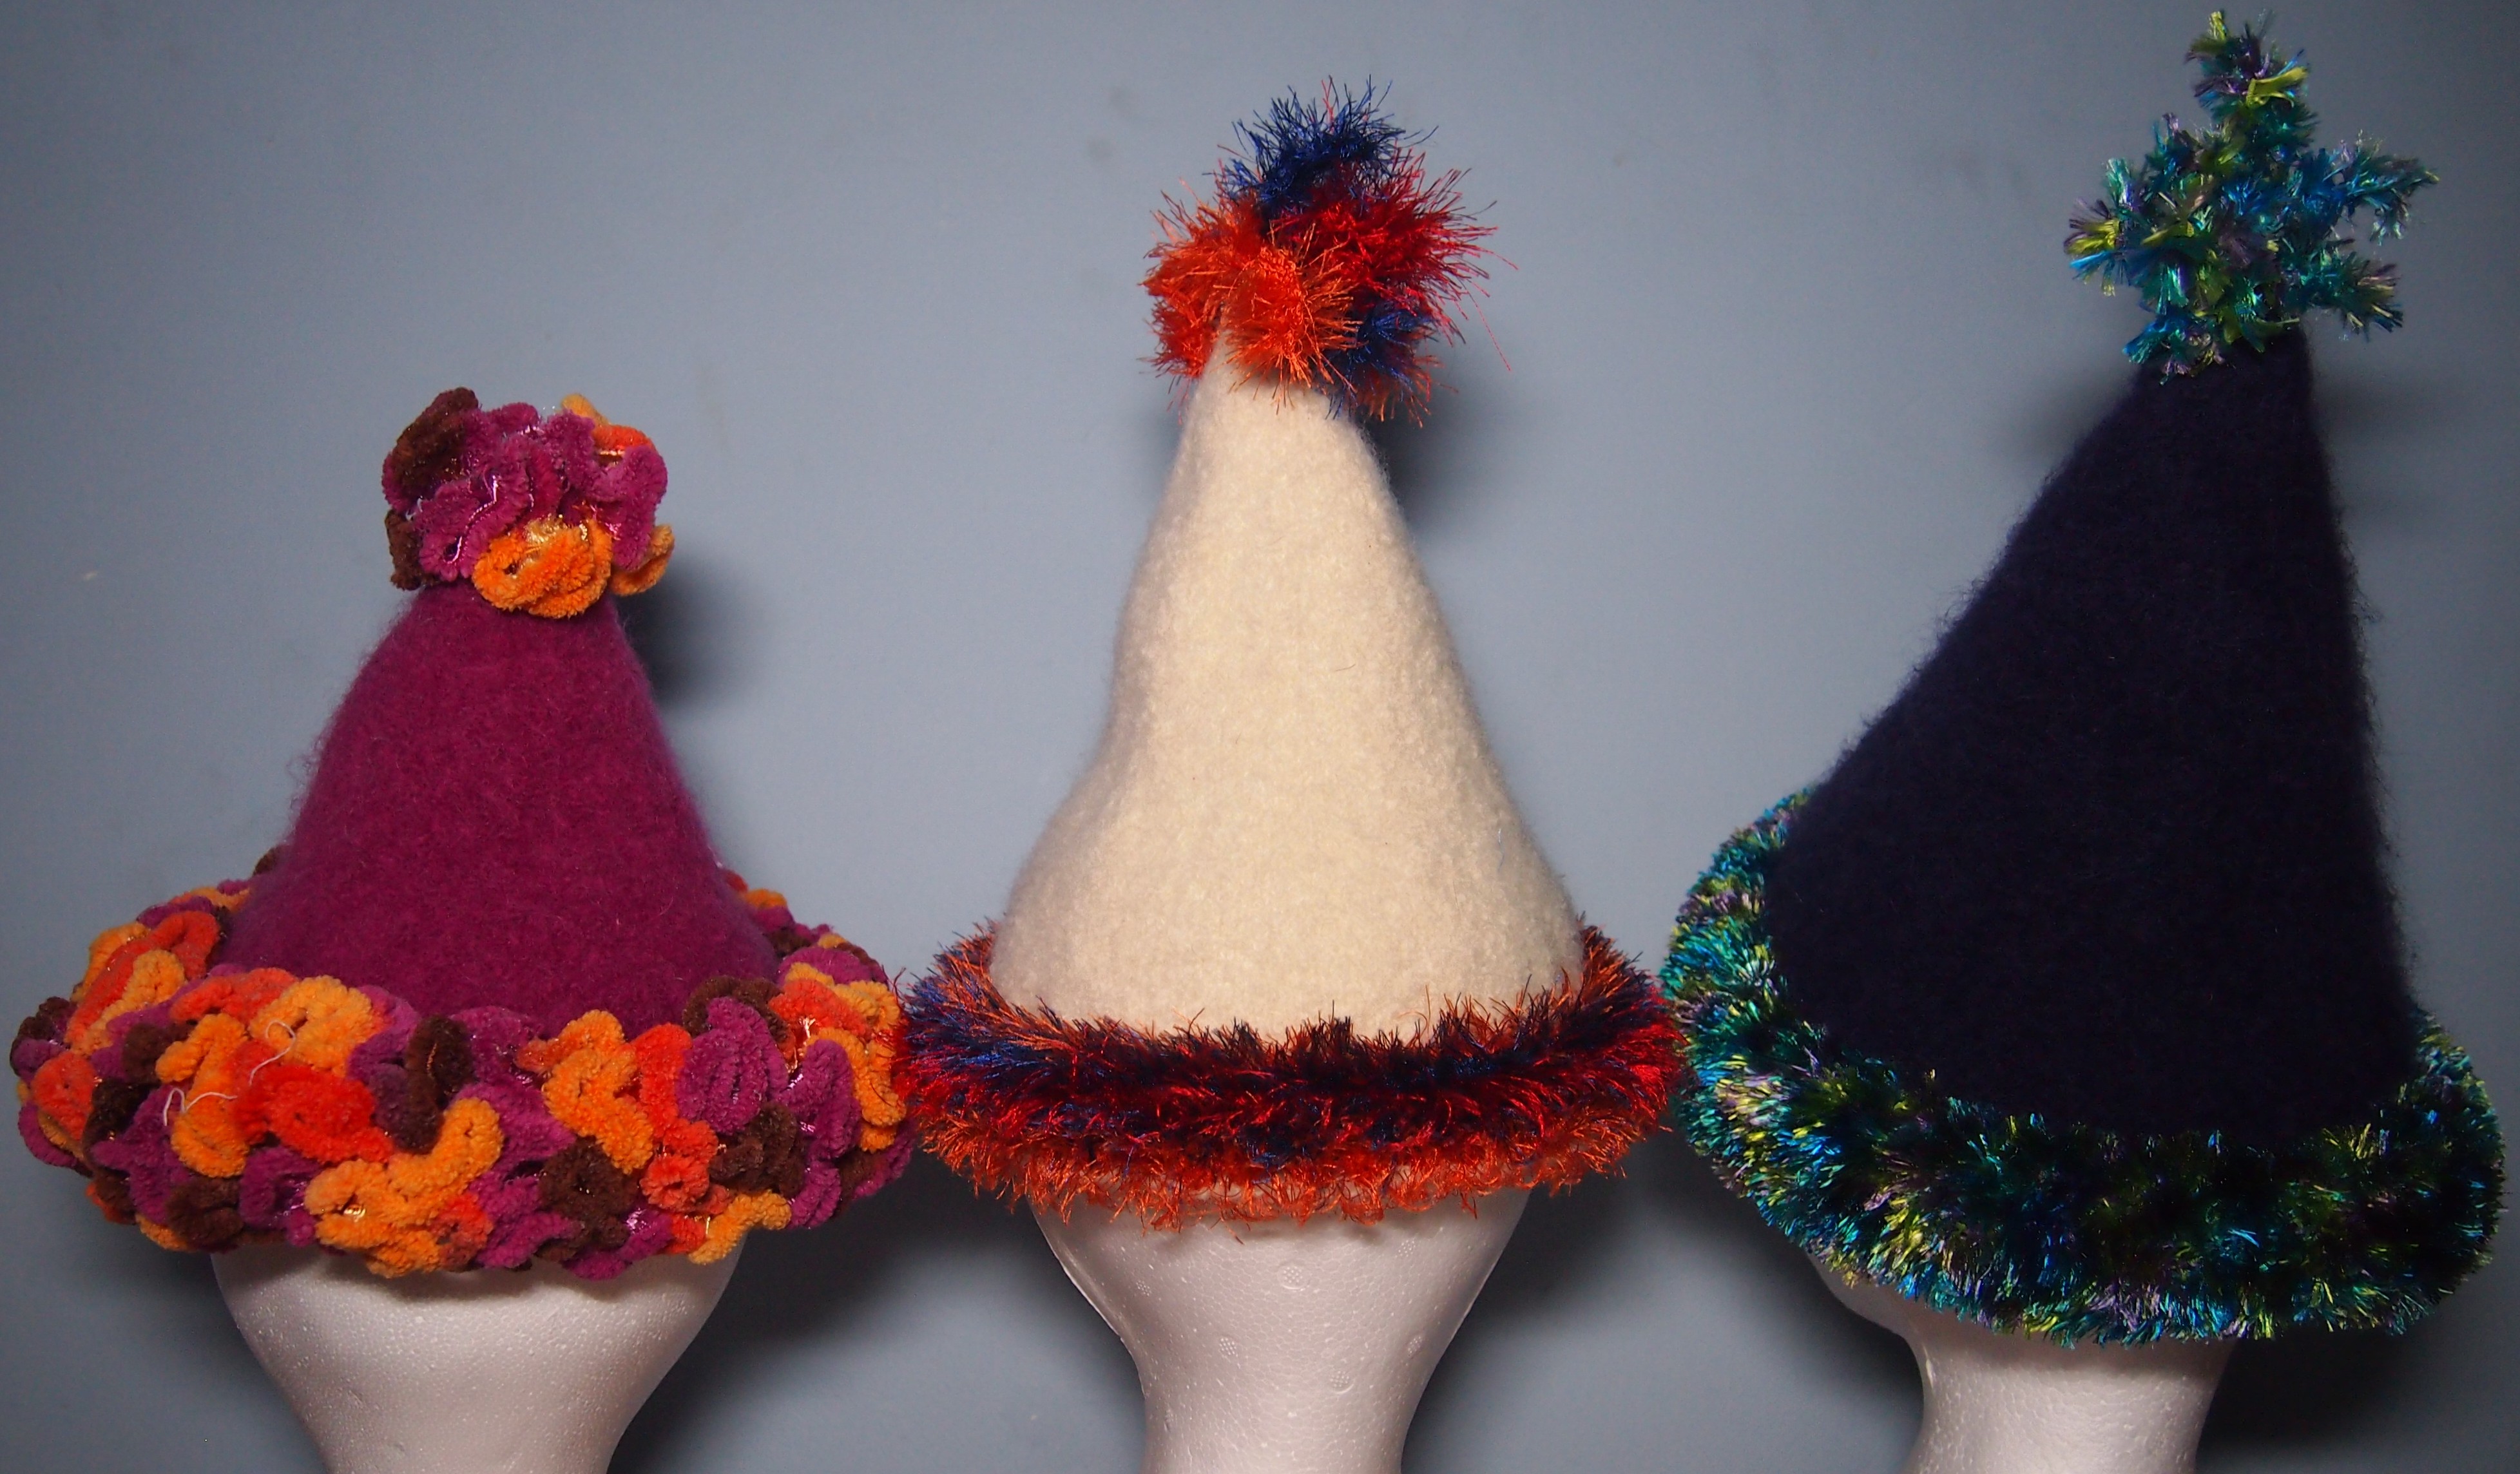
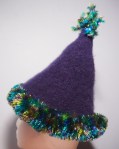
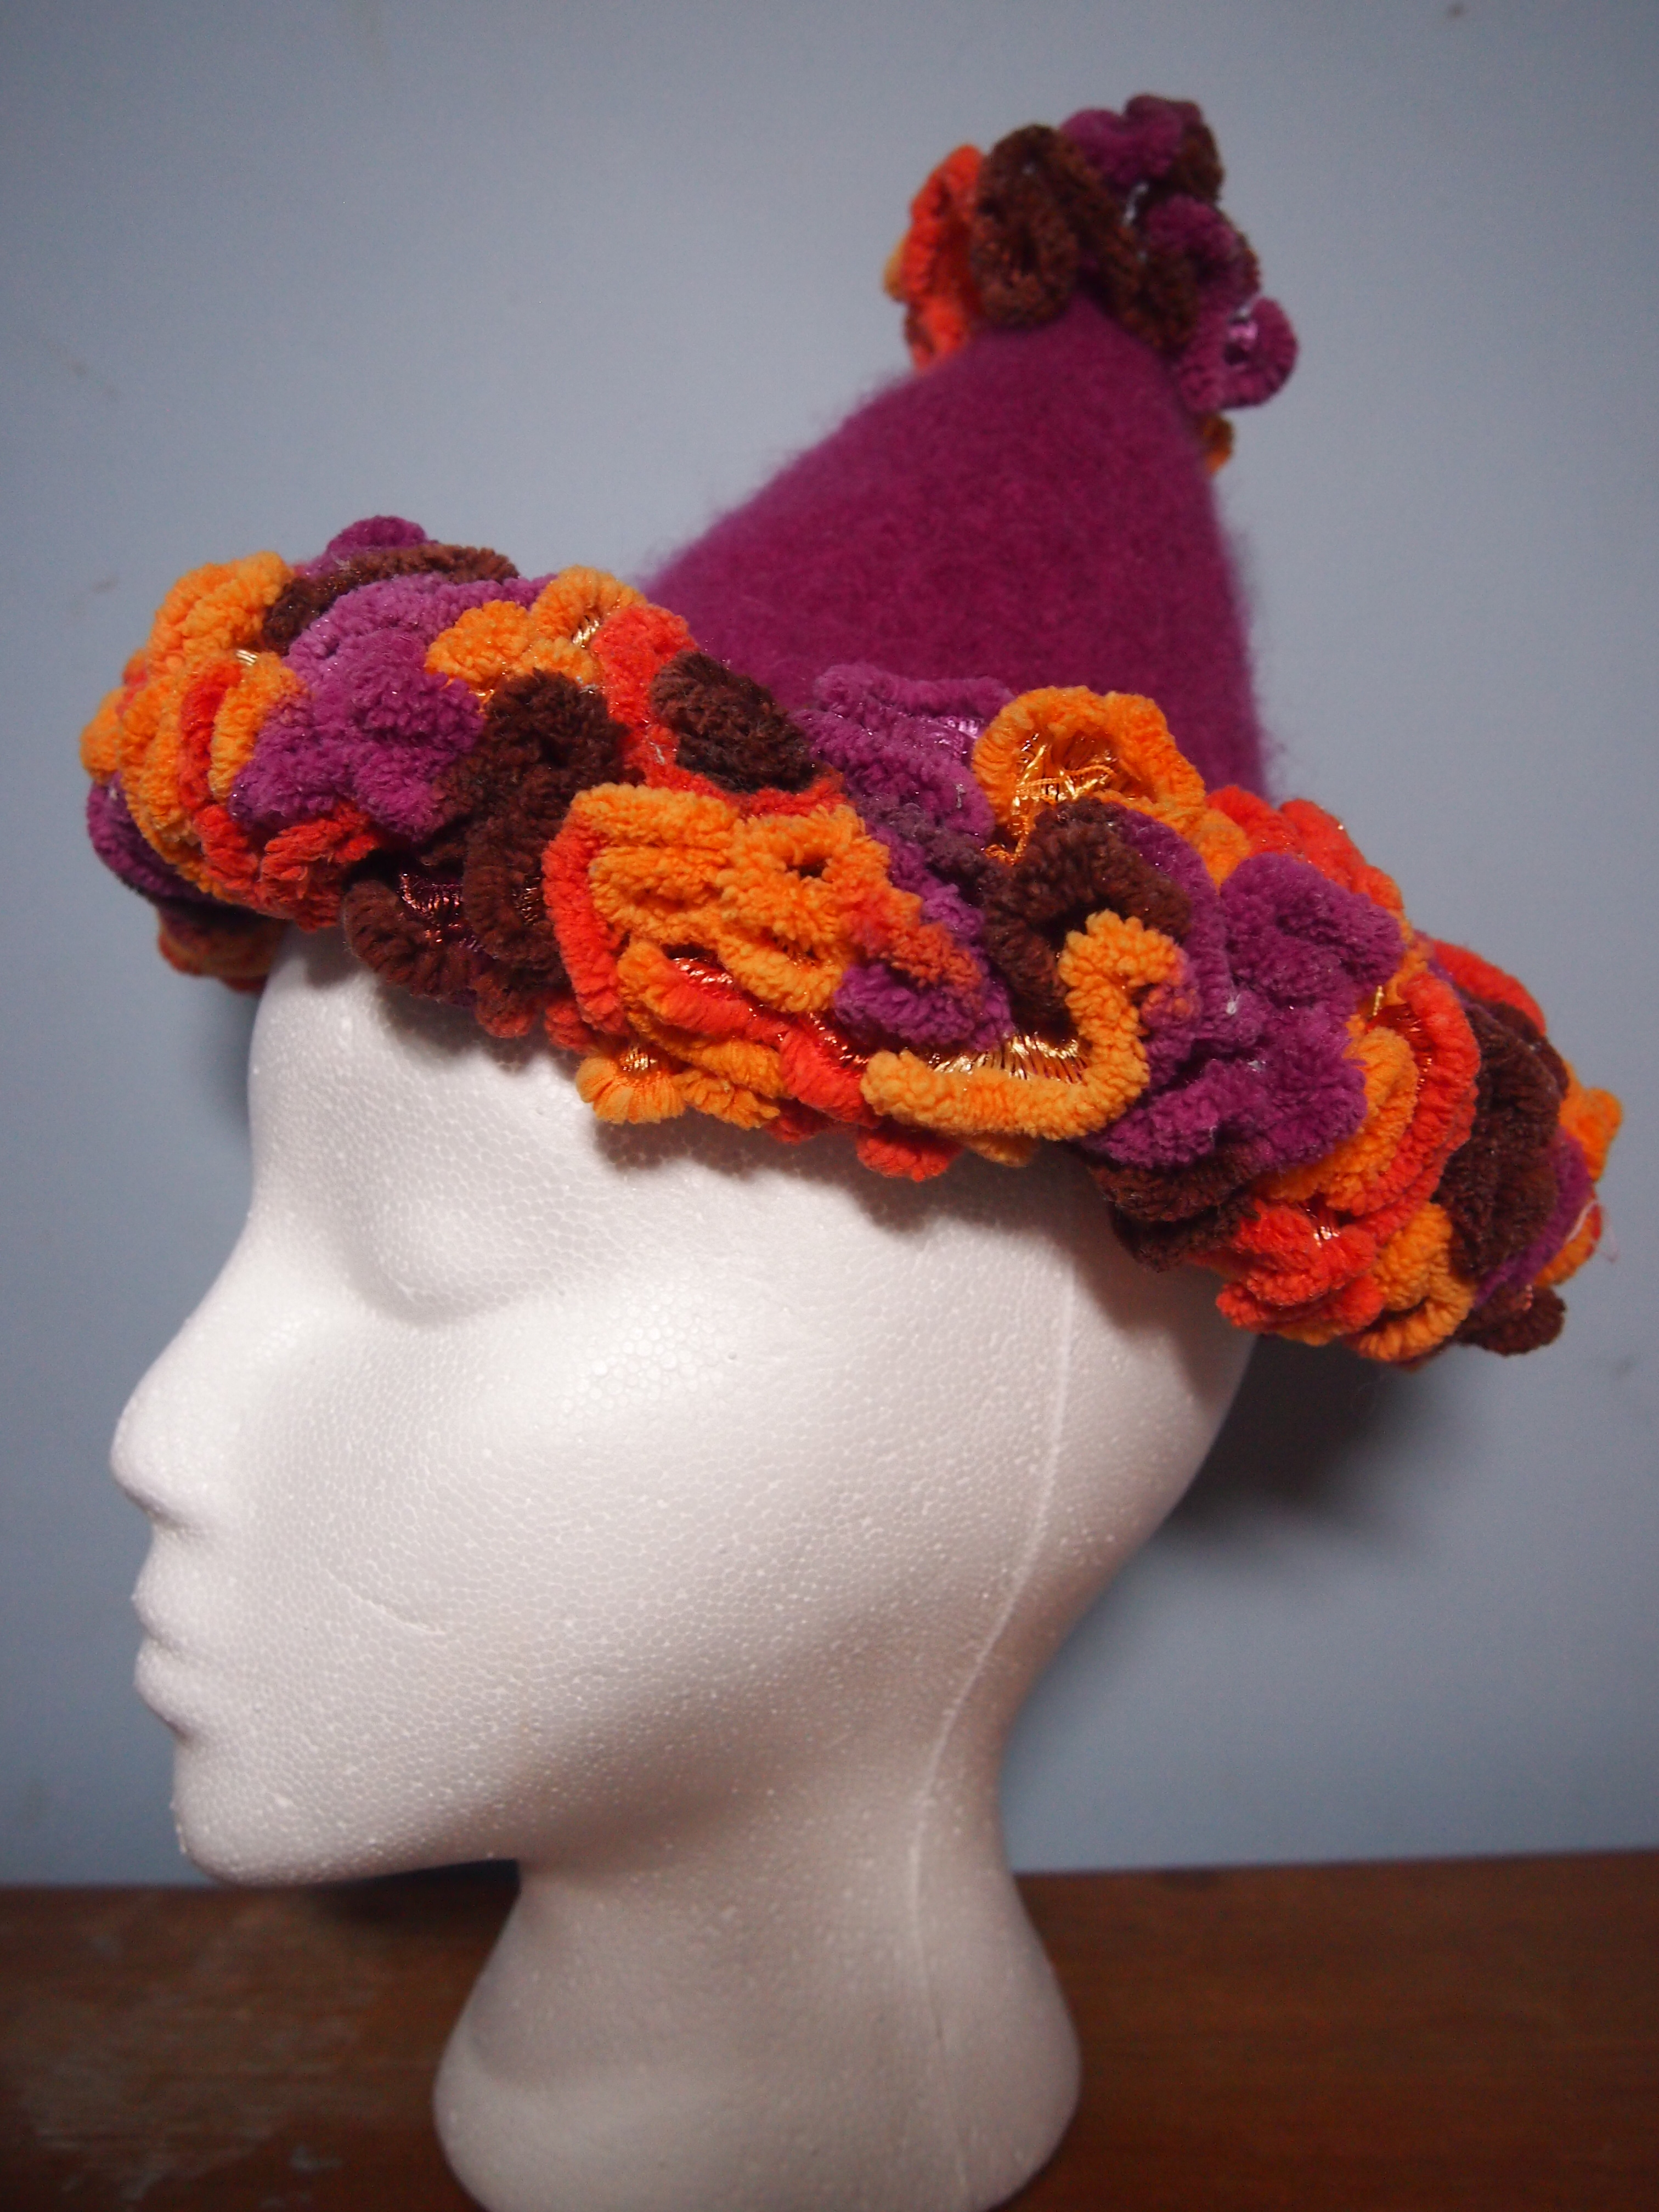
I went home and looked up a picture and realized that I had been making some pretty solid hats lately with the New Years Party hats and the Halloween Witch hat, so I had a pretty good idea of how to make a hat that stood up by itself.  I have also made A LOT of shawls and doilies, so I figured that I only had to figure out how to make it solid instead of holey…and I said to myself CHALLENGE ACCEPTED!!

Unfortunately, there appeared to be an eastern Ontario wide shortage of bright red Patons Classic wool that week. I tried every Michaels store in Ottawa and even phoned down to Brockville.  The nice lady on the phone in Brockville told me that a shipment was due in the next week, so I figured that would be the same for Ottawa so I just decided to do a trial run on the top in another colour while I waited (patiently).  Patience is, after all, my middle name, lol.

Alan Who?

Alan Who?

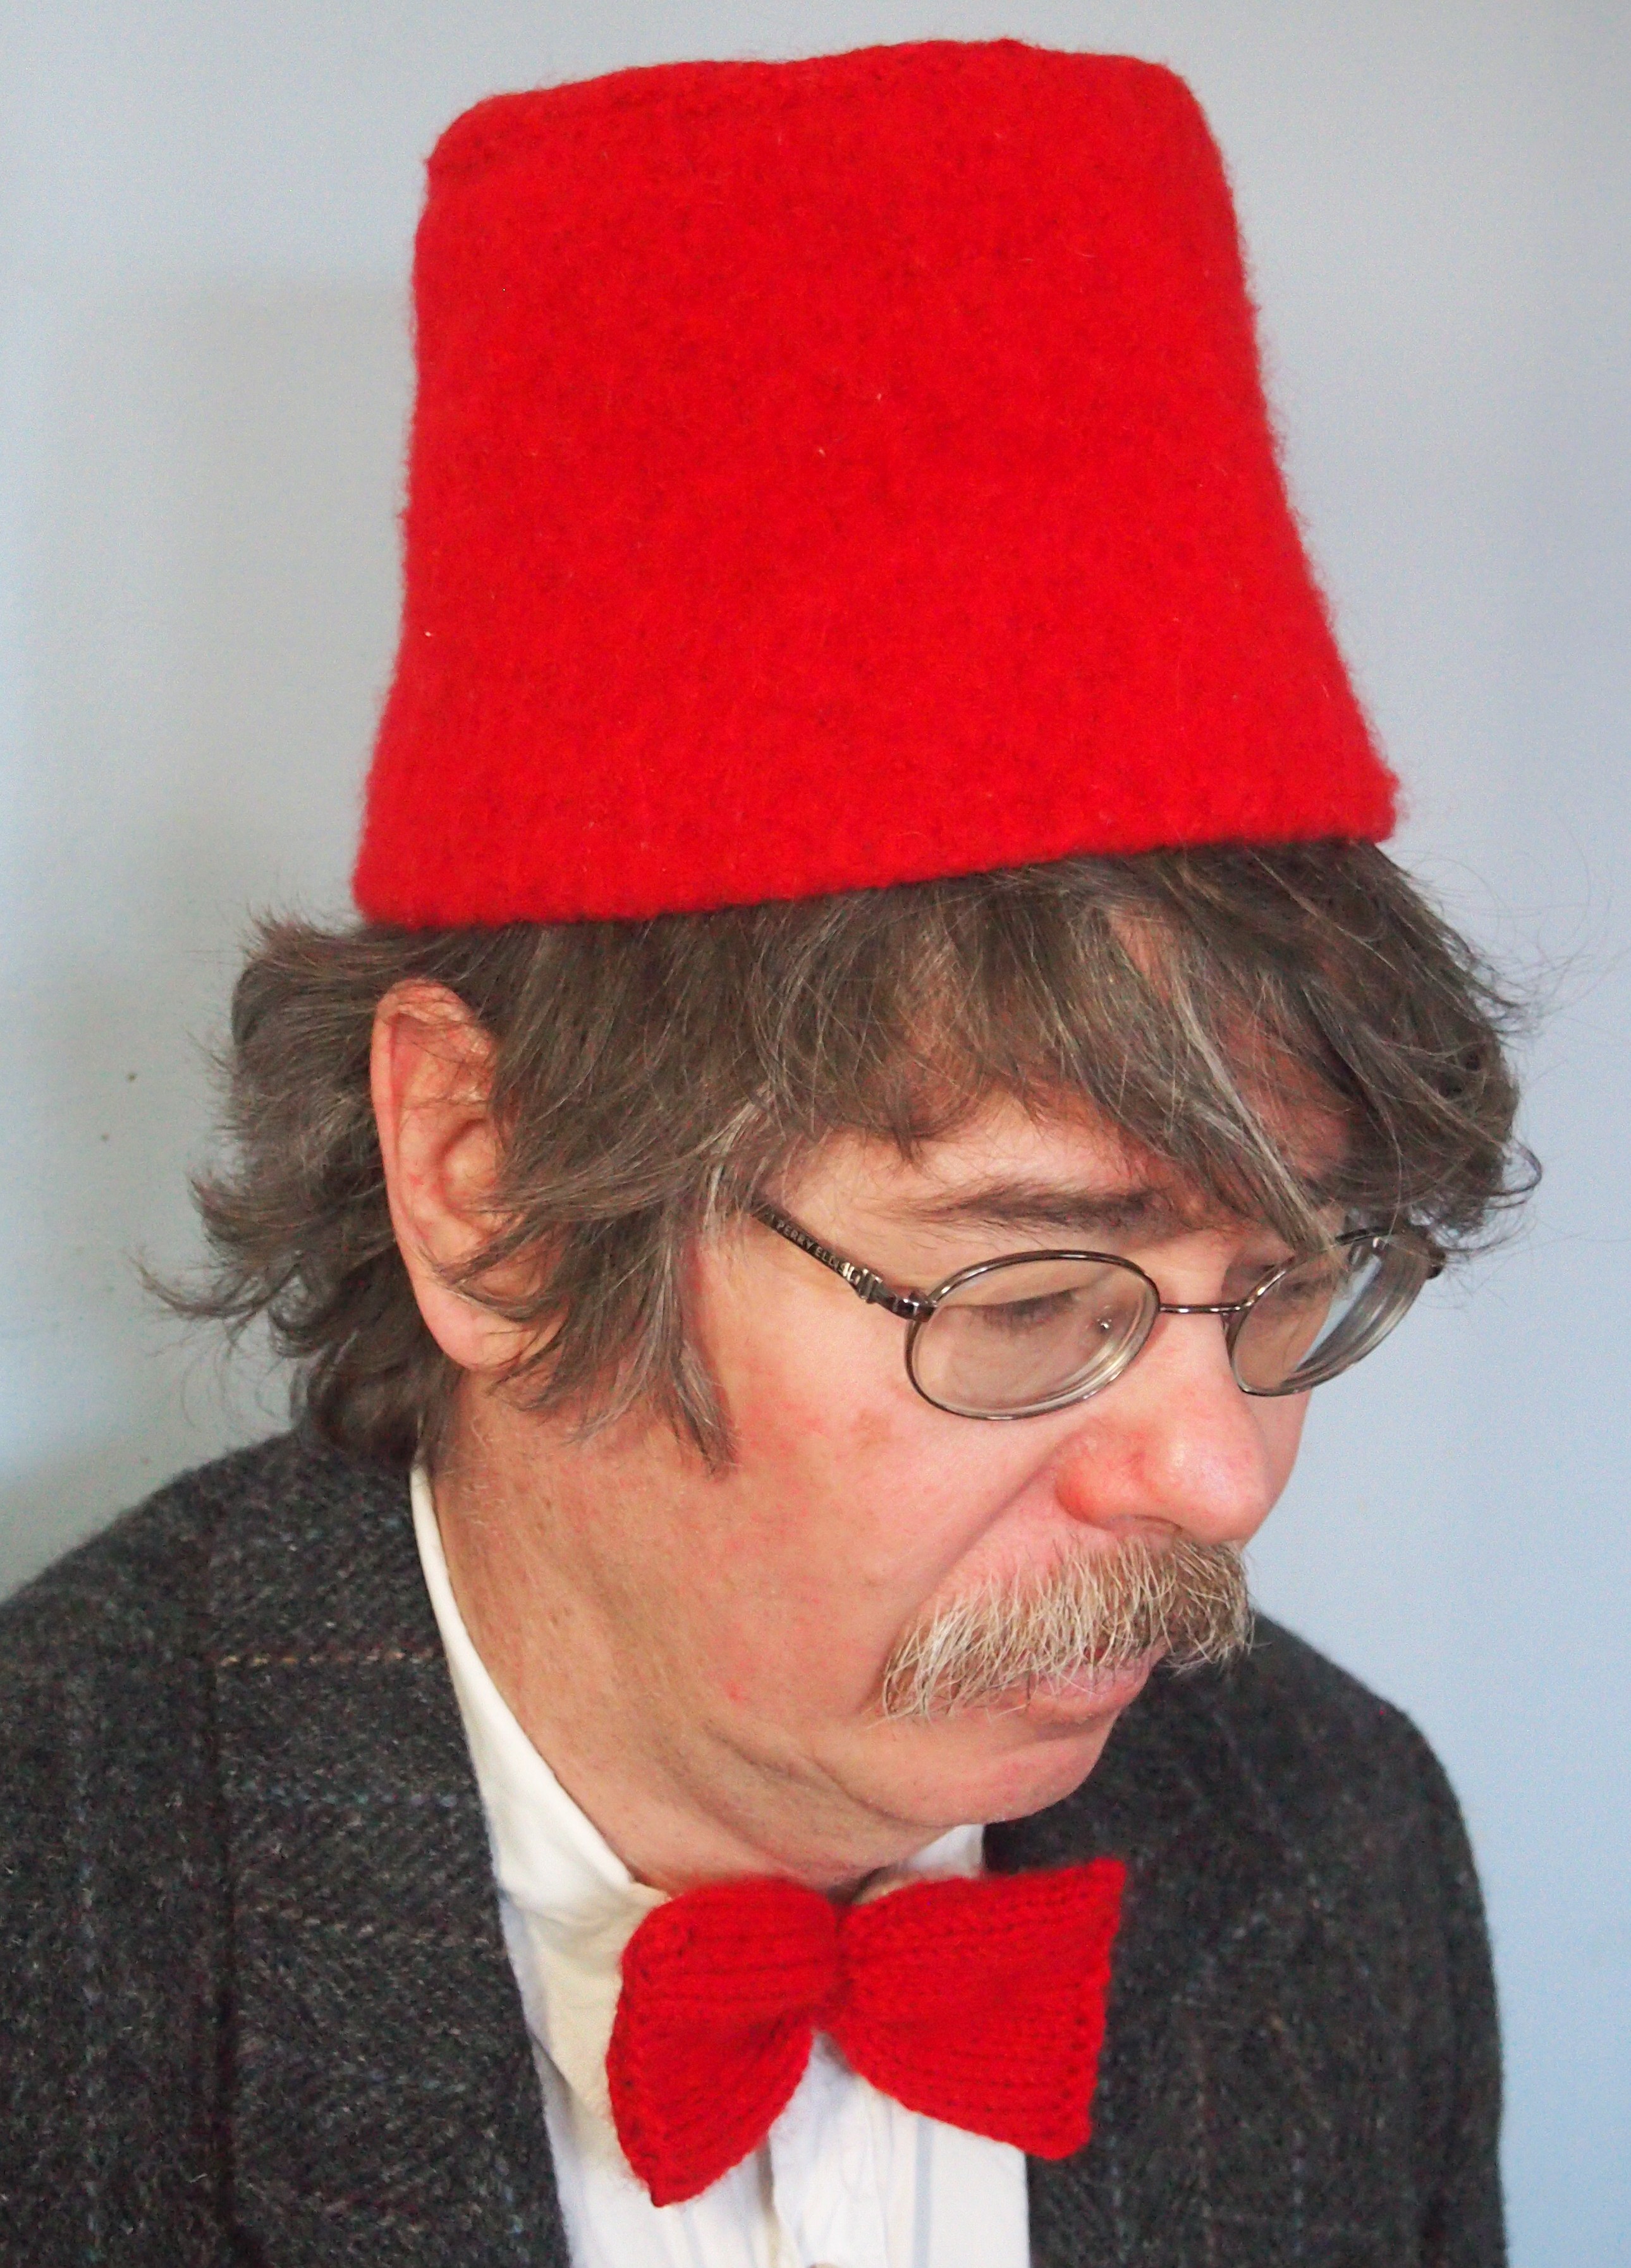
I have been vaguely aware of Dr. Who off and on all my life.  I was a child in England when the show first started 50 years ago (gasp) and it has come in and out of vogue (and hence my consciousness)  ever since.  I have seen episodes here and there but have never followed it like Star Trek or some of my other deals.  When we were trying the hat on Alan, I was musing about how Dr. Who kept it on his head. For this, I got from Heather a heavy sigh and a roll of the eyes…’he is not called Dr. Who mom, the show is called Doctor Who, he is called The Doctor’…oops,..I stand corrected….

Do it Yourself:

Main body of the hat:

Cast on 130 stitches on a circular needle.  Do two rows of k1, p1 ribbing, then switch to straight stocking stitch (knit every stitch.  When your work measures 1 1/2″, 3″, 4 1/2″ 6″, 7 1/2″ and 8 1/2″, knit 2 stitches together three times evenly spaced around the hat.  This means that on 6 different rows you will reduce by three stitches, a total of 18 stitches and thus end up with 112 stitches at the top of the hat.  Keep knitting after the last decrease row until your work measures 9 1/2″,  then cast off loosely.

Top of the hat:

Cast on 4 stitches.  Purl one row.  Next row:  knit and Increase one stitch in each stitch across (end up with 8 stitches).  Divide these 8 stitches between 3 needles and join into a round. knit one row plain.

Next round: knit one, increase one around (16 stitches).   Do one round plain.  Then knit 2, increase 1 around (24 stitches).  Do one round plain.  Continue in this manner, increasing 8 stitches per round every other round with one plain round in between until you have 112 stitches, then cast off  loosely after the plain round.

Send both sections through the washing machine and dryer (with laundry) three times.  Pin the two sections and sew them together.  Here is a selfie halfway through the sewing process:
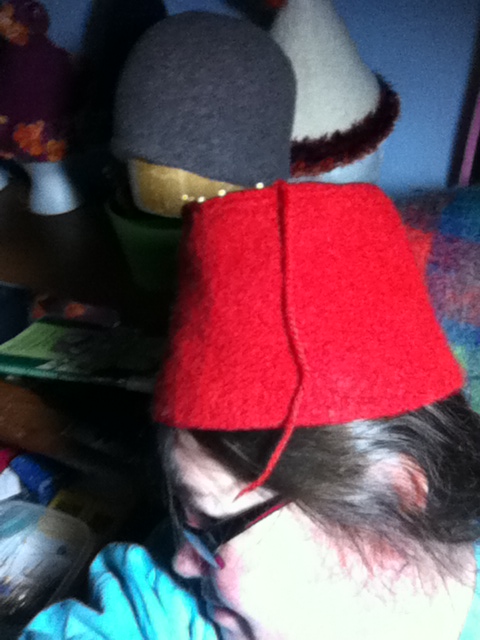
fez selfie

fez selfie

Playing with colour

Jane in her favourite hat

Jane in her favourite hat

I made this hat when I felt like playing with some colour. I was doing a lot of pattern stitches at the time and wanted a break from that.

It is just very simple blocks of colour patterns.  I am a bit of a cheater, so I made sure that I never had more than two colours working at a time, that way I could hold one colour in each hand.  I find that rows with three colours really slow me down.

This hat has a single rolled rim under the bottom blue and white section which joins back in just above that section.  It is made from Patons Classic Wool in ends I had of four different colours.

Top View

Top View

Starting with a hatband

I have noticed quite a few hatbands around this year and I had the idea to build a hat on a hatband.  My favourite hat I ever knit was this type.  I made it when I was in university (decades ago) and I loved it.  It fit better than any other hat I have ever owned since.  I got the pattern from a random magazine like Canadian Living or something.  I owned the hat for a couple of years and then lost it.  I tried for years to find the pattern again but never did.

I have not managed to recreate it by a long shot here, but this is a start.  What I did here is start with a tube.  I cast on 39 stitches and knit them with my 9″ circular sock/mitten needle.  I think I will reduce this to about 35 next time because I think I can still use that needle (I have a hate on for sets of four…all that needle changing drives me spare) but the band won’t be quite as wide, which I think will work a bit better visually.  I continued on these stitches until just before it was long enough to go round my head then I did a slip 1 knit 2 together pass slip stitch over around and knit a couple of rounds on the 13 stitches and cast off.  I then picked up from the cast on edge and did the decrease, knit a couple of rounds, cast off and sewed the two cast off edges together.

After I had the band finished, I used straight needles and cast on 10 stitches.  I purled outer two stitches on each side of a 6 stitch cable which I did long enough to go round the center of the band.  I used a circular needle to pick up 98 stitches around the band about 3/4 of an inch down and then picked up the stitches from the straight needles as well as the corresponding cast on stitches so that the cable went around the center of the hat band.  I added 8 more cables around the hat (purl 6 cable 6 around) and finished body of the hat normally.

HAPPY NEW YEAR!

HAPPY NEW YEAR 2014!!!!

HAPPY NEW YEAR 2014

If I mention felting again…just shoot me and get it over with…there is sooo much more knitting in a felted hat.  I have done 4 of them in a little over a week…I do love how they stand up and hold their shape though.

As you may have gathered in previous posts, Heather is NOT happy with my ‘artistic’ direction.  The other day she said the blog has ruined my hat making ability.  In her opinion, I am trying too hard to be creative for my fans.  I did point out that 20 friends and family and 5 other people following me does not constitute much in the way of fame, but she was having none of that.

I think she just likes plain hats, no bells or whistles, just some pattern stitches and maybe a bobble on top.  None of this wacky stuff.  And I think she has a point.  I do like making the hats with novelty yarn and frills  but I am not sure many would wear them, holidays notwithstanding.

For today’s hat, I didn’t want any of the Bernat Boa left over, so I made the topper first.  I just kept crocheting chains 8 stitches long and returning to the base with 6 single crochet.  I kept this until I thought it had enough spikes. I then cast on 100 stitches and knit until I ran out.  I then switched to Patons Classic wool and increased to 150 stitches.  After 8 rows, I decreased to 144 then lost 8 stitches every 6 rows.

Party hat number two

New Years Party

New Years hat with Bernat Truffles and Patons Classic Wool

This is the second of (hopefully by tomorrow) three felted New Years party hats.

For this one I used Patons Classic Wool as the felting yarn and I combined it with Bernat Truffles as the accent.  I decreased more aggressively (10 stitches every 6 rows all the way up) on this hat than the one yesterday and I don’t think it was such a great idea.

I am going back to a less aggressive decrease for tomorrows hat.

A reversible Christmas hat

For this hat, I knitted “Bah! Humbug” upside down, then did several rows plain before knitting  “Peace on Earth” upright.  I knitted another two rows, then rejoined to the cast on row to make a rolled brim.  After rejoining the brim, the main body of the hat was then knitted with a reversible stitch.

Heather came up as I was finishing the second set of letters to ask what it said.   I explained the concept of the reversible hat with a saying on each side of the brim, which could be turned inside out depending on the wearers mood.  In her capacity as provider of constructive criticism, she only had two simple words: “Oh, dear!”

The actual idea for the two sayings came from a reversible Christmas ornament I found in a magazine in my brief phase as a crafter of plastic canvas.  When Jacob was a baby, I discovered plastic canvas and, after doing the ornaments from the magazine, I did a whole series of baby blocks with rattly stuff inside and 3-d crocheted animals and holes on the faces so a baby could grab on easily to the toys.  This phase scared Alan.  He had seen me as a potter, doing a two year college diploma in ceramics.  He had seen me designing knitted sweaters (Heather discovered a few in the attic and wears them regularly now).  He had seen me dabble with weaving and hand spinning.  He kept coming home in the plastic canvas phase to me excitedly showing him my new creations.  After a couple of weeks, he looked at me quizzically and said “are you sure this is actually a real craft?”.

If I had it to do over again, I would definitely leave more space between the words in the two sayings. Or I may use smaller lettering so that you can see a whole saying at once.  In designing hats, as in many other things, hindsight is 20/20.

Merry Christmas!

Heather as Santa

Heather as Santa

This is one of only two Christmas hats I made this year.  I will post the other one tomorrow (when it is hopefully finished!).

This hat was knitted and then put through the washer and dryer twice.  The brim and bobble were made with a machine washable and dryable yarn.  I made a rolled rim, then switched to Patons Classic wool and increased the number of stitches significantly.  I decreased evenly up the hat, loosing 10 stitches every 10 rows.  As I approached the top, I started decreasing less per row, more frequently so I didn’t have large jogs.

Diagonal drifts

Nicky in a travelling rib patterned hat

Nicky in a travelling rib patterned hat

grey and white diagonal pattern

grey and white diagonal pattern

There are some pattern stitches which move diagonally.  I think this gives the hat a nice dynamic quality.  Here are two hats that use this diagonal movement.  I was happy with both of these hats when I made them.

As with most of my hats, I was again using Patons classic wool.

I follow another blog that has some really nice hats with diagonal movement in her photo gallery, in case you are interested in other (possibly better) examples.

Decreasing differently

from the back

from the back

Surya and the boys (Sam and Jay)

Surya and the boys (Sam and Jay)

This shows three very simple hats made with knit 1, purl 1 rib.  One has no brim, the other two a simple folded brim.  The difference lies in the decreasing at the top.  The one in the middle uses the simple spiral I explained before.

The hat on the right uses a stacked double decrease.  In this one, you do a slip one, knit 2 together, pass slipped stitch over, or slip one purl 2 together, pass slipped stitch over (depending on whether you are getting rid of a k1, p1, k1, or a p1, k1, p1) in the places that you decrease.  Every 4th row, you do a decrease, using the same middle stitch each time.

For the hat on the left, I unfortunately did not make notes (because I thought it looked like a mess and didn’t think I would want to repeat it).  This one has double decreases which, instead of staying separate, converge on each other further up the hat.

Simply by changing the placement of the decrease, you get very different looking tops on the hat.

Happy (American) Thanksgiving

oops...there's a turkey on my head

oops…there’s a turkey on my head

We had ours six weeks ago, but I have often thought it must be good to have a holiday to slow down the advance of Christmas.  We are already starting to have Christmas music in the stores.

Heather was trying to stop me from making this hat for ages… ‘It is going to be DUMB, it is the WORST idea you have EVER had…’  She finally decided she wanted to model it so she could instagram a picture of it with ‘my mother has finally gone crazy’ as the caption.

I assembled the bits then put it together.  So far the pieces are only pinned into place because the base hat is too flimsy.  I have decided to make a felted base so it will be more solid.  I didn’t have time to finish it yet.

crocheting the tail onto a coat hanger

crocheting the tail onto a coat hanger

I knitted the tail then crocheted it onto a cut and bent coat hanger.

For the head, I started with 30 stitches for the base, then reduced to 15 for the neck.  I increased to 22 stitches for the head.  To turn the corner, I did 3 sets of 8 short rows across the back of the head which took me up and around.  I finished the head with the beak, which was only 6 stitches.  I then crocheted a waddle under the chin.

make 2 wings and put quilt batting between

make 2 wings and put quilt batting between

For the wing, I made two wings then stuffed them with quilt batting and sewed them together.

I will retake the picture of the finished hat when I have the felted base ready.