How many Canadian cliches can I get into one post title, eh? But this is a topic that is almost as dear to my heart as coffee itself…okay I’m done…
Although I make hats pretty much constantly, I often forget to wear them. People that know me well, know that I am pretty impervious to external temperature (the hot flashes I had a while ago notwithstanding). For this reason, I often don’t wear what I should in the winter. Last year, I was commuting to downtown Ottawa and had to pass a bit of a wind tunnel on my walk to the transitway to catch my bus. One day as I was holding my mittenless hands up to my frozen forehead, I realized how important the covering of the forehead and ears truly are at about 15 below and colder. Having said that, I have never much cared for the folded up brim on a knitted hat. They often go skew-whiff as my mother would say, especially if you change colour or pattern after the ribbing and want the fold to be exactly consistent.
These are two variations on the rolled brim that I use all the time. I suppose that you could sew the brim up, but I consider the sewing up needle my mortal enemy and usually avoid seams at any cost. I have also found that you have to be careful with tension when you try to sew up the rim or you can easily end up with it being too tight. Knitting the seam together solves these problems. I worked up two hat designs this week to demonstrate the process.

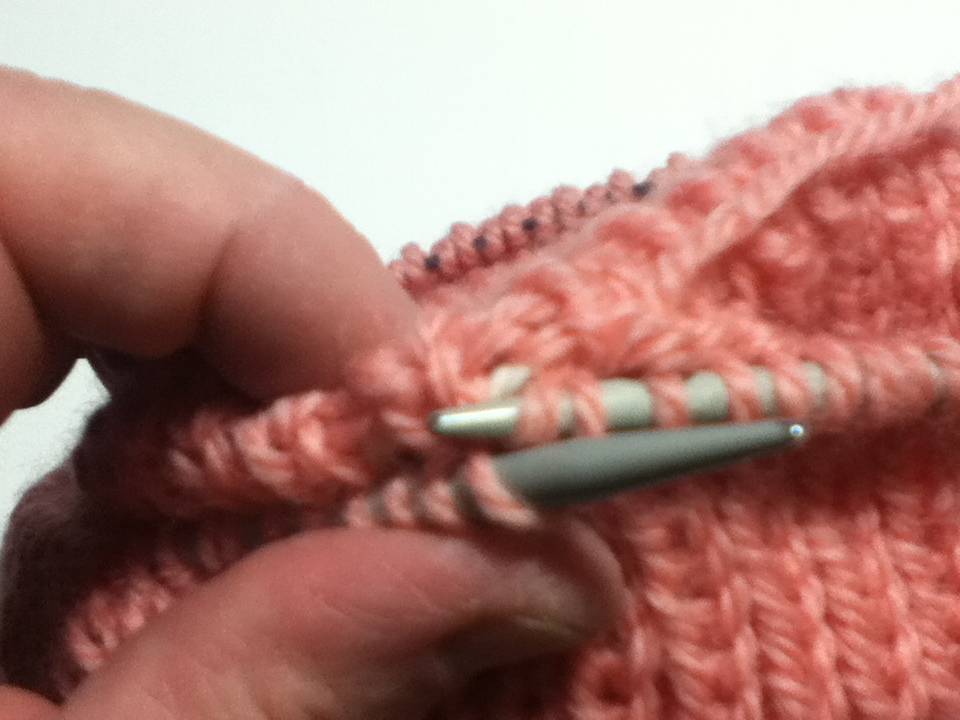
put needle in live stitch AND the corresponding stitch on the cast on edge, then knit them together
If you just want a normally warm hat, go with the single roll. For this, you will need to make your ribbing twice as high as you want it to finish at.
Fold up the cast on edge inside your knitting, and hold it so the stitches on the cast on edge match up with the same stitches on your needle. If you are doing a regular k1 p1 rib, remember that what is a knit stitch on the front will present as a purl stitch on the rolled up cast on edge behind your work. Put your needle into the stitch on your needle, then into the front loop of the cast on edge. Wrap your wool and knit them off together. This will give you a nice double thickness over your ears and forehead.

run a guide thread 1/3 of way up the ribbing

roll over twice to the inside
For the second (warmer) variation, you will end up with a triple thickness of ribbing. You will need to do about 7″ of ribbing if you want it to cover your ears. You can do less if you want a narrower brim.
I have found it helpful to run a guide thread just below where you will connect into your work. I tried it without the guide thread, but it is too easy to connect one stitch too high or low randomly. Run the guide thread through all the stitches around the hat in the row that is 1/3 of the way up the ribbing.
Roll the brim up twice inside your work so the first fold is behind the working needle, inside the knitting.

knit into live stitch AND into stitch on fold just below the guide thread and knit them together
Put the needle into the live stitch then pick up the corresponding stitch off the fold, immediately below the guide thread. In this case you will be picking up a knit stitch off the brim with a knit stitch off the live needle. This is because in the single rolled brim (above), you are picking up into the back of the ribbing, whereas for the triple thickness, you are picking up into the front of the ribbing.
.
.
.
.

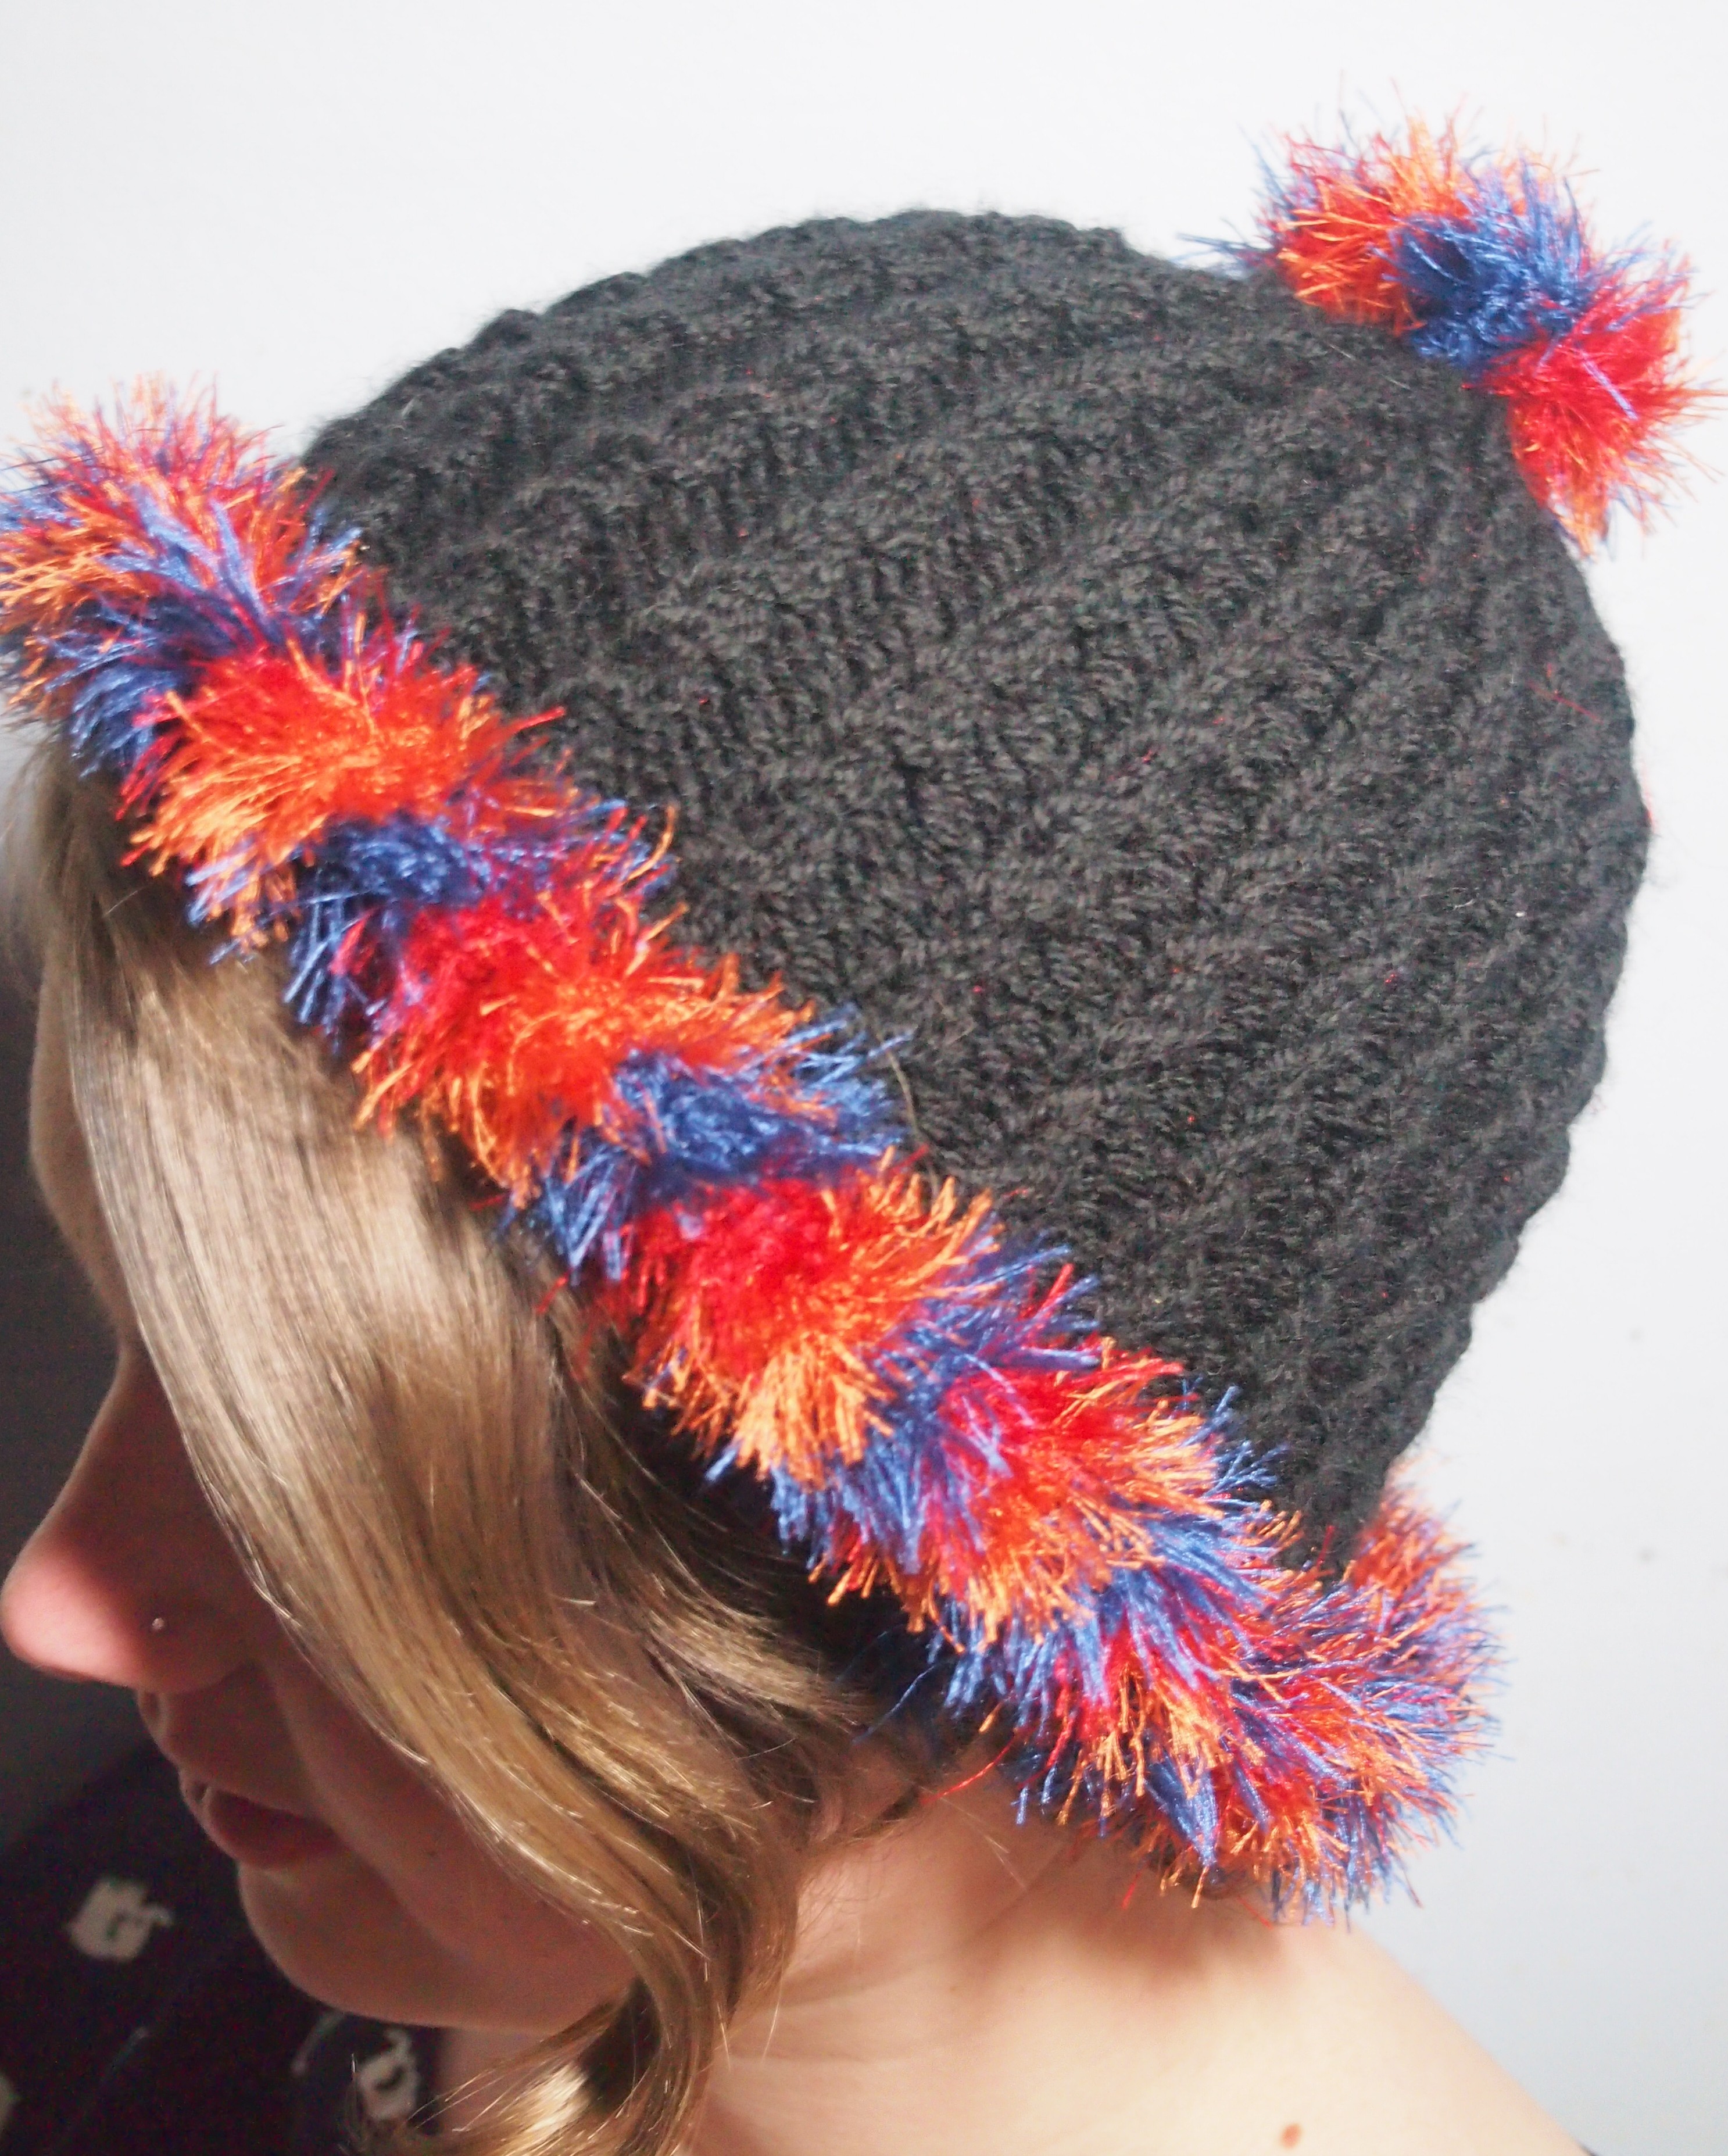
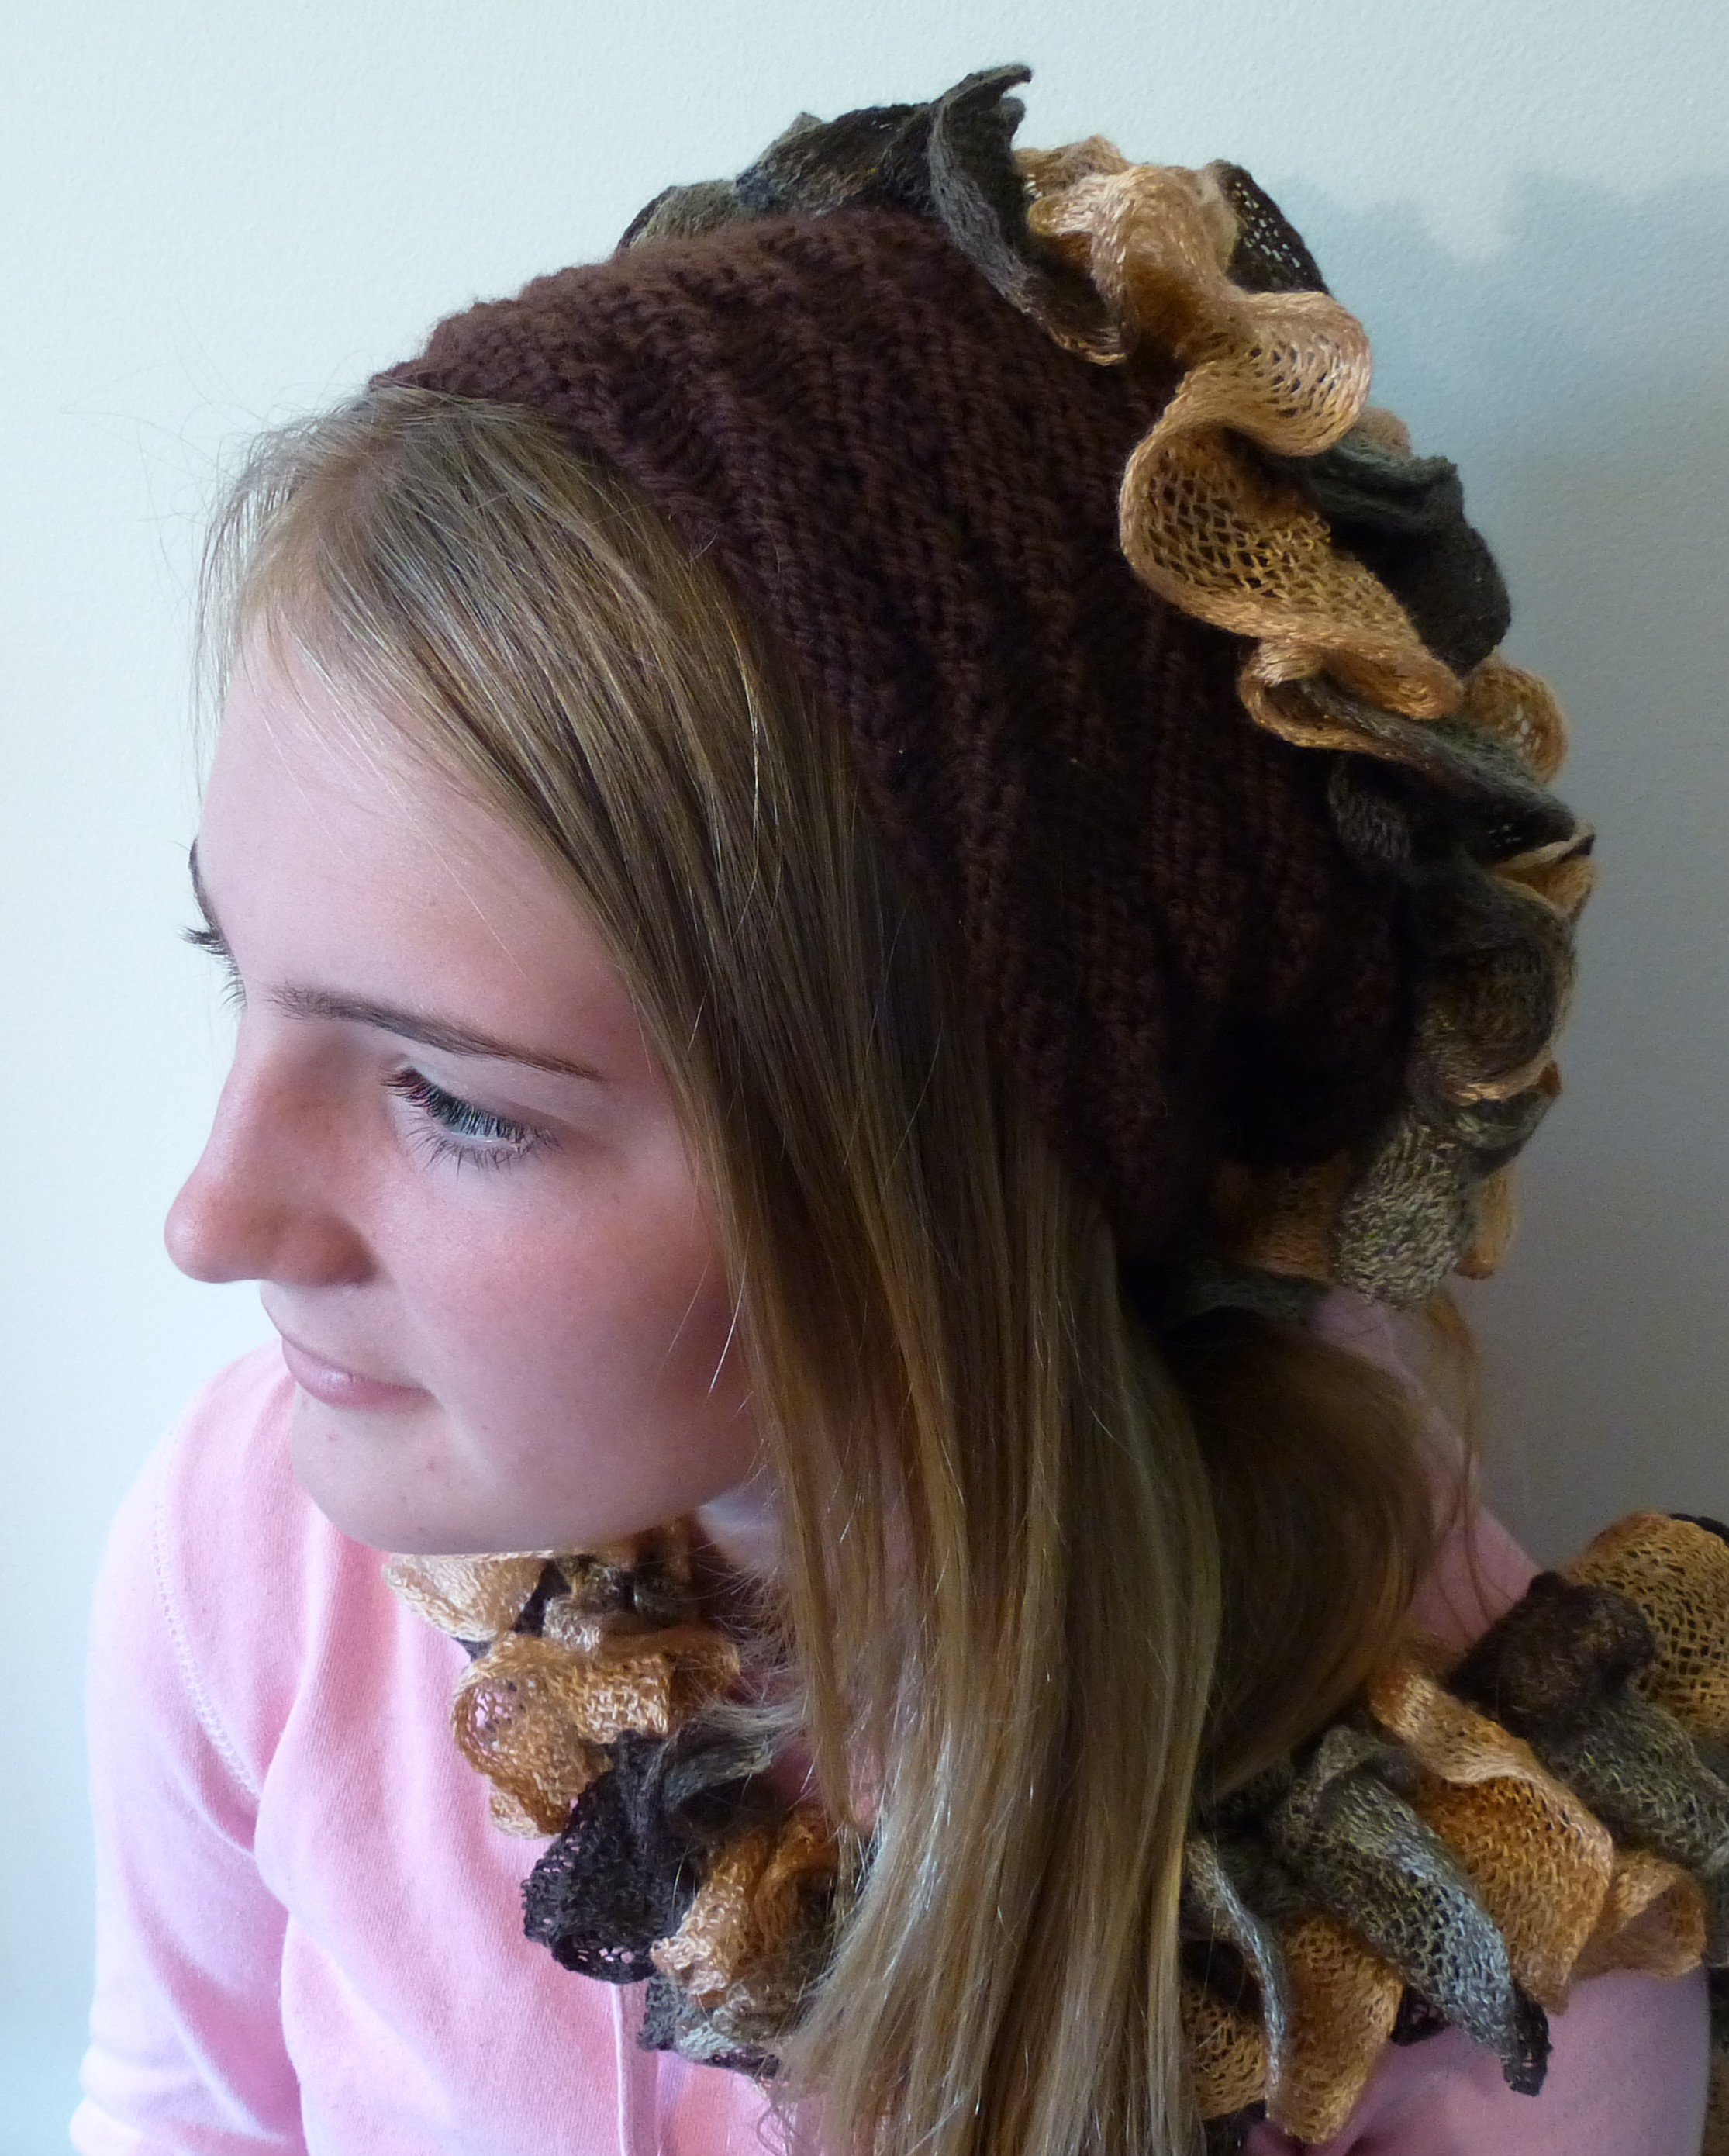
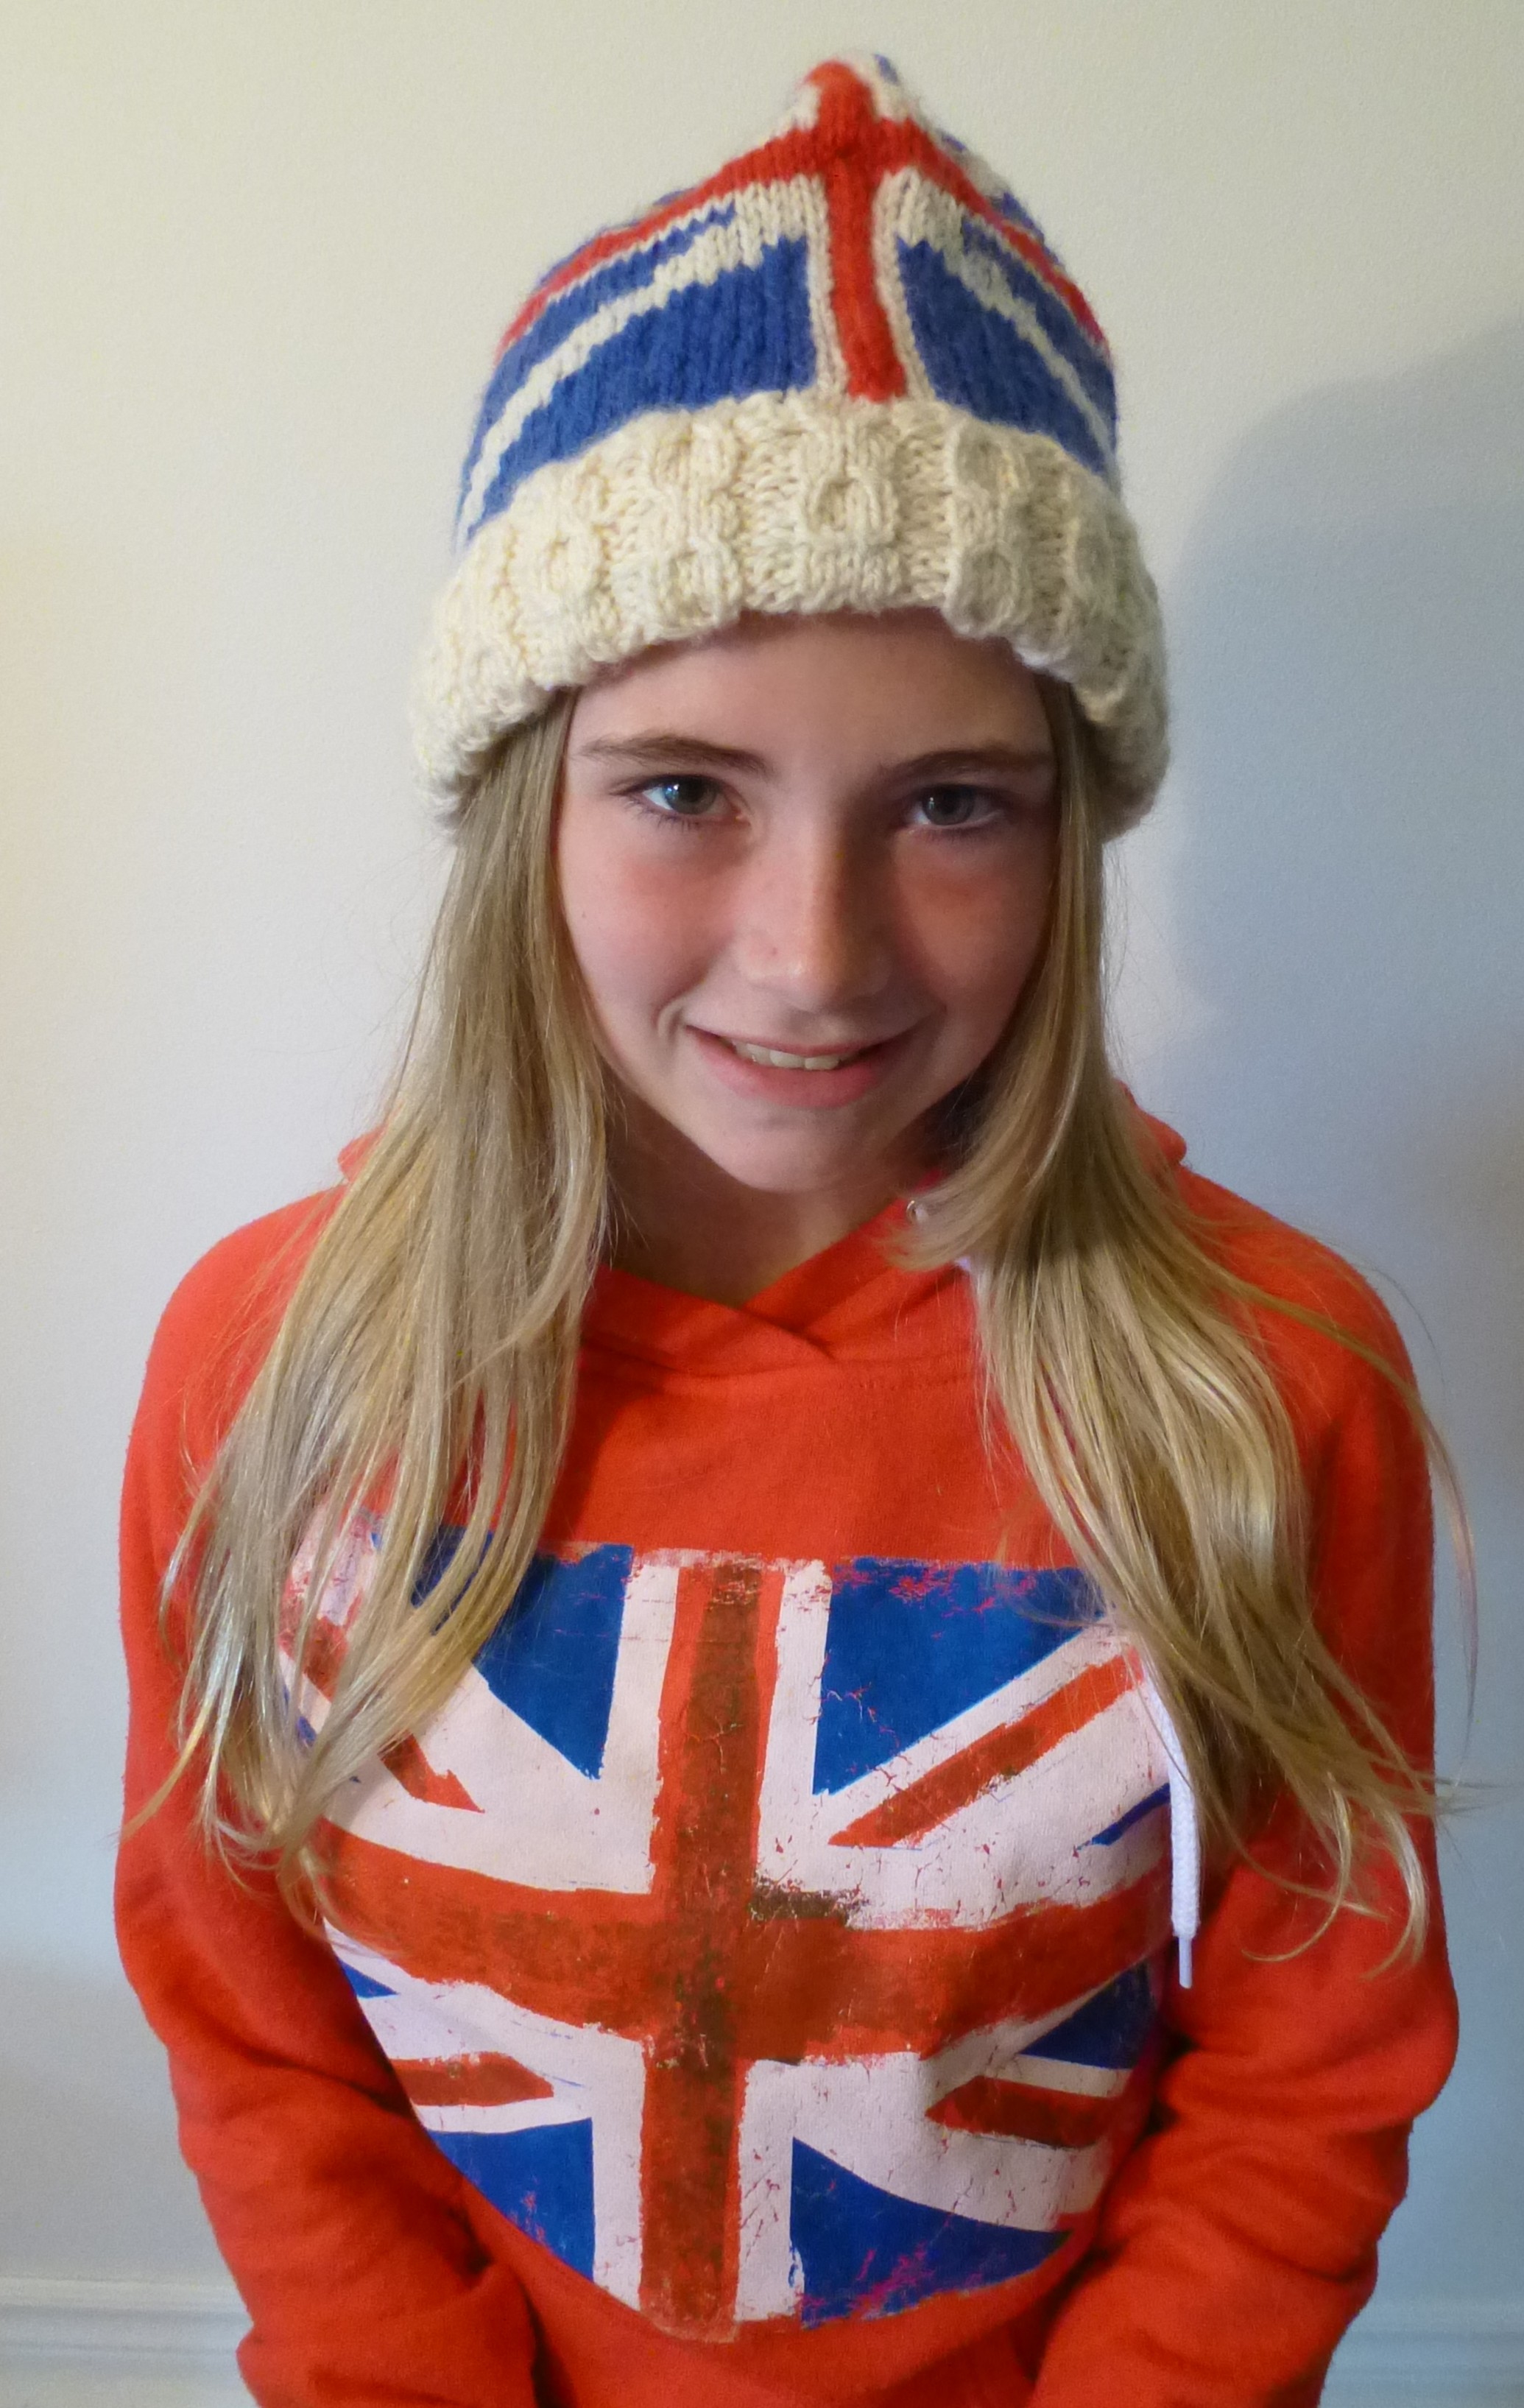
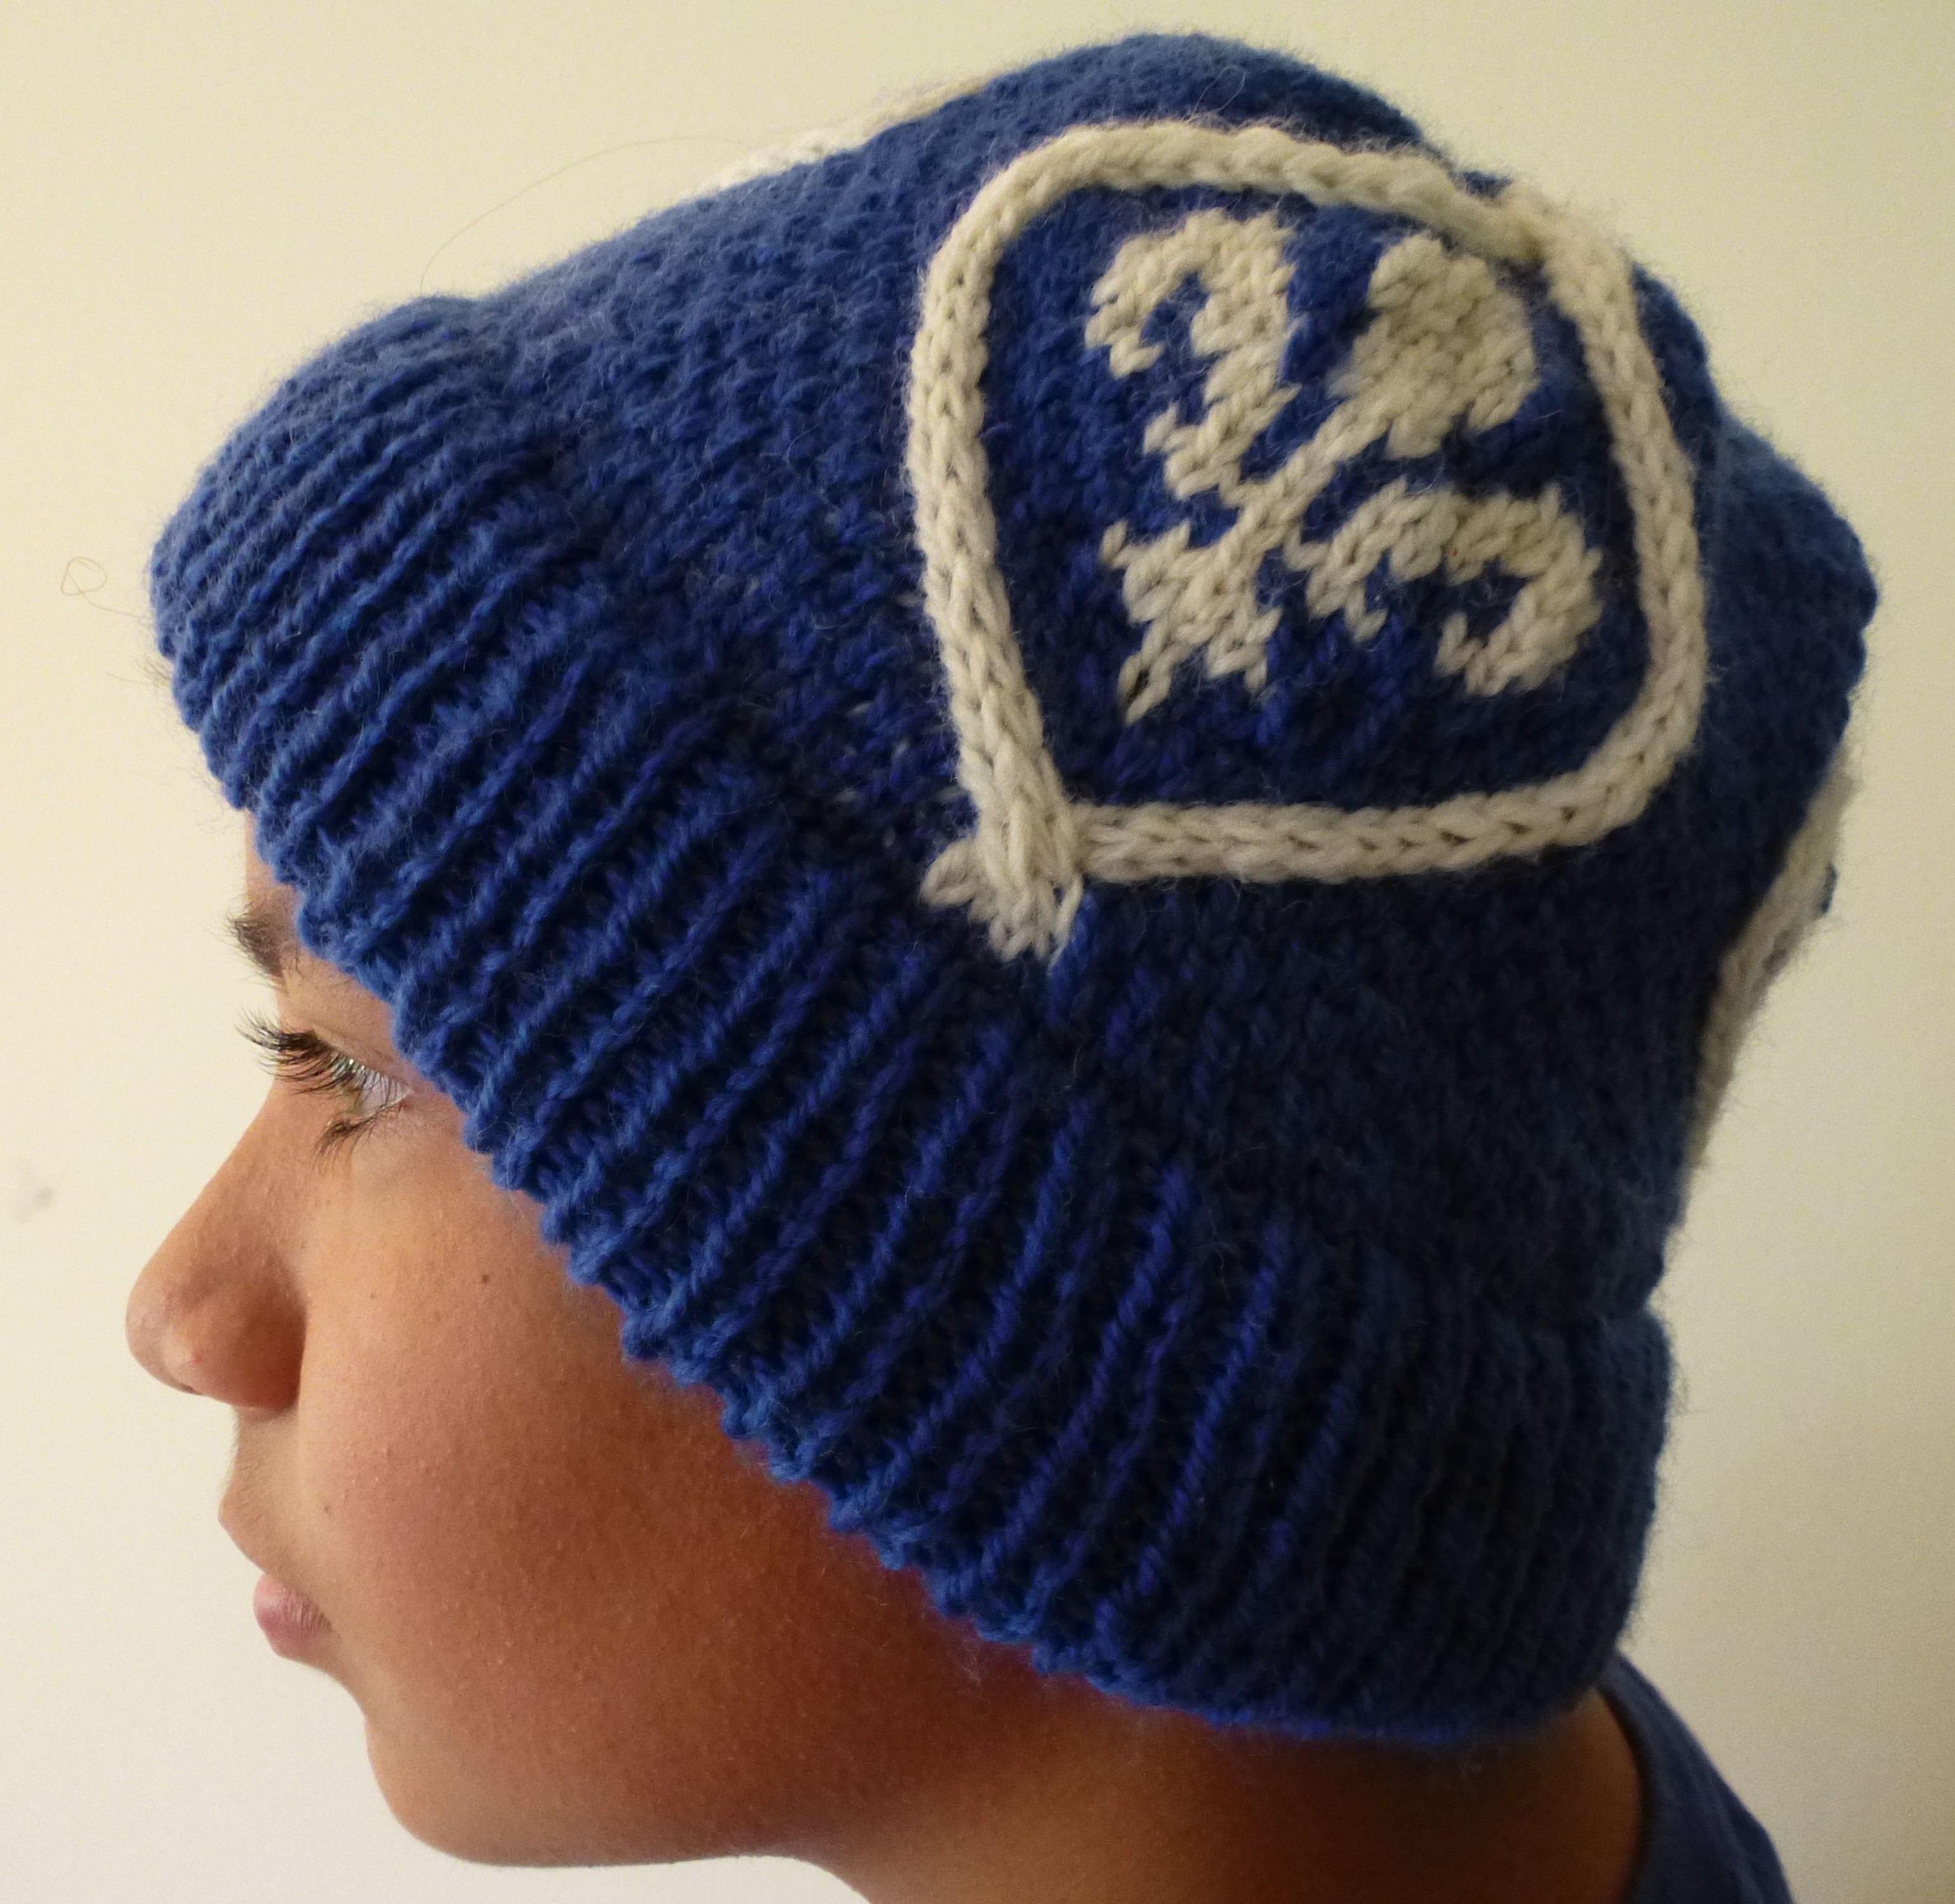
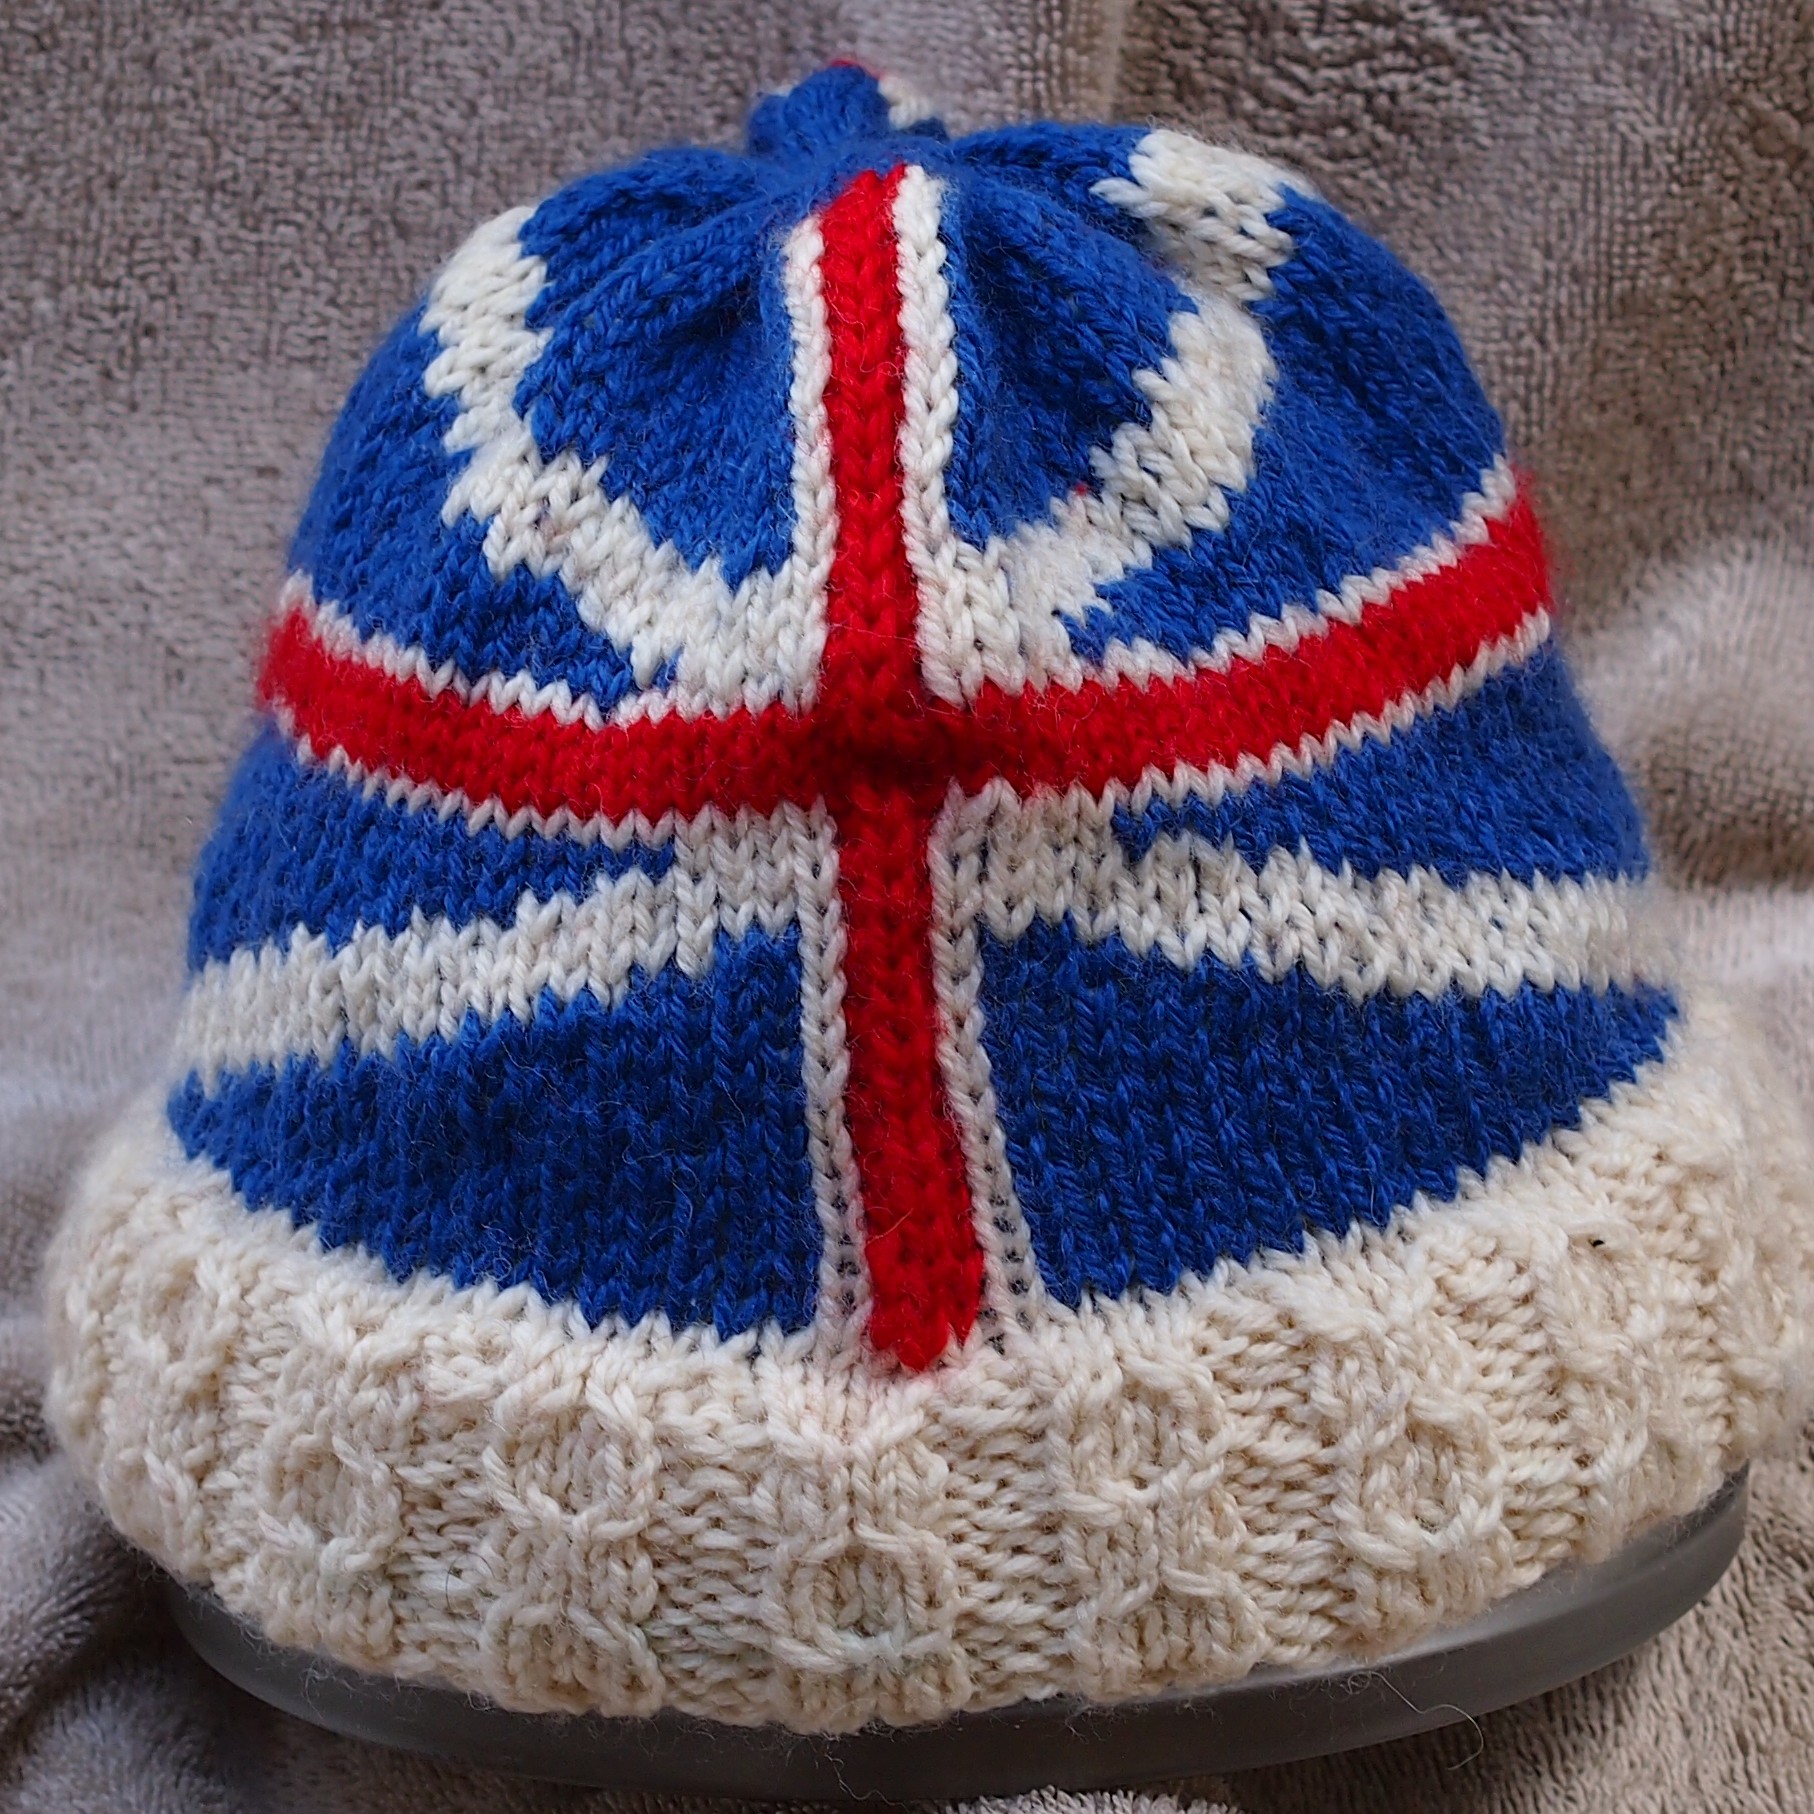
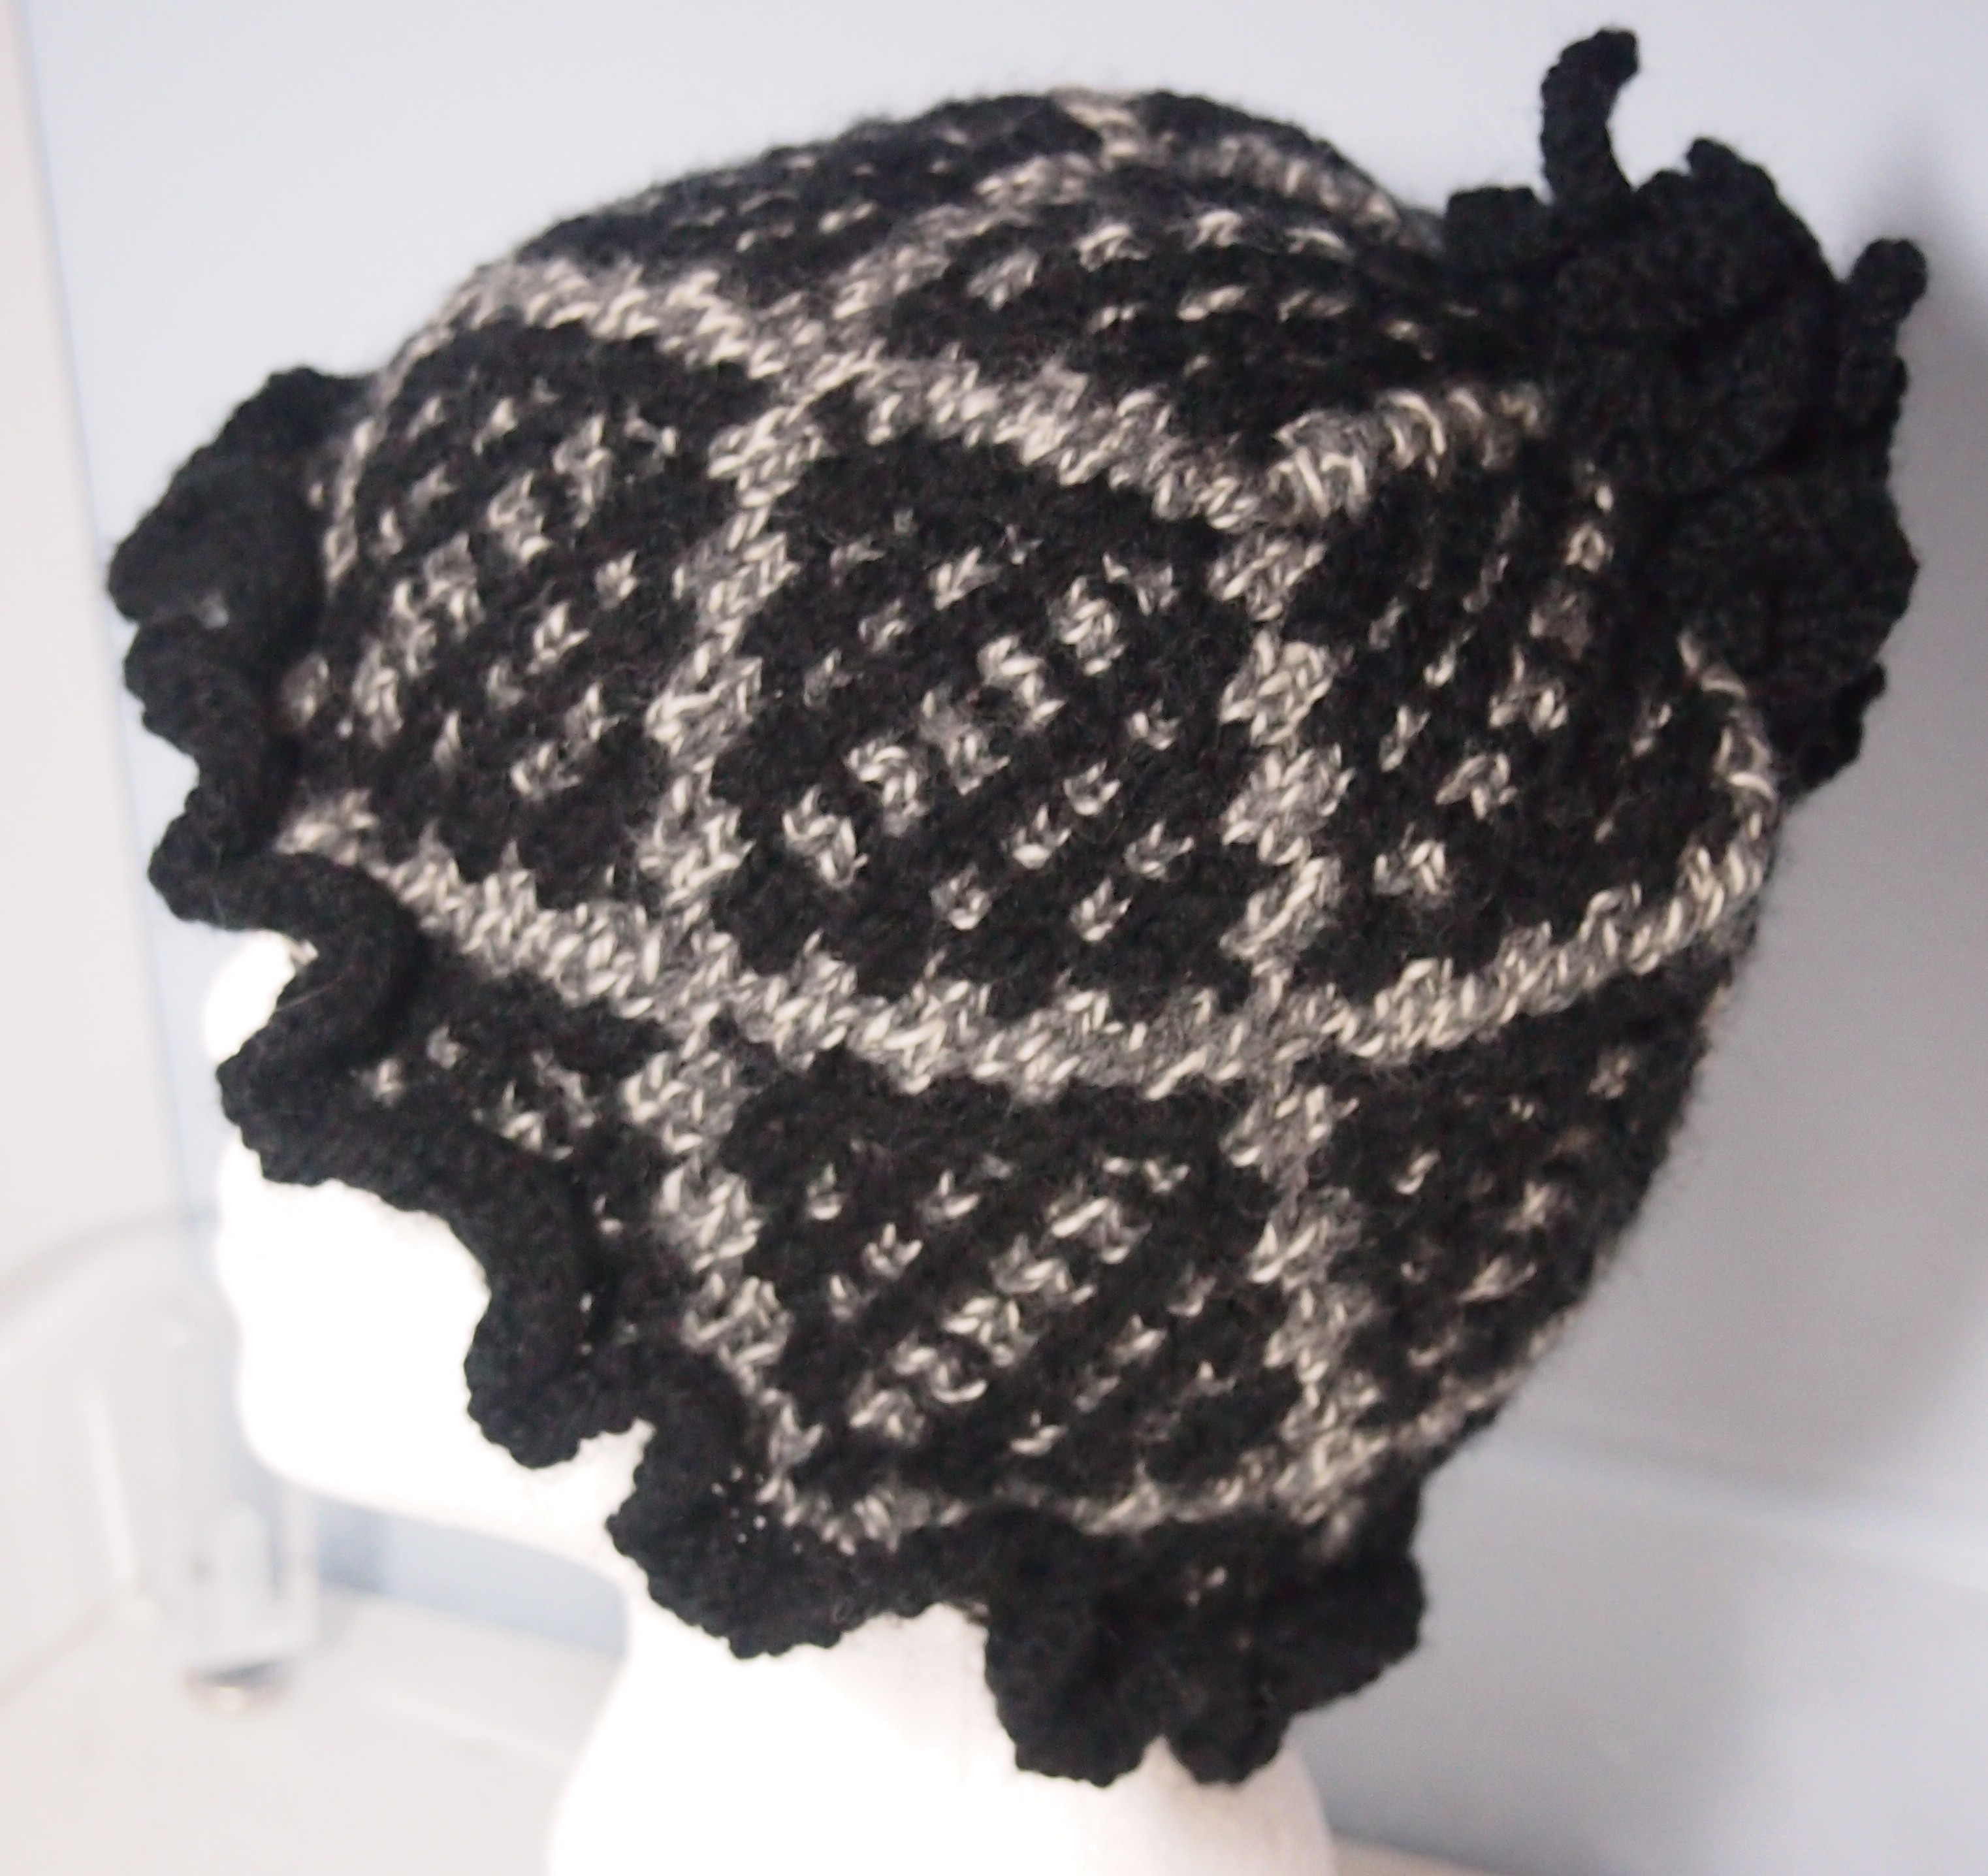
rolled rim hats…from the front

rolled rim hats…from the back
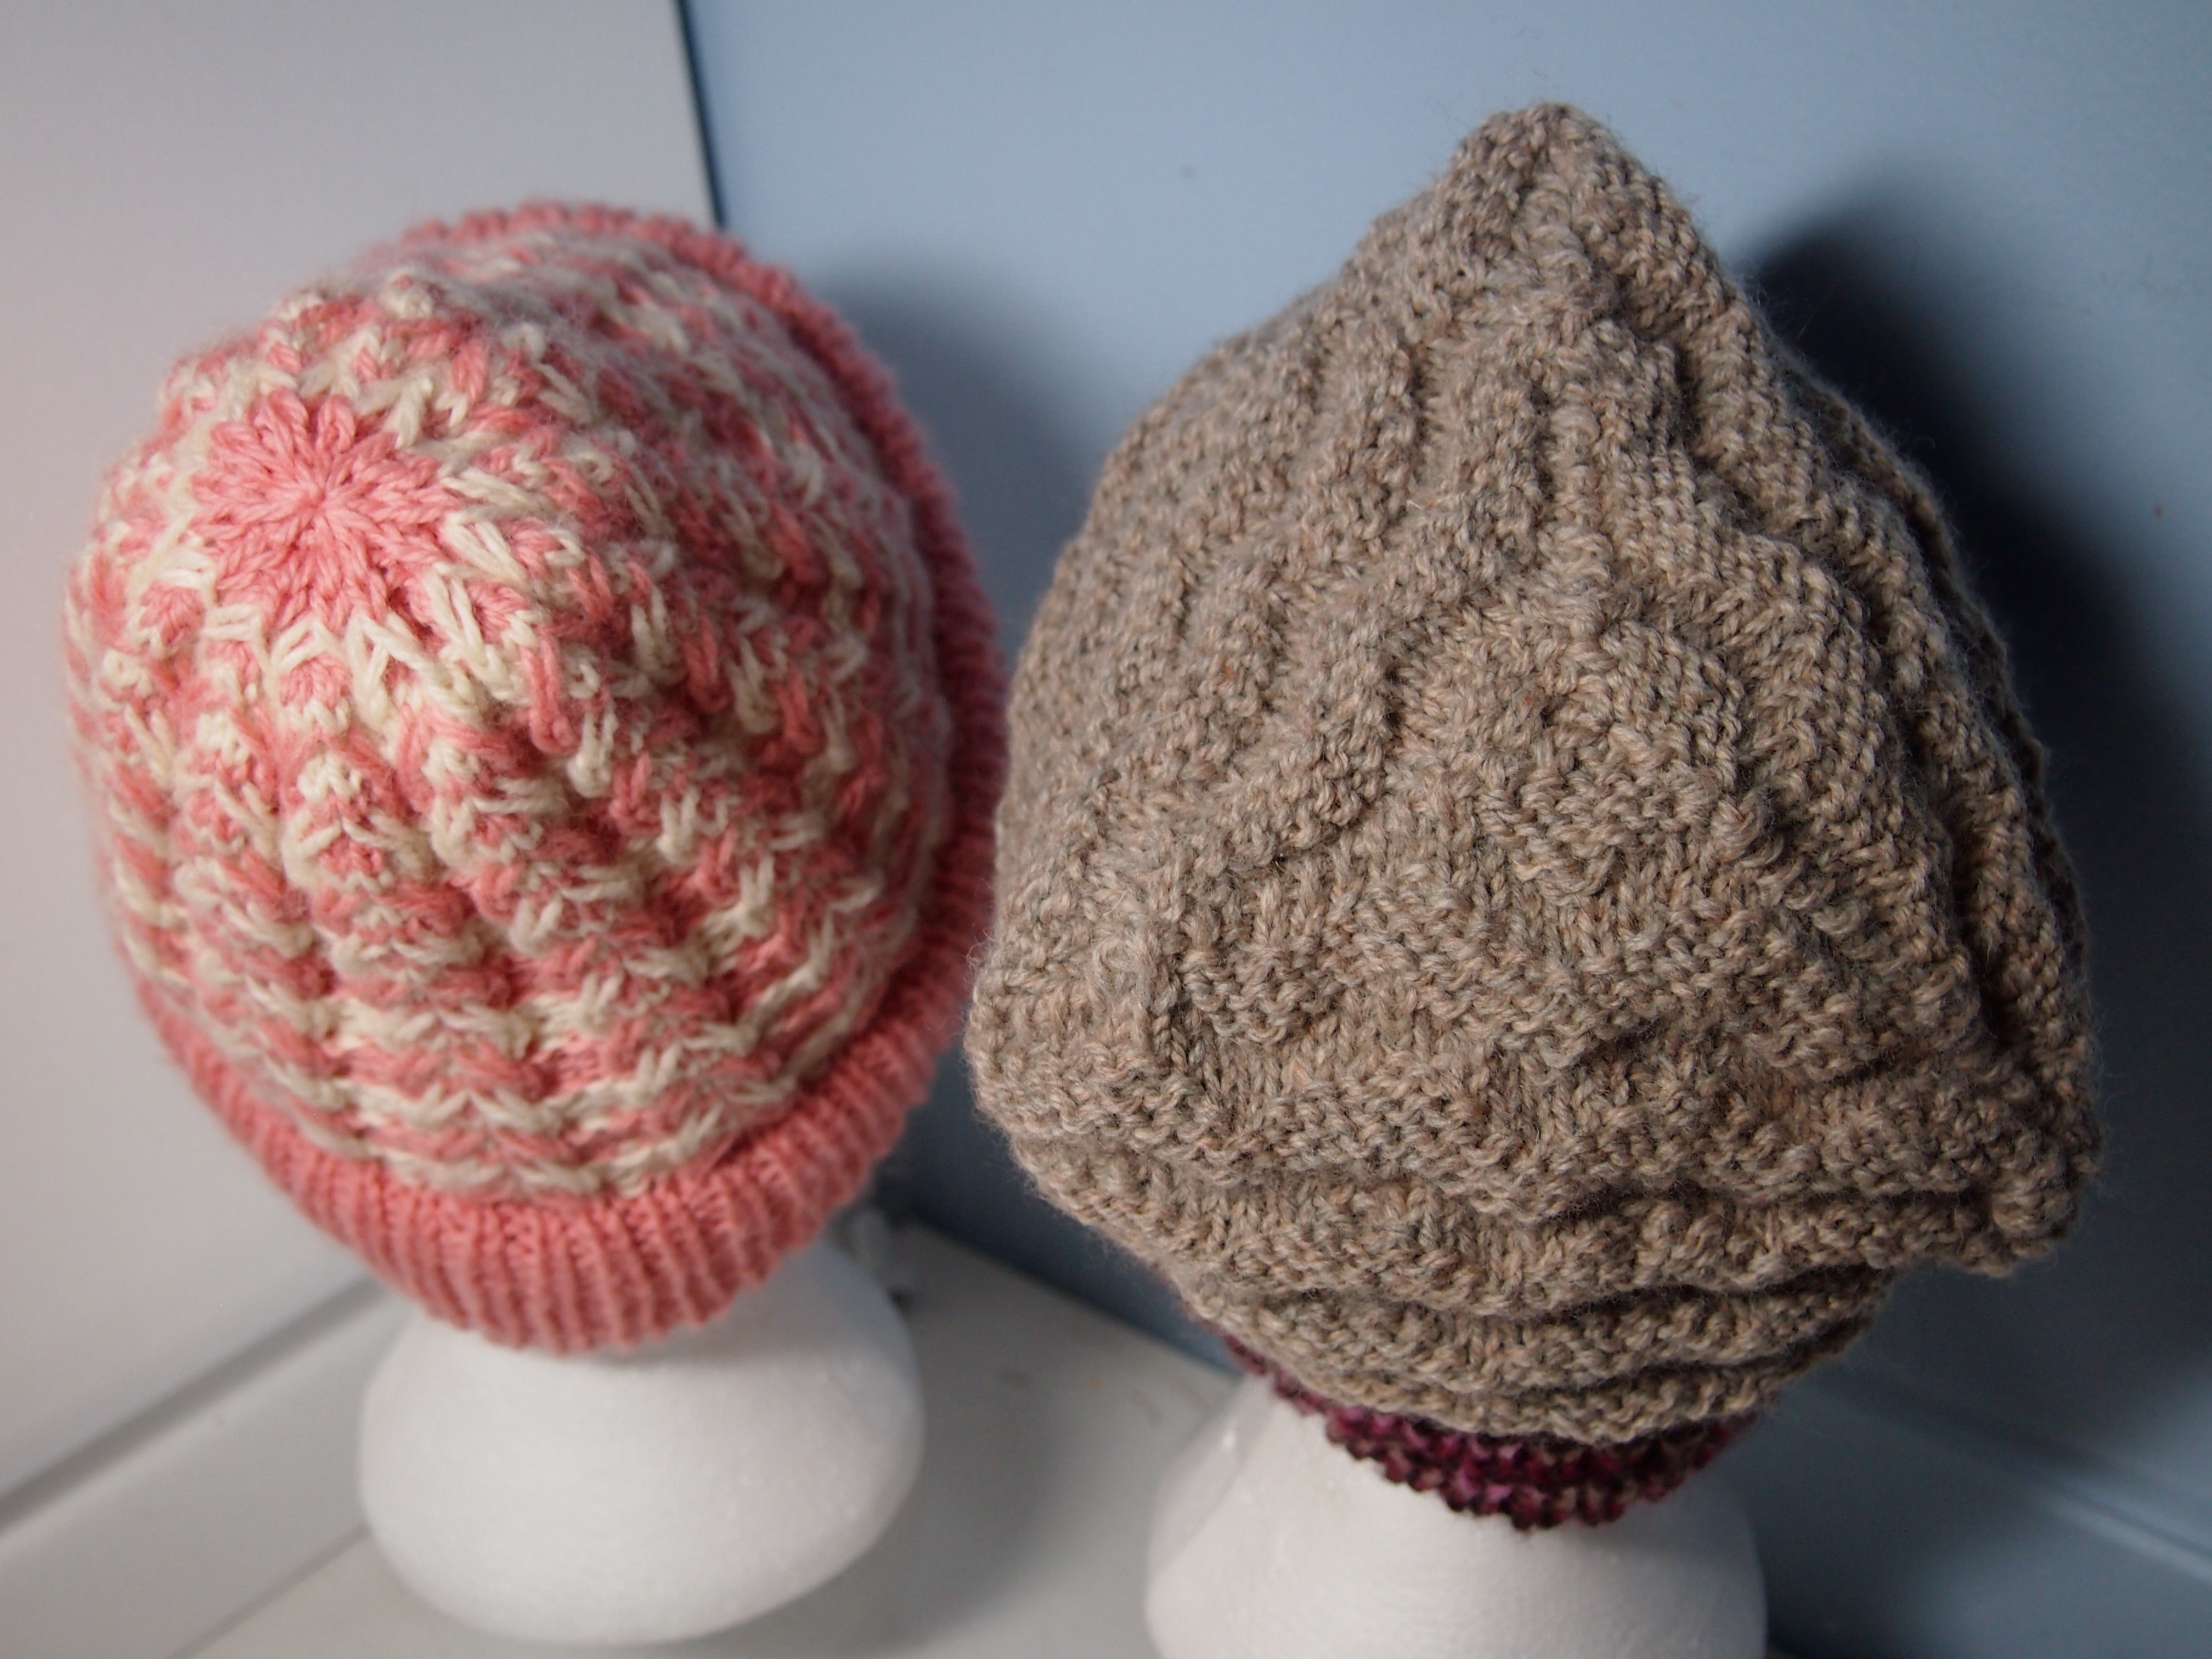
Here are the finished hats: