…remember on New Years day when I said if I mention felting again shoot me? IT WAS A JOKE…please don’t shoot me, it would hurt…it seems like felting is all I can think about these days…It’s not that I have an one track mind or anything (like my father or several other family members I could name in an instant..you know who you are)…
-

-
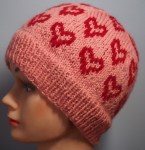
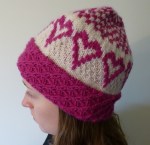
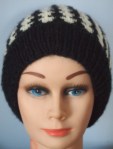
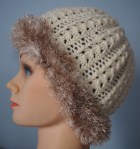
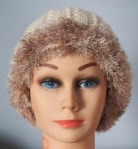
Knitted and Felted Hat with bow
-
-
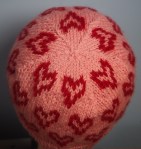
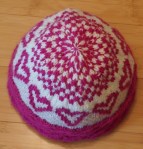
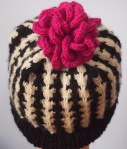
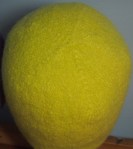
crown
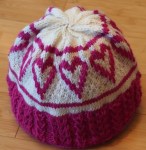
This is a basic felted hat I have been working on. I had been planning on using my embellishing machine to play with the surface of it but I like it plain for now. I may do another one and play with it. Since it is straight knitting it can be done anywhere. Heather and I are getting along a lot better lately. She is only providing constructive criticism these days…not such good copy but a much calmer homelife in general I must say…Not to worry, she is 17 and I am me so I am sure we will be able to tick each other off again at some point… The purple bow accent was her idea and I think it is nice. It is the same bow tie as I made the other day to go with the Dr. Who fez.
Do it yourself:
(Patons Classic Wool … lime green 4 1/2mm needles) I use a 16″ (40cm) needle until the stitches won’t fit then switch to a set of 4
Cast on 140 stitches. Do 2 rounds k1, p1 rib then knit plain till it measures 9 1/12 inches. Next round…knit 25, slip 1, k2 tog, psso, around (=loose 10 stitches). Do two rounds plain, Next round knit 23, slip 1, k2 tog, psso around. Do two rounds plain…
Keep going this way doing your decreases every third round until the round that you do knit 15, slip 1 knit 2 tog, psso around. At this point you start only putting one round in between your decrease rounds instead of two.
At the point where you have done knit 3, then your decrease around (i.e. 20 stitches left) it is time for the rapid descent or you will end up with an elfen point. When I got down to the 20 stitch mark, I just kept knitting 2 together until I had about 7 stitches left, then cut my thread and ran the end through and pulled it tight.
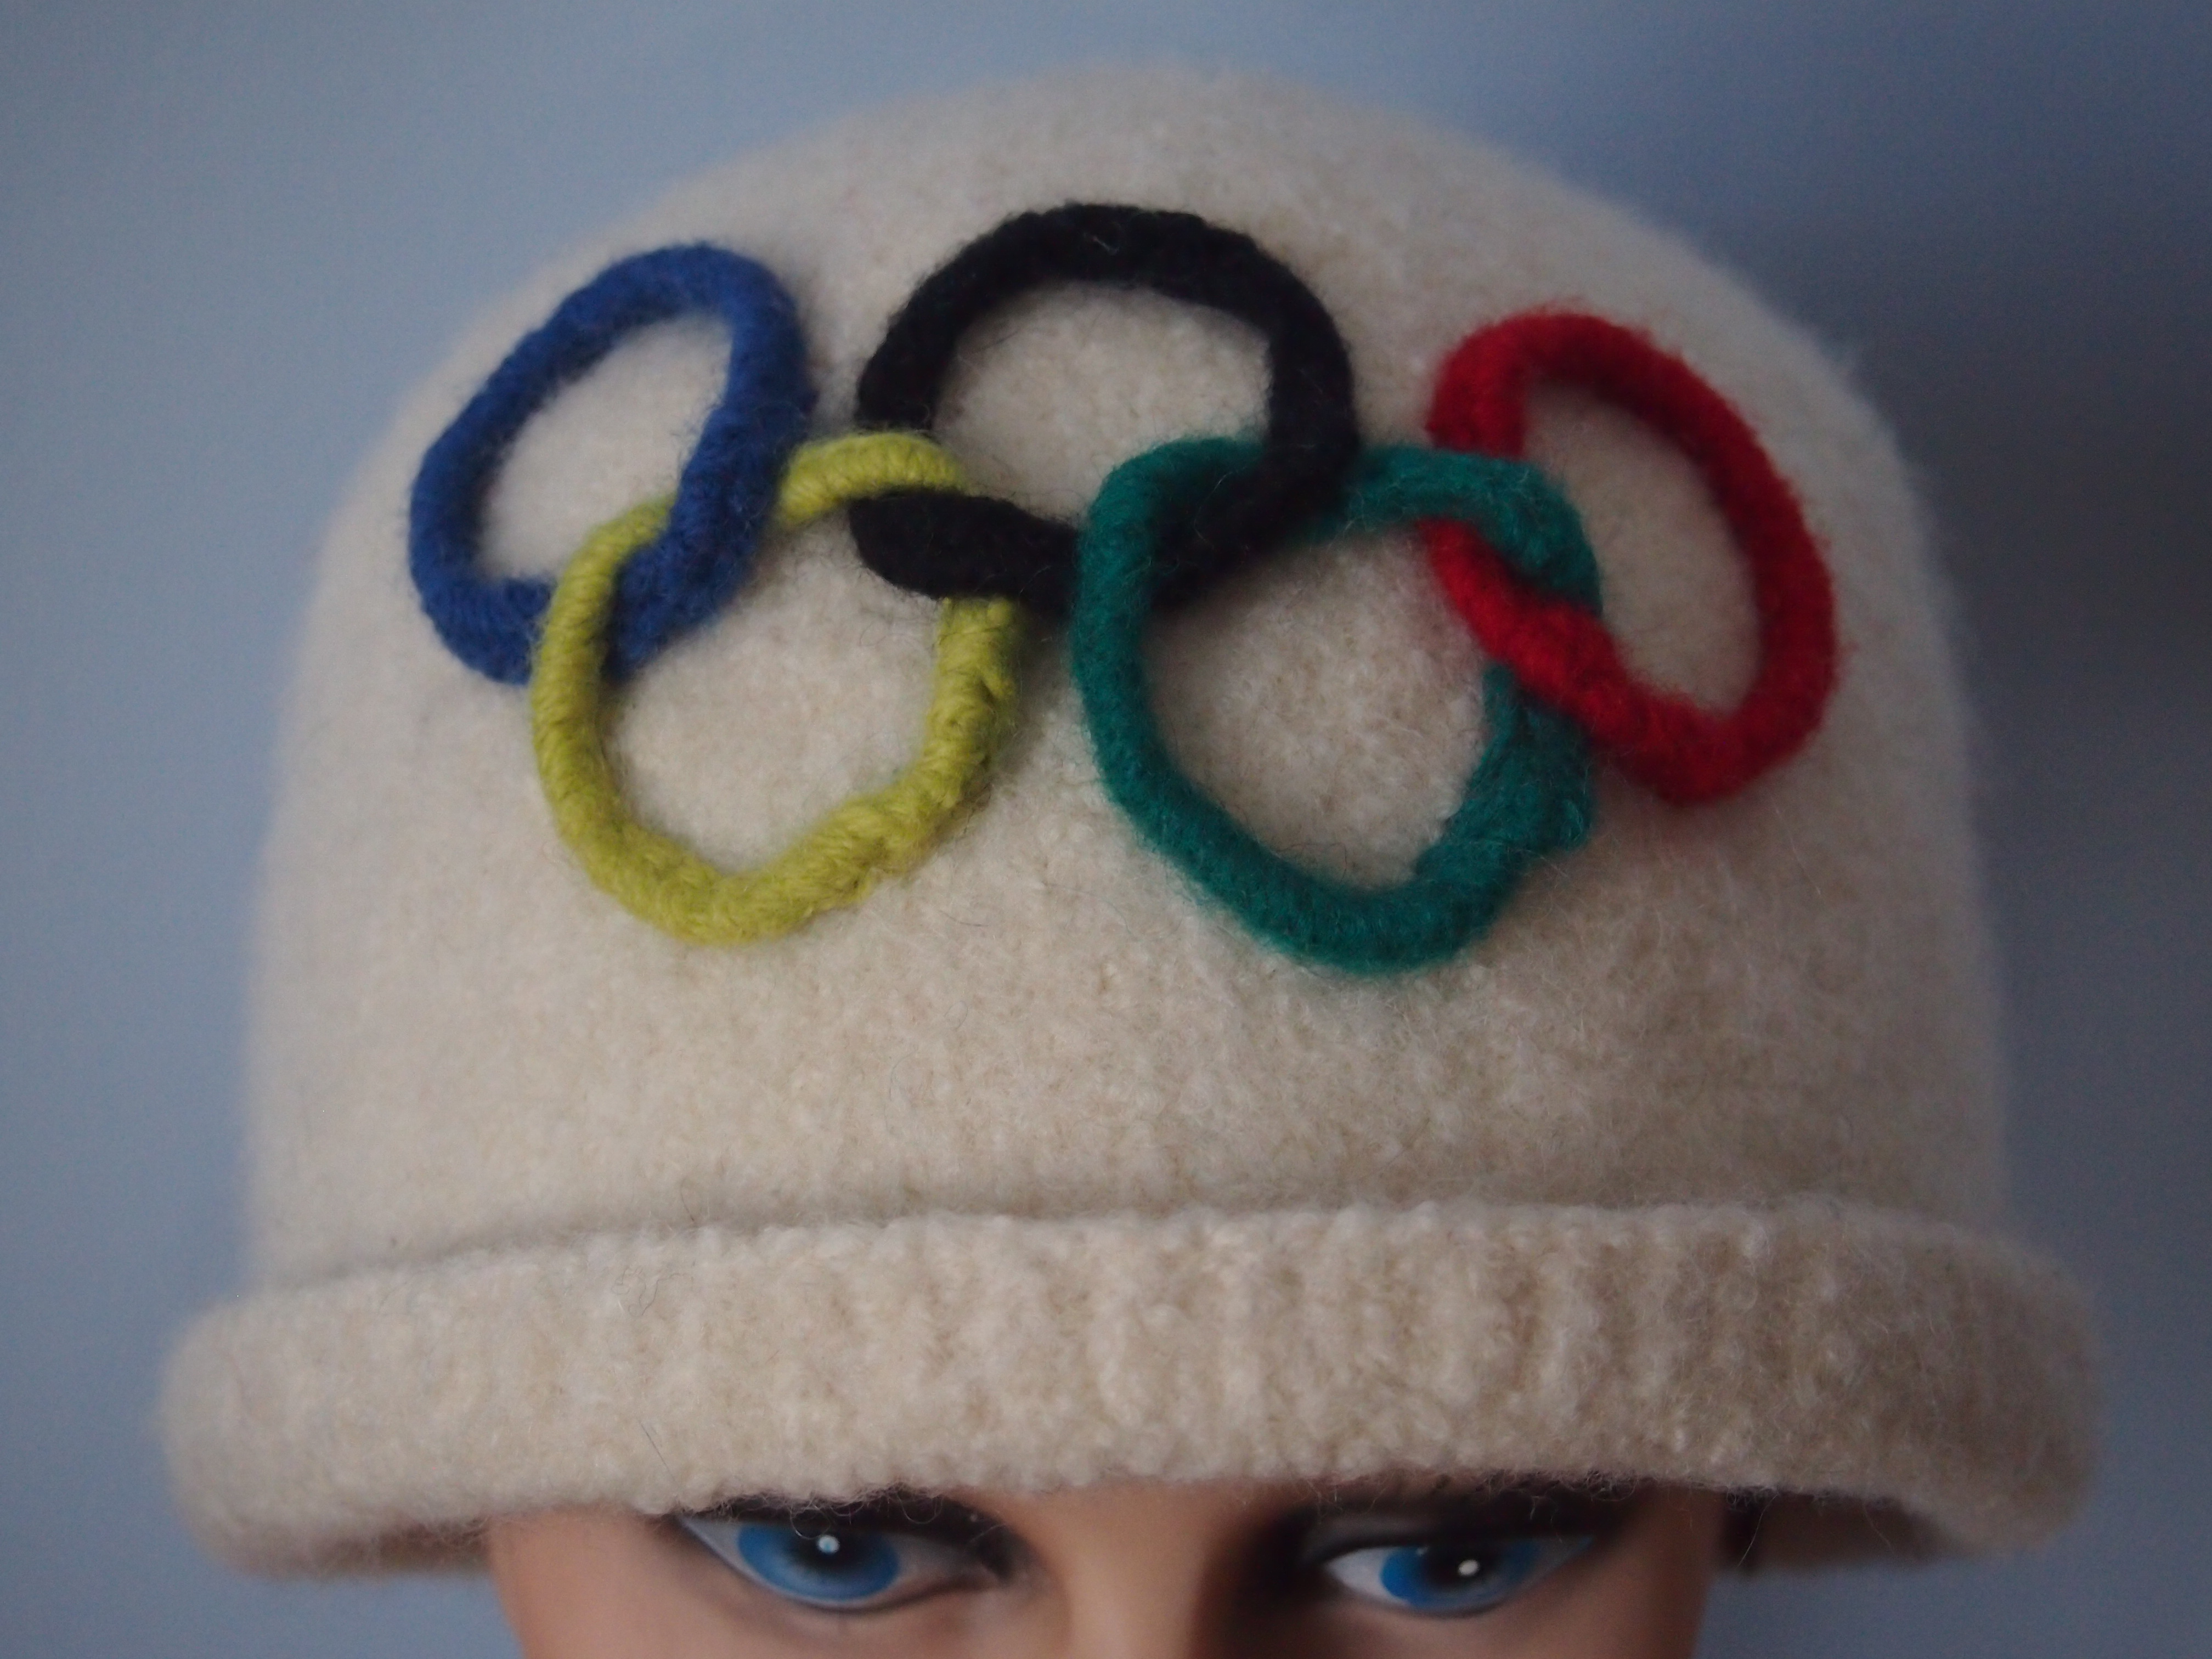
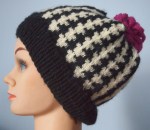
I sent it through the washing machine twice and the dryer once in between. If you look at the pictures close up you can see that there is still some detail in the stitches visible. You would have to cast on more stitches if you were planning to felt it completely and make the fabric indistinct.
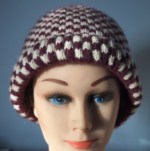
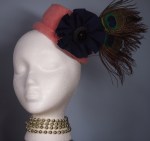
I dried it the second time on my hat form. A cheap alternative to a hat form is a Styrofoam wig stand you get from a beauty supply place. If you were going this route, I would put the hat on my head and tell it where to go before I let it dry on the Styrofoam head.
Bow: Patons Classic wool 4 1/2 mm needles. Cast on 26. Divide onto a set of 3 needles. Knit 12, p1 until it measures 4″(10cm). Cast off. Sew up ends with purl stitches running down the sides and cinch the middle.