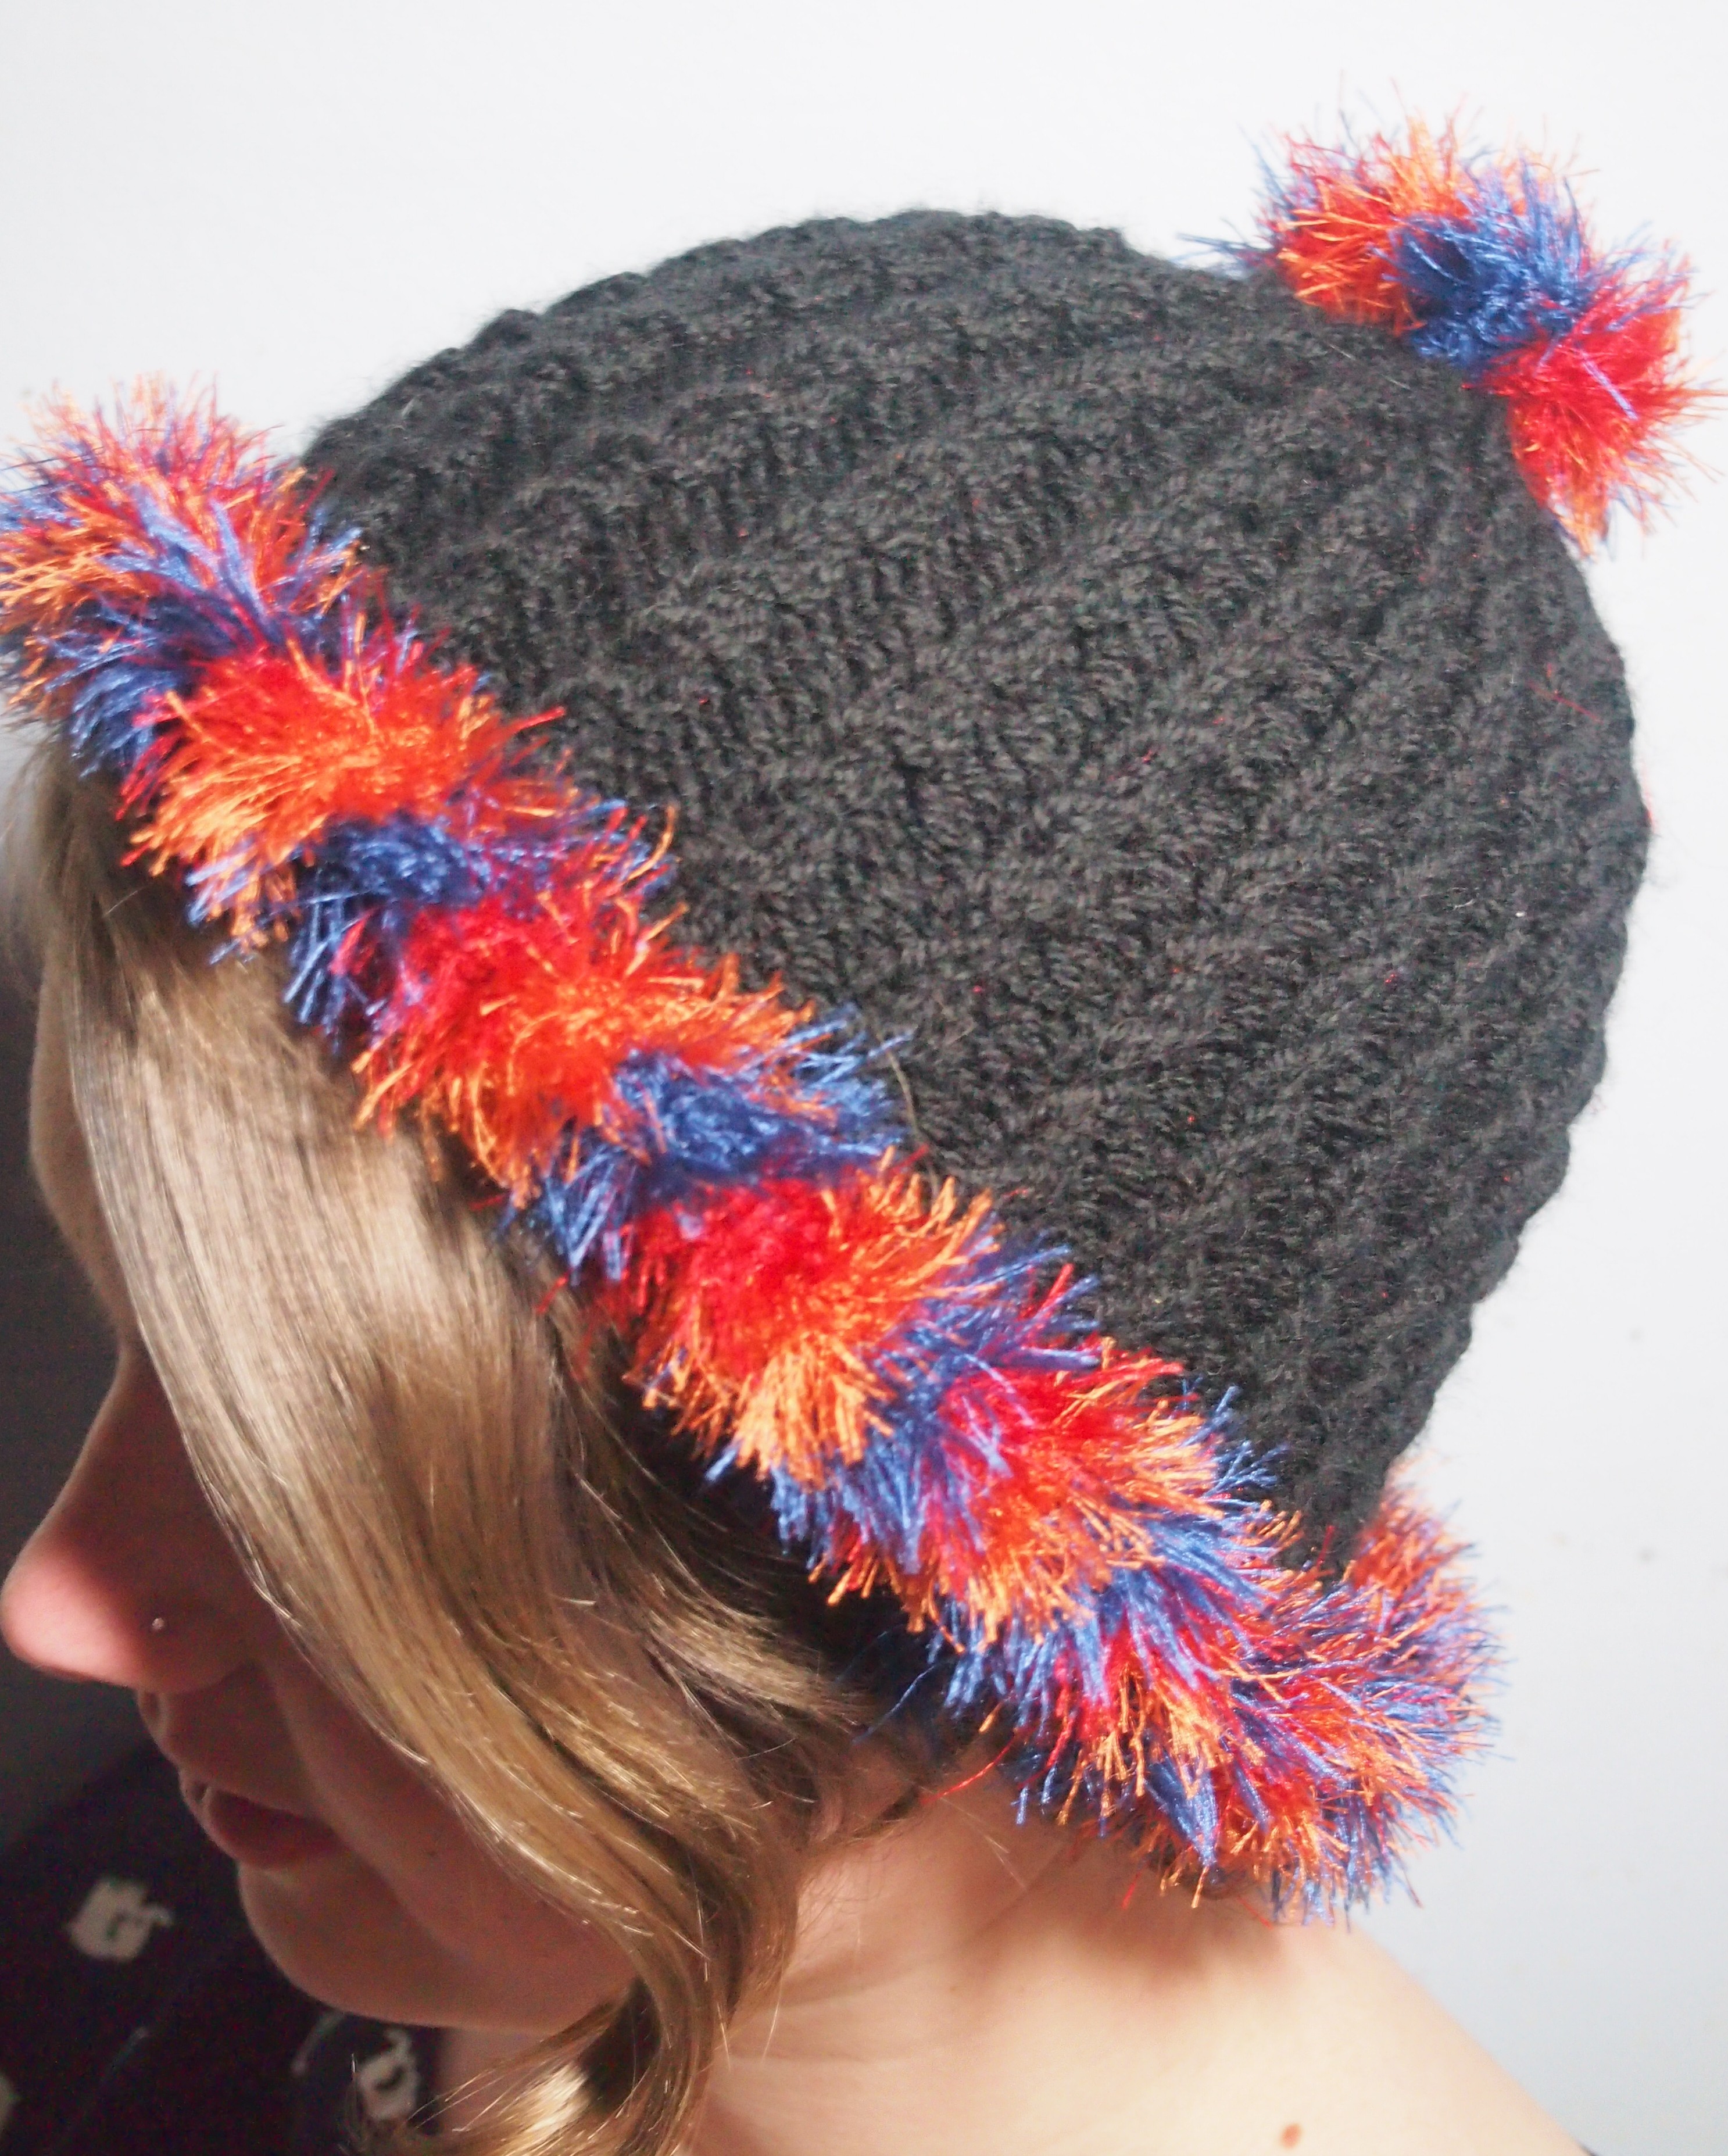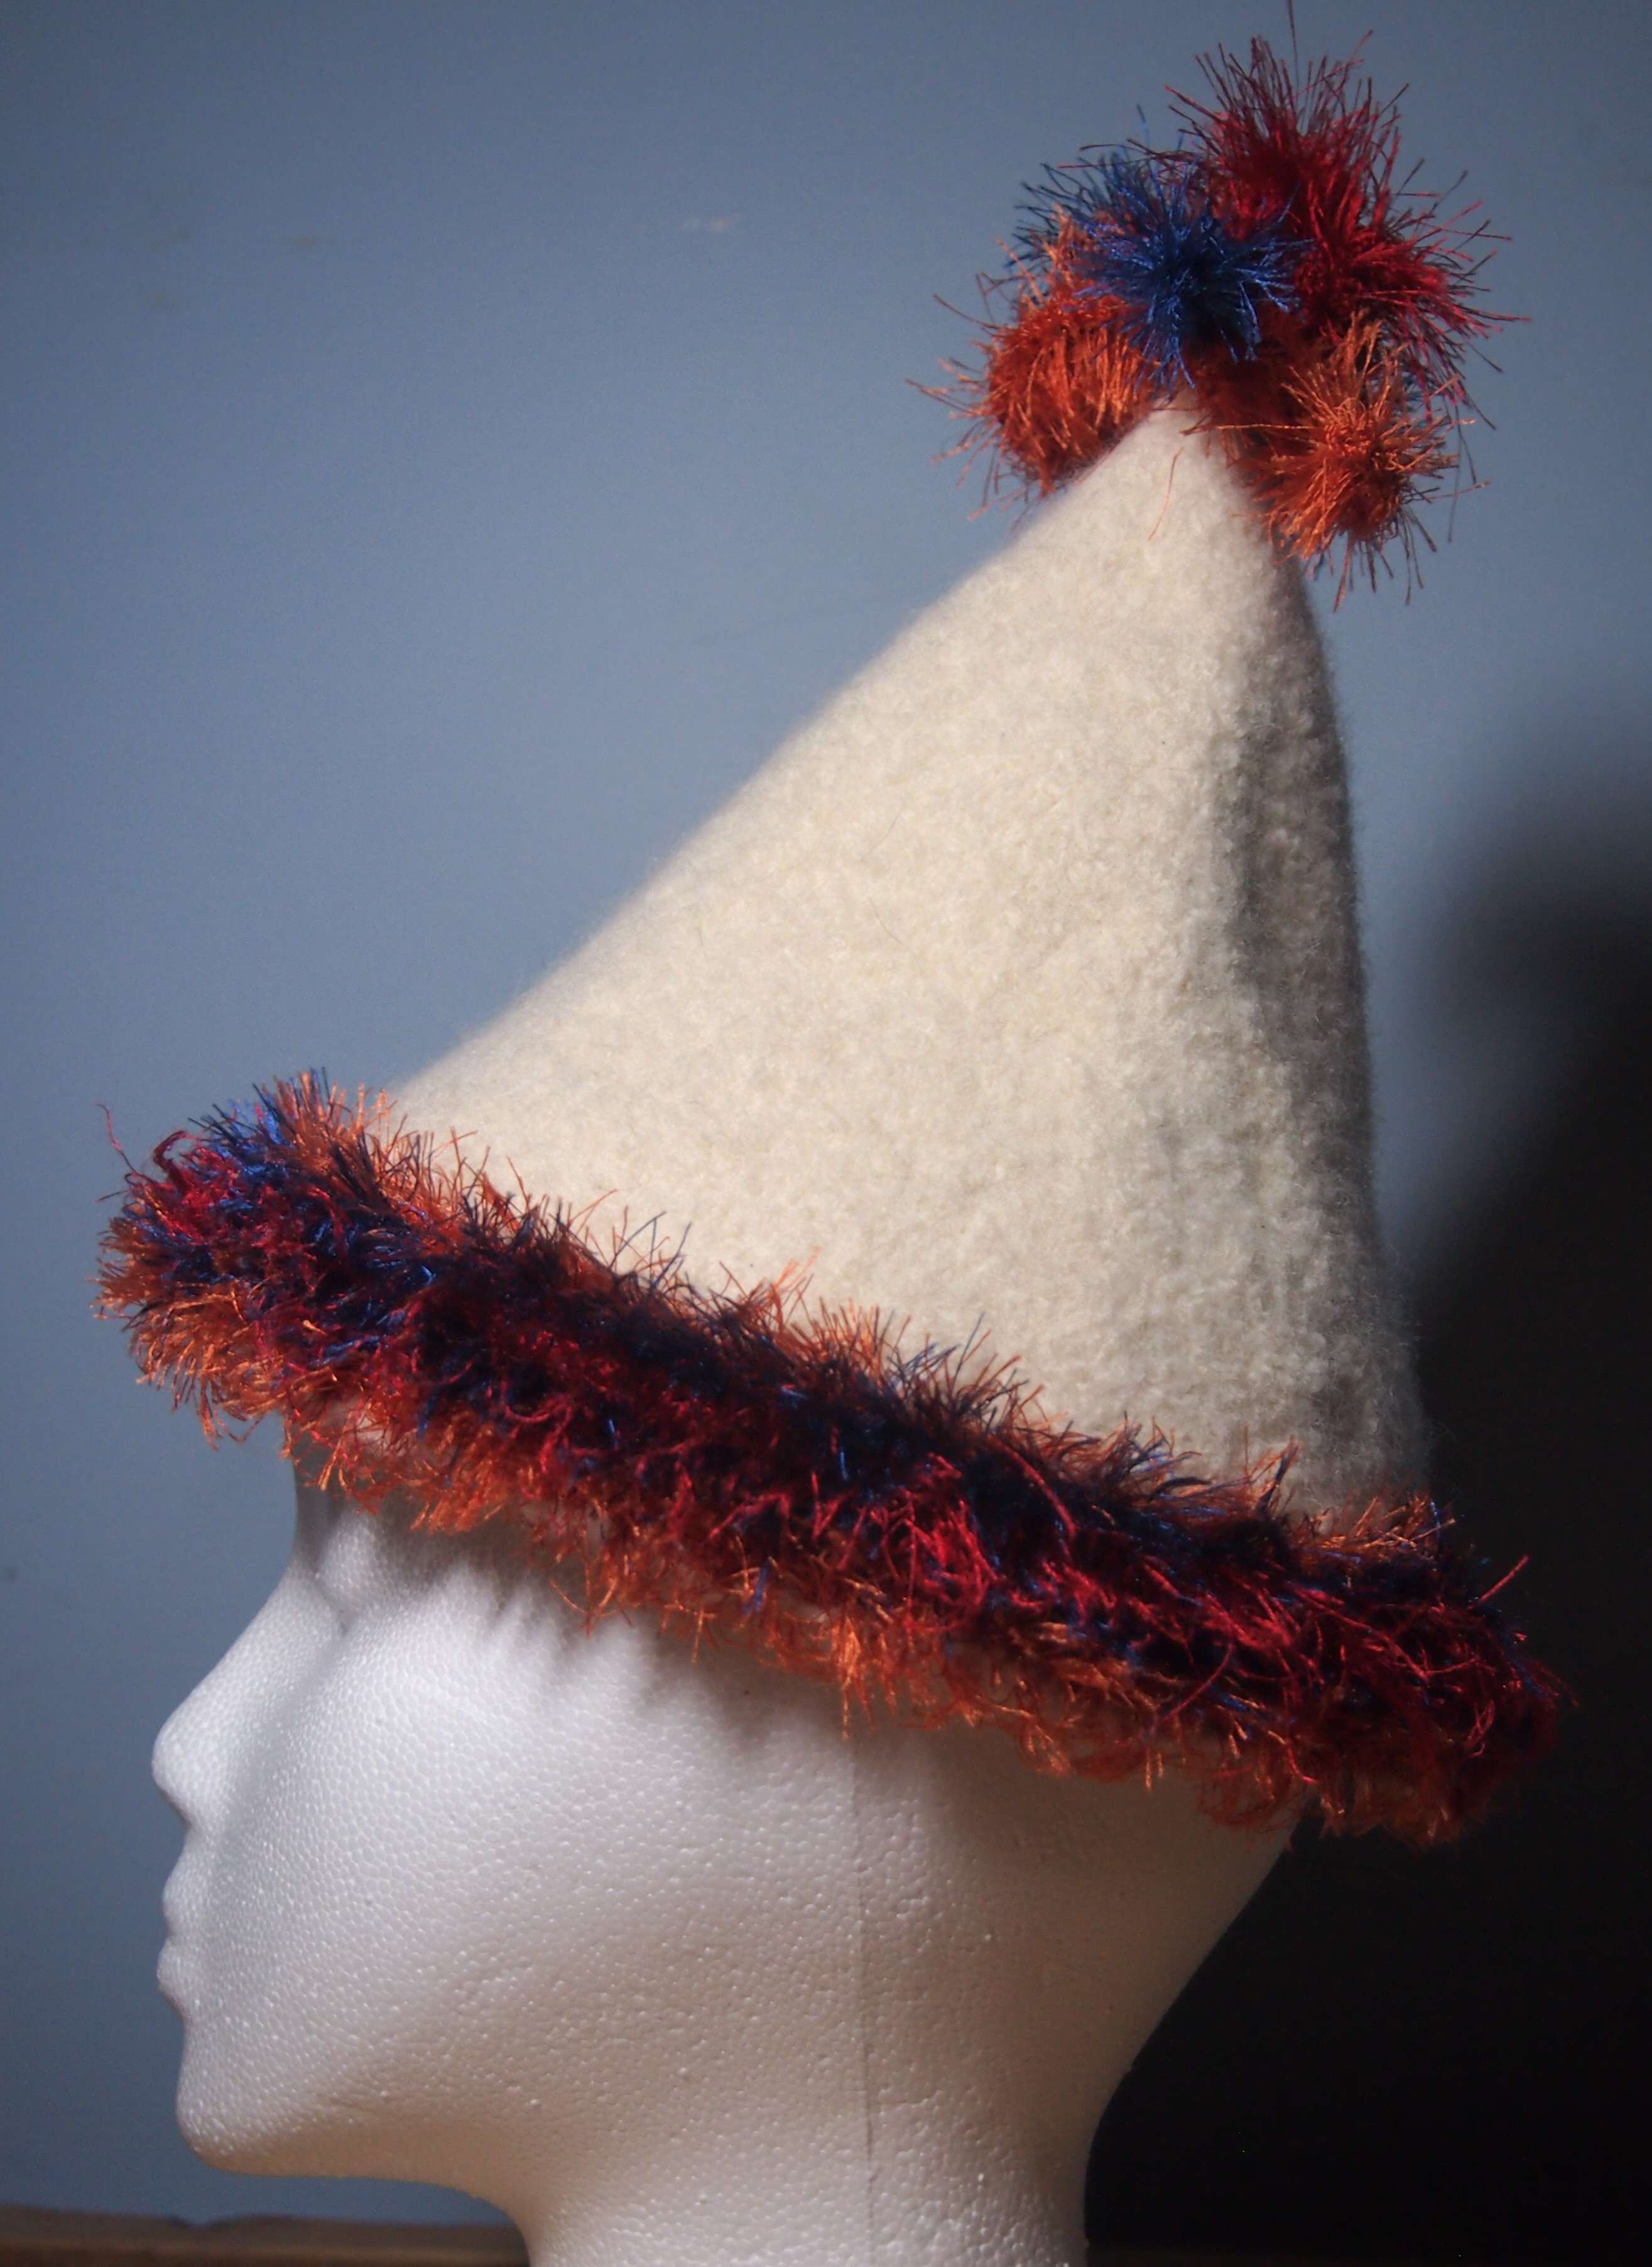
New Years hat
I have FINALLY finished the three balls of eyelash yarn. This will be the last hat in the series. The concept is that it is f…g cold for outdoor activities on New Years Eve. This would provide a warm alternative to the traditional party hat. I am working on another of these party hats, which I will post before New Years.
For this hat, I knitted the eyelash yarn first with the same wavy stitch I used for the frilly hat with lots of colours. I knitted one repeat with orange, then blue, red, blue and orange. I then joined the white Patons Classic Wool and increased the number of stitches by 50% (from 90 to 135). I reversed the direction of the knitting as I joined in the white then knit up in behind until I had about one and a half times as much length in the white as I had in the eyelash. I then joined the cast on edge in from the front (I went through the cast on eyelash stitch, then the white in behind). I picked up two eyelash stitches for every three white.
I knit the rest in white. I decreased 10 stitches every 7 rows until I had 50 stitches, then 5 stitches every three rows until I had only a few stitches left, then I pulled my yarn through. I put the whole thing through the washer and dryer. It wasn’t felted enough so I put it through the washer again and let it air dry. I made the topper with a combination of knitting and crochet.
-
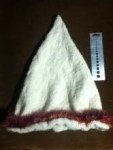
- before felting
-

- once through the washer and dryer
-
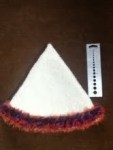
- through the washer again